Between us, we have so much ‘stuff’ picked up from antiques shops, travelling or ‘donations’ from friends the library seemed the ideal place to use them. When I decorated my last house everything matched, too much, now I’m much more about a ‘curated’ look. All we’ve bought new for this room is the fabric for the blind…and even that was from Ebay!
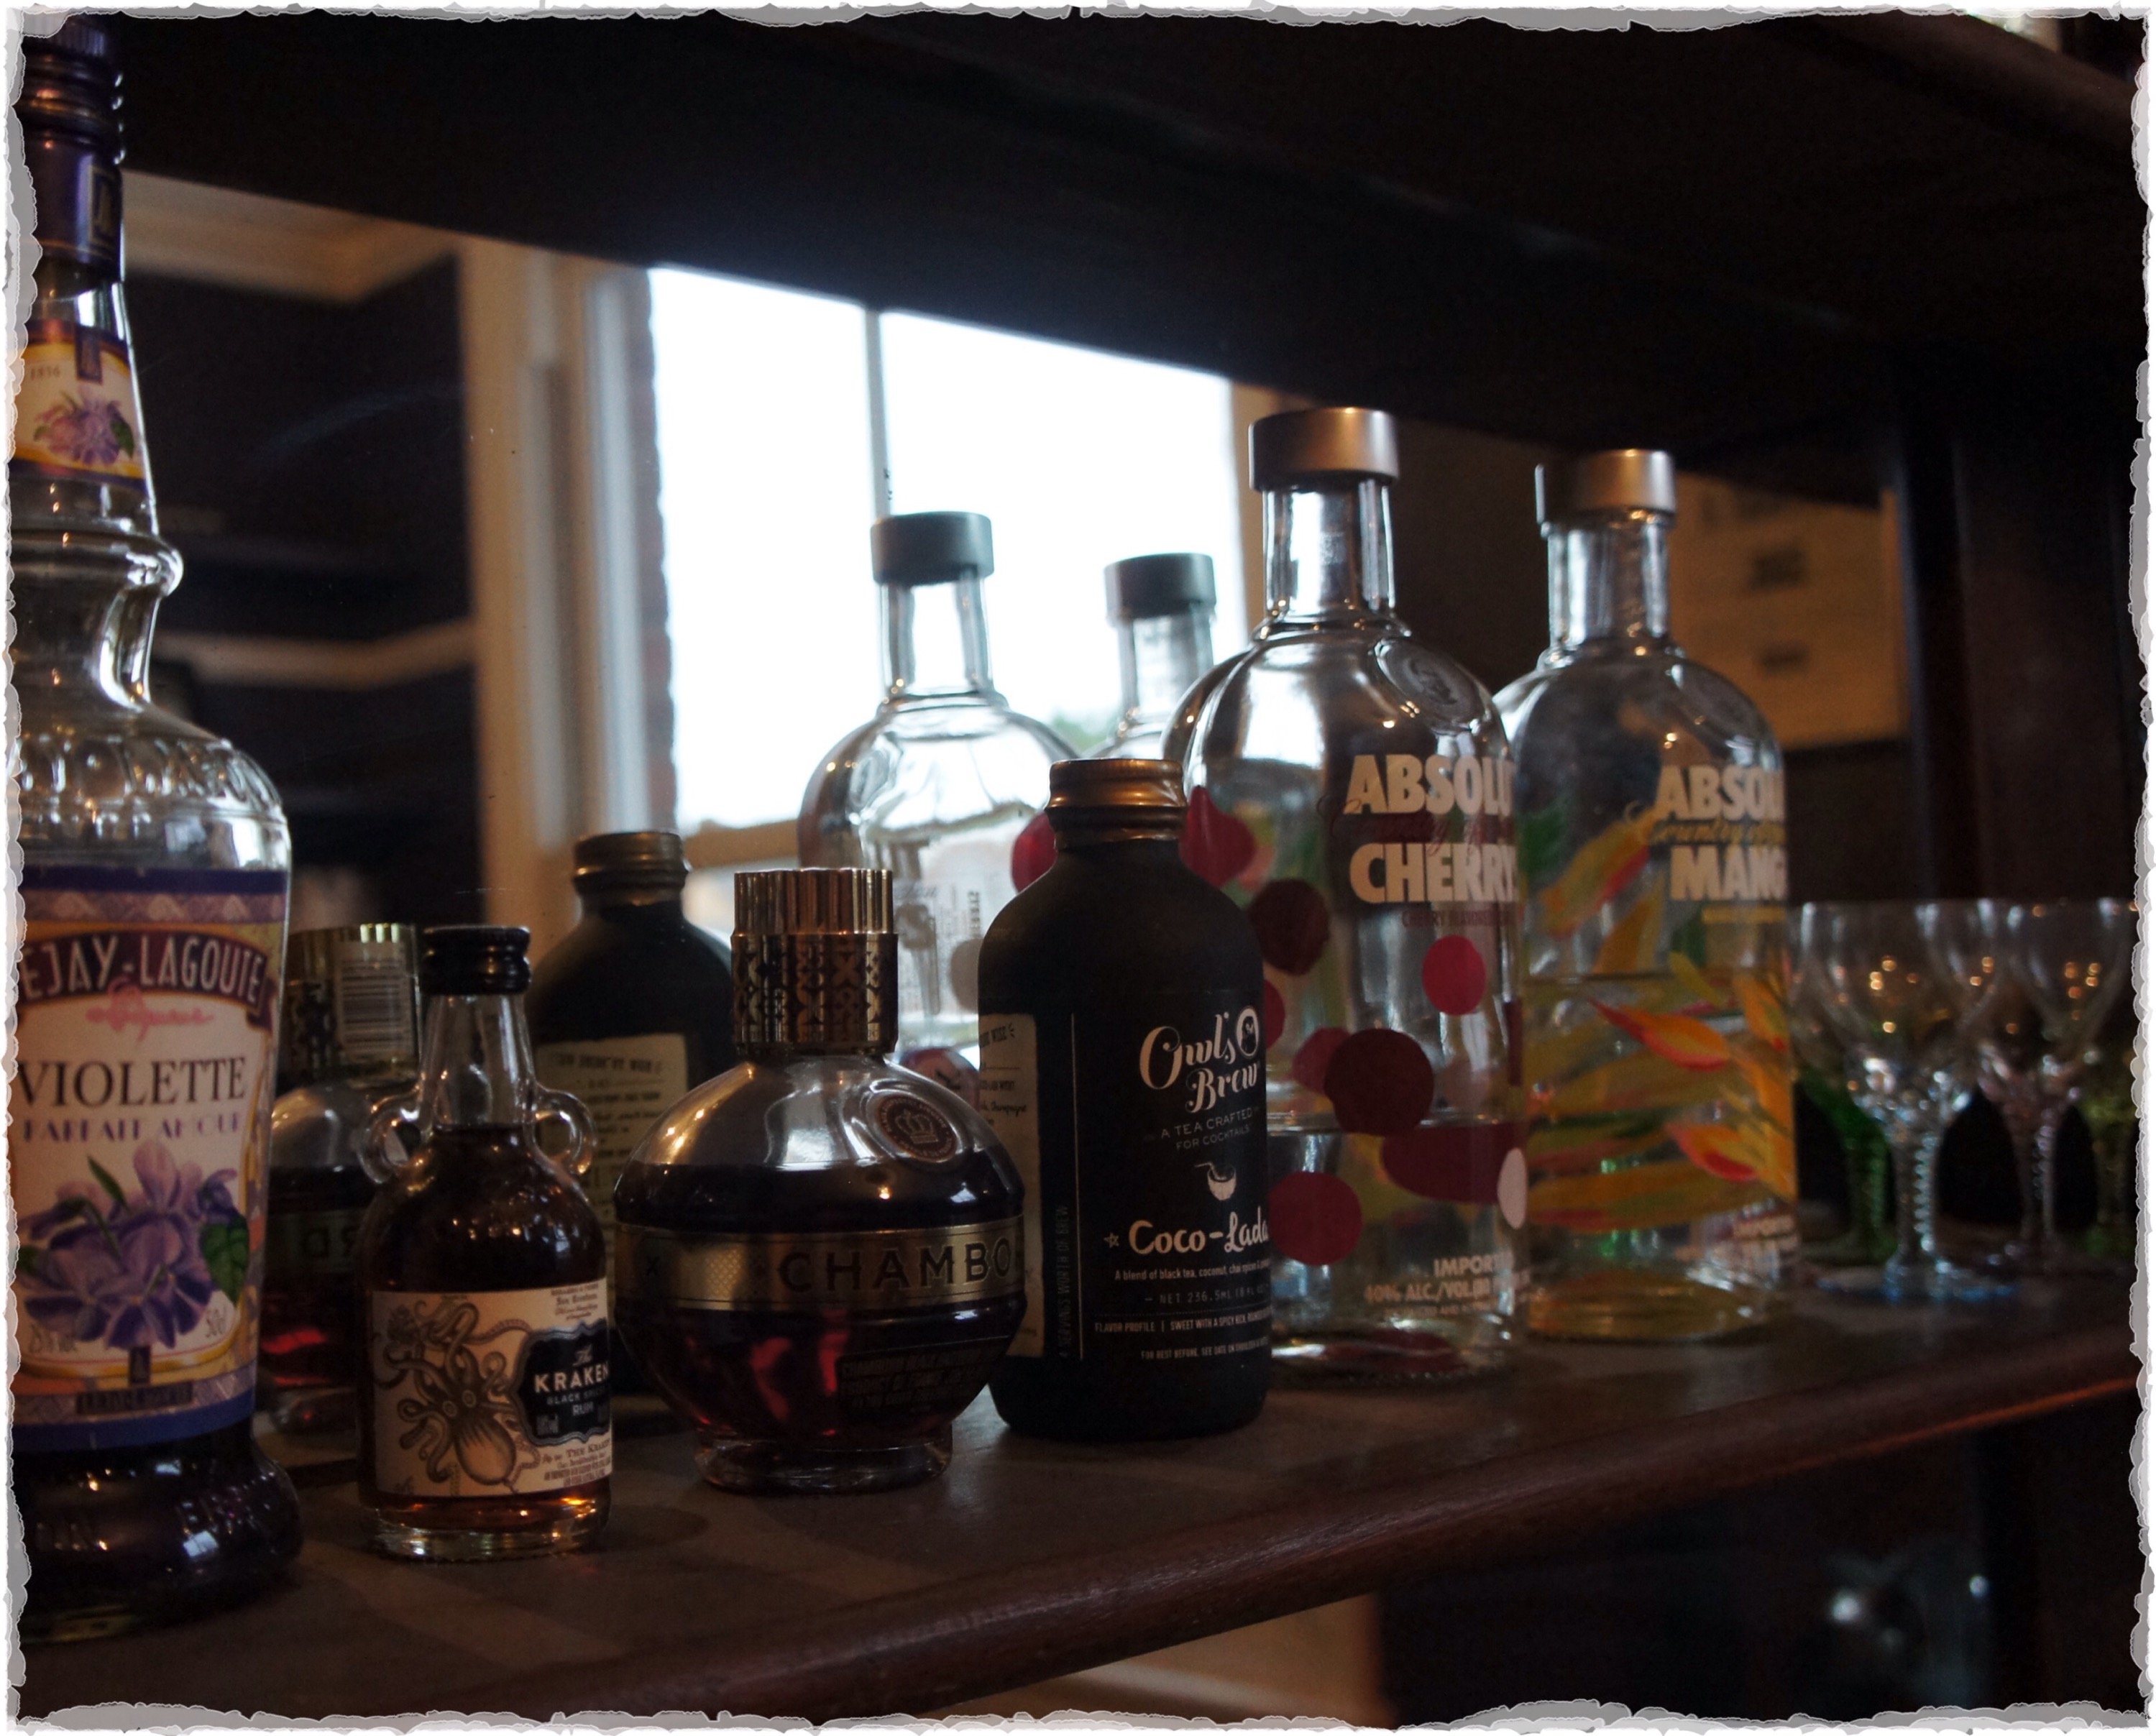
The first item in was our Victorian Pub Shelf which we were kindly given. It originally came from an old local pub, The Bell. I expect this shelf would have been in the pub when this photo was taken.

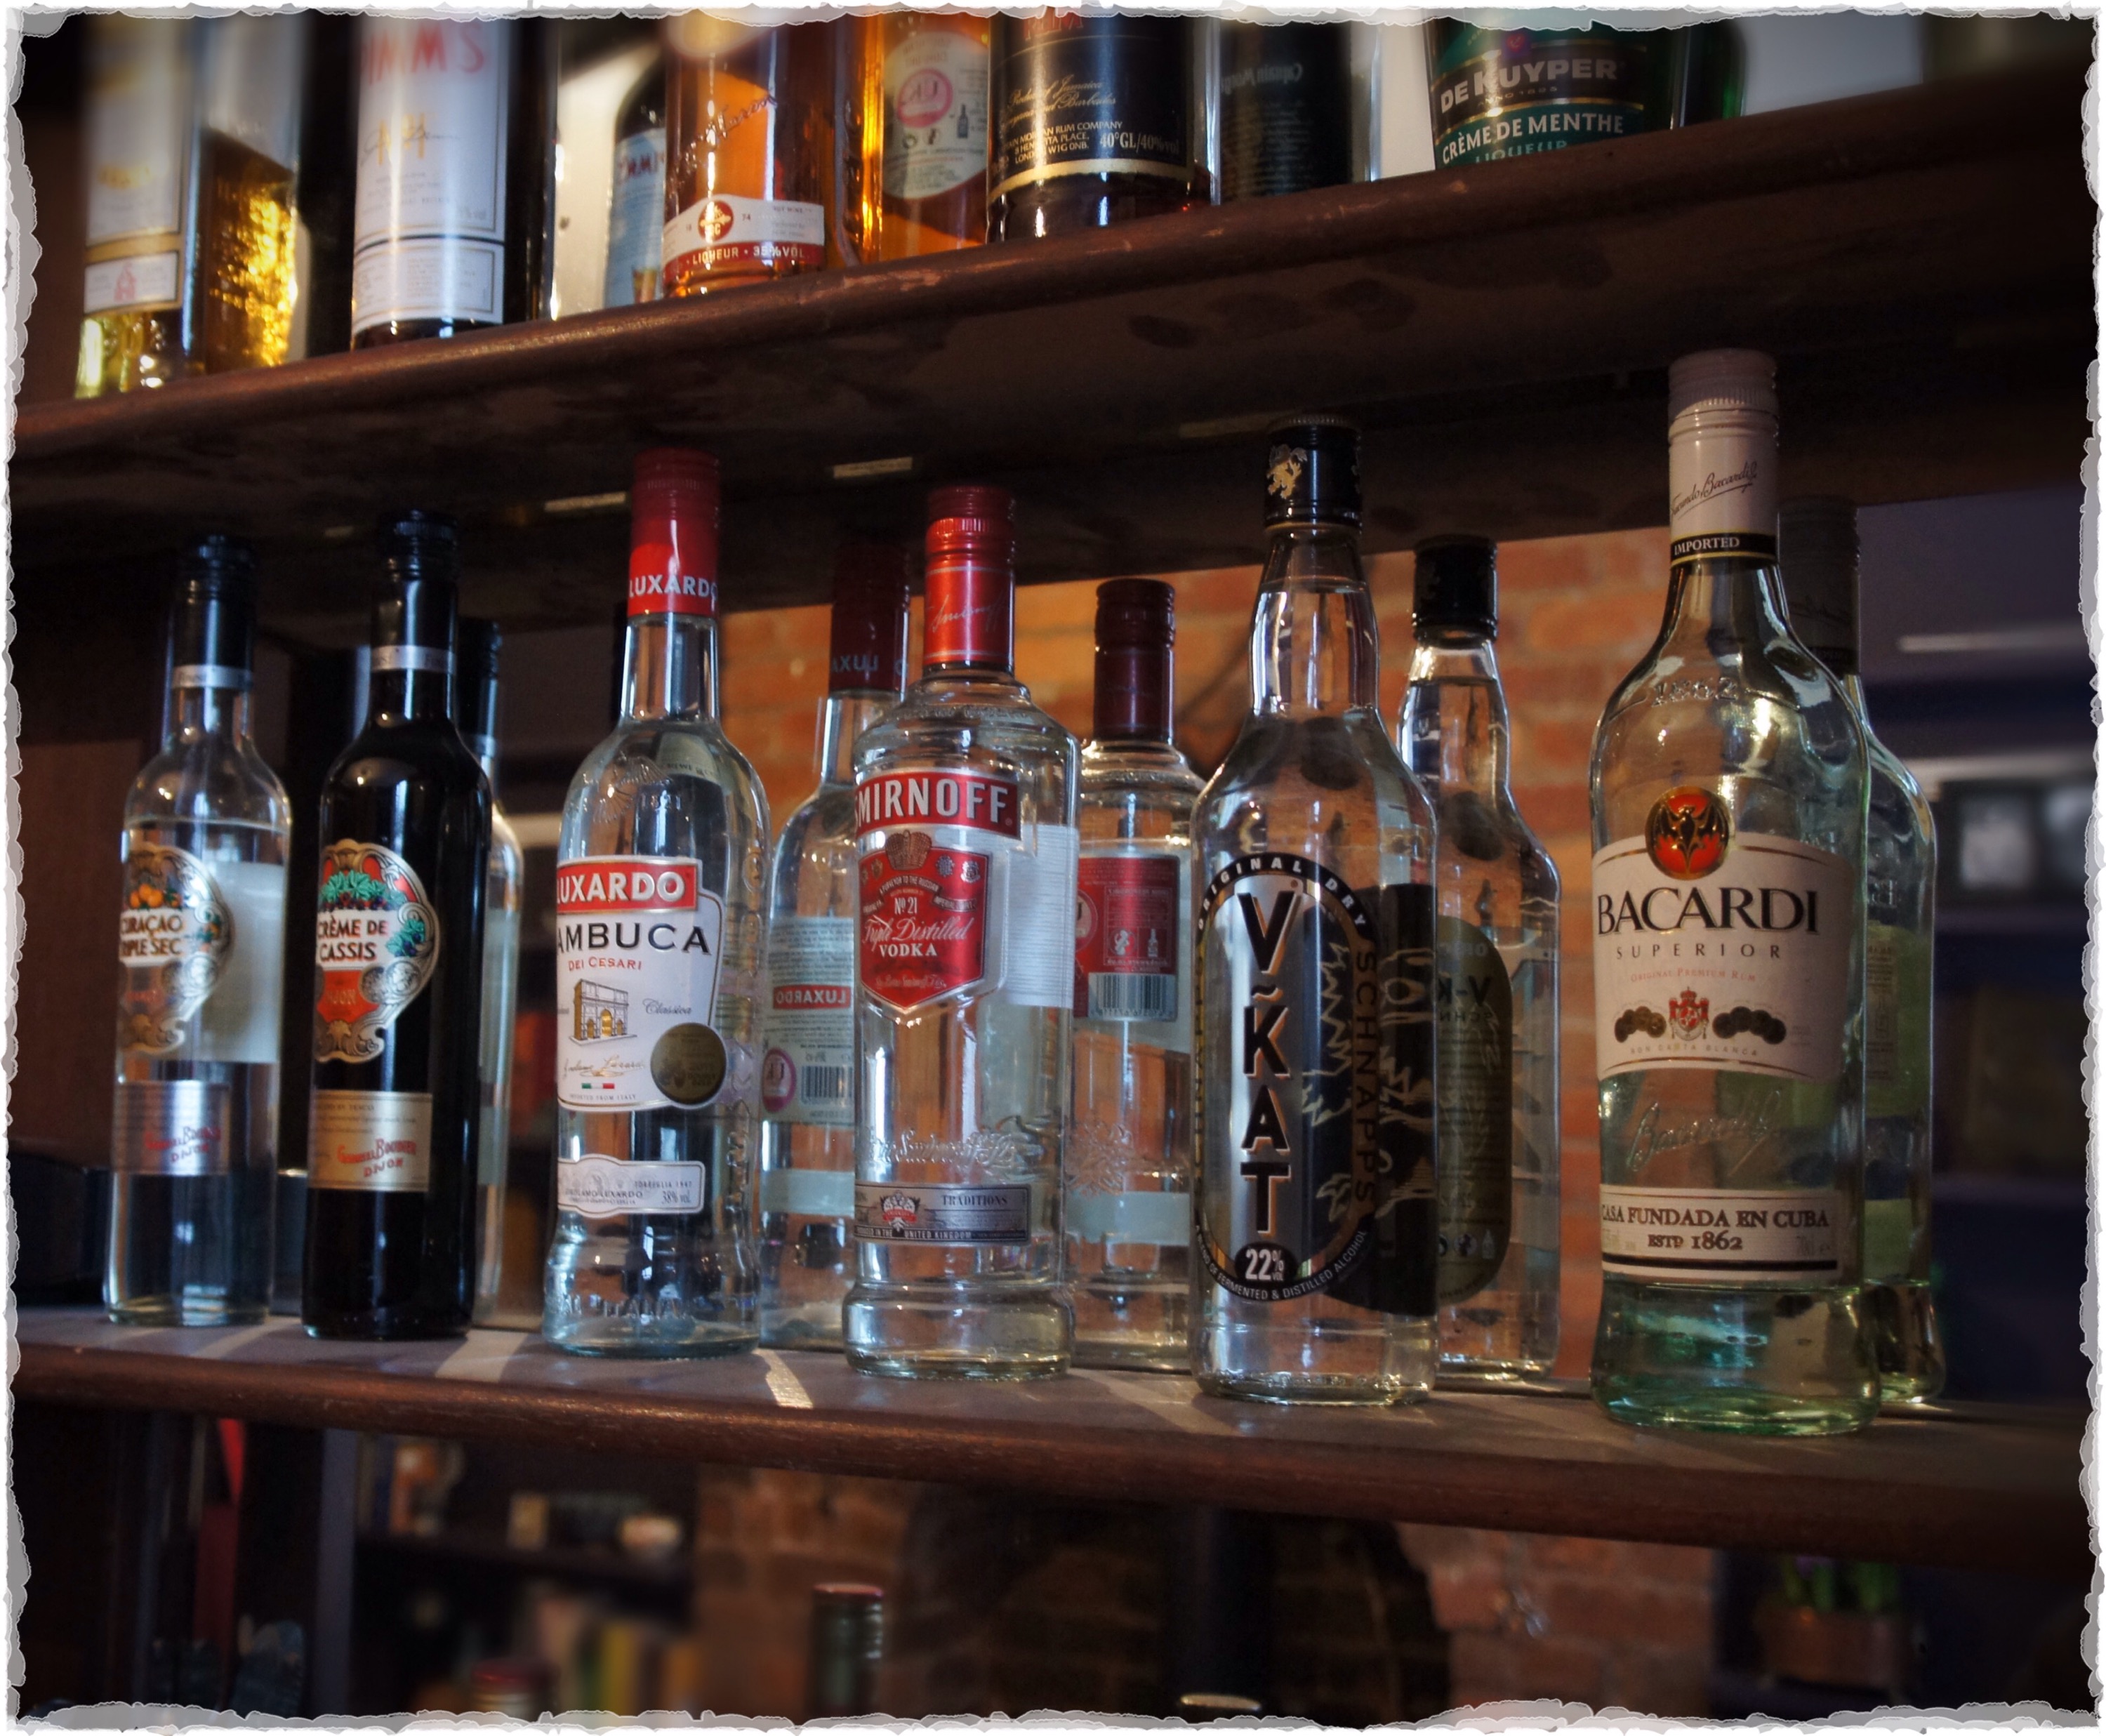
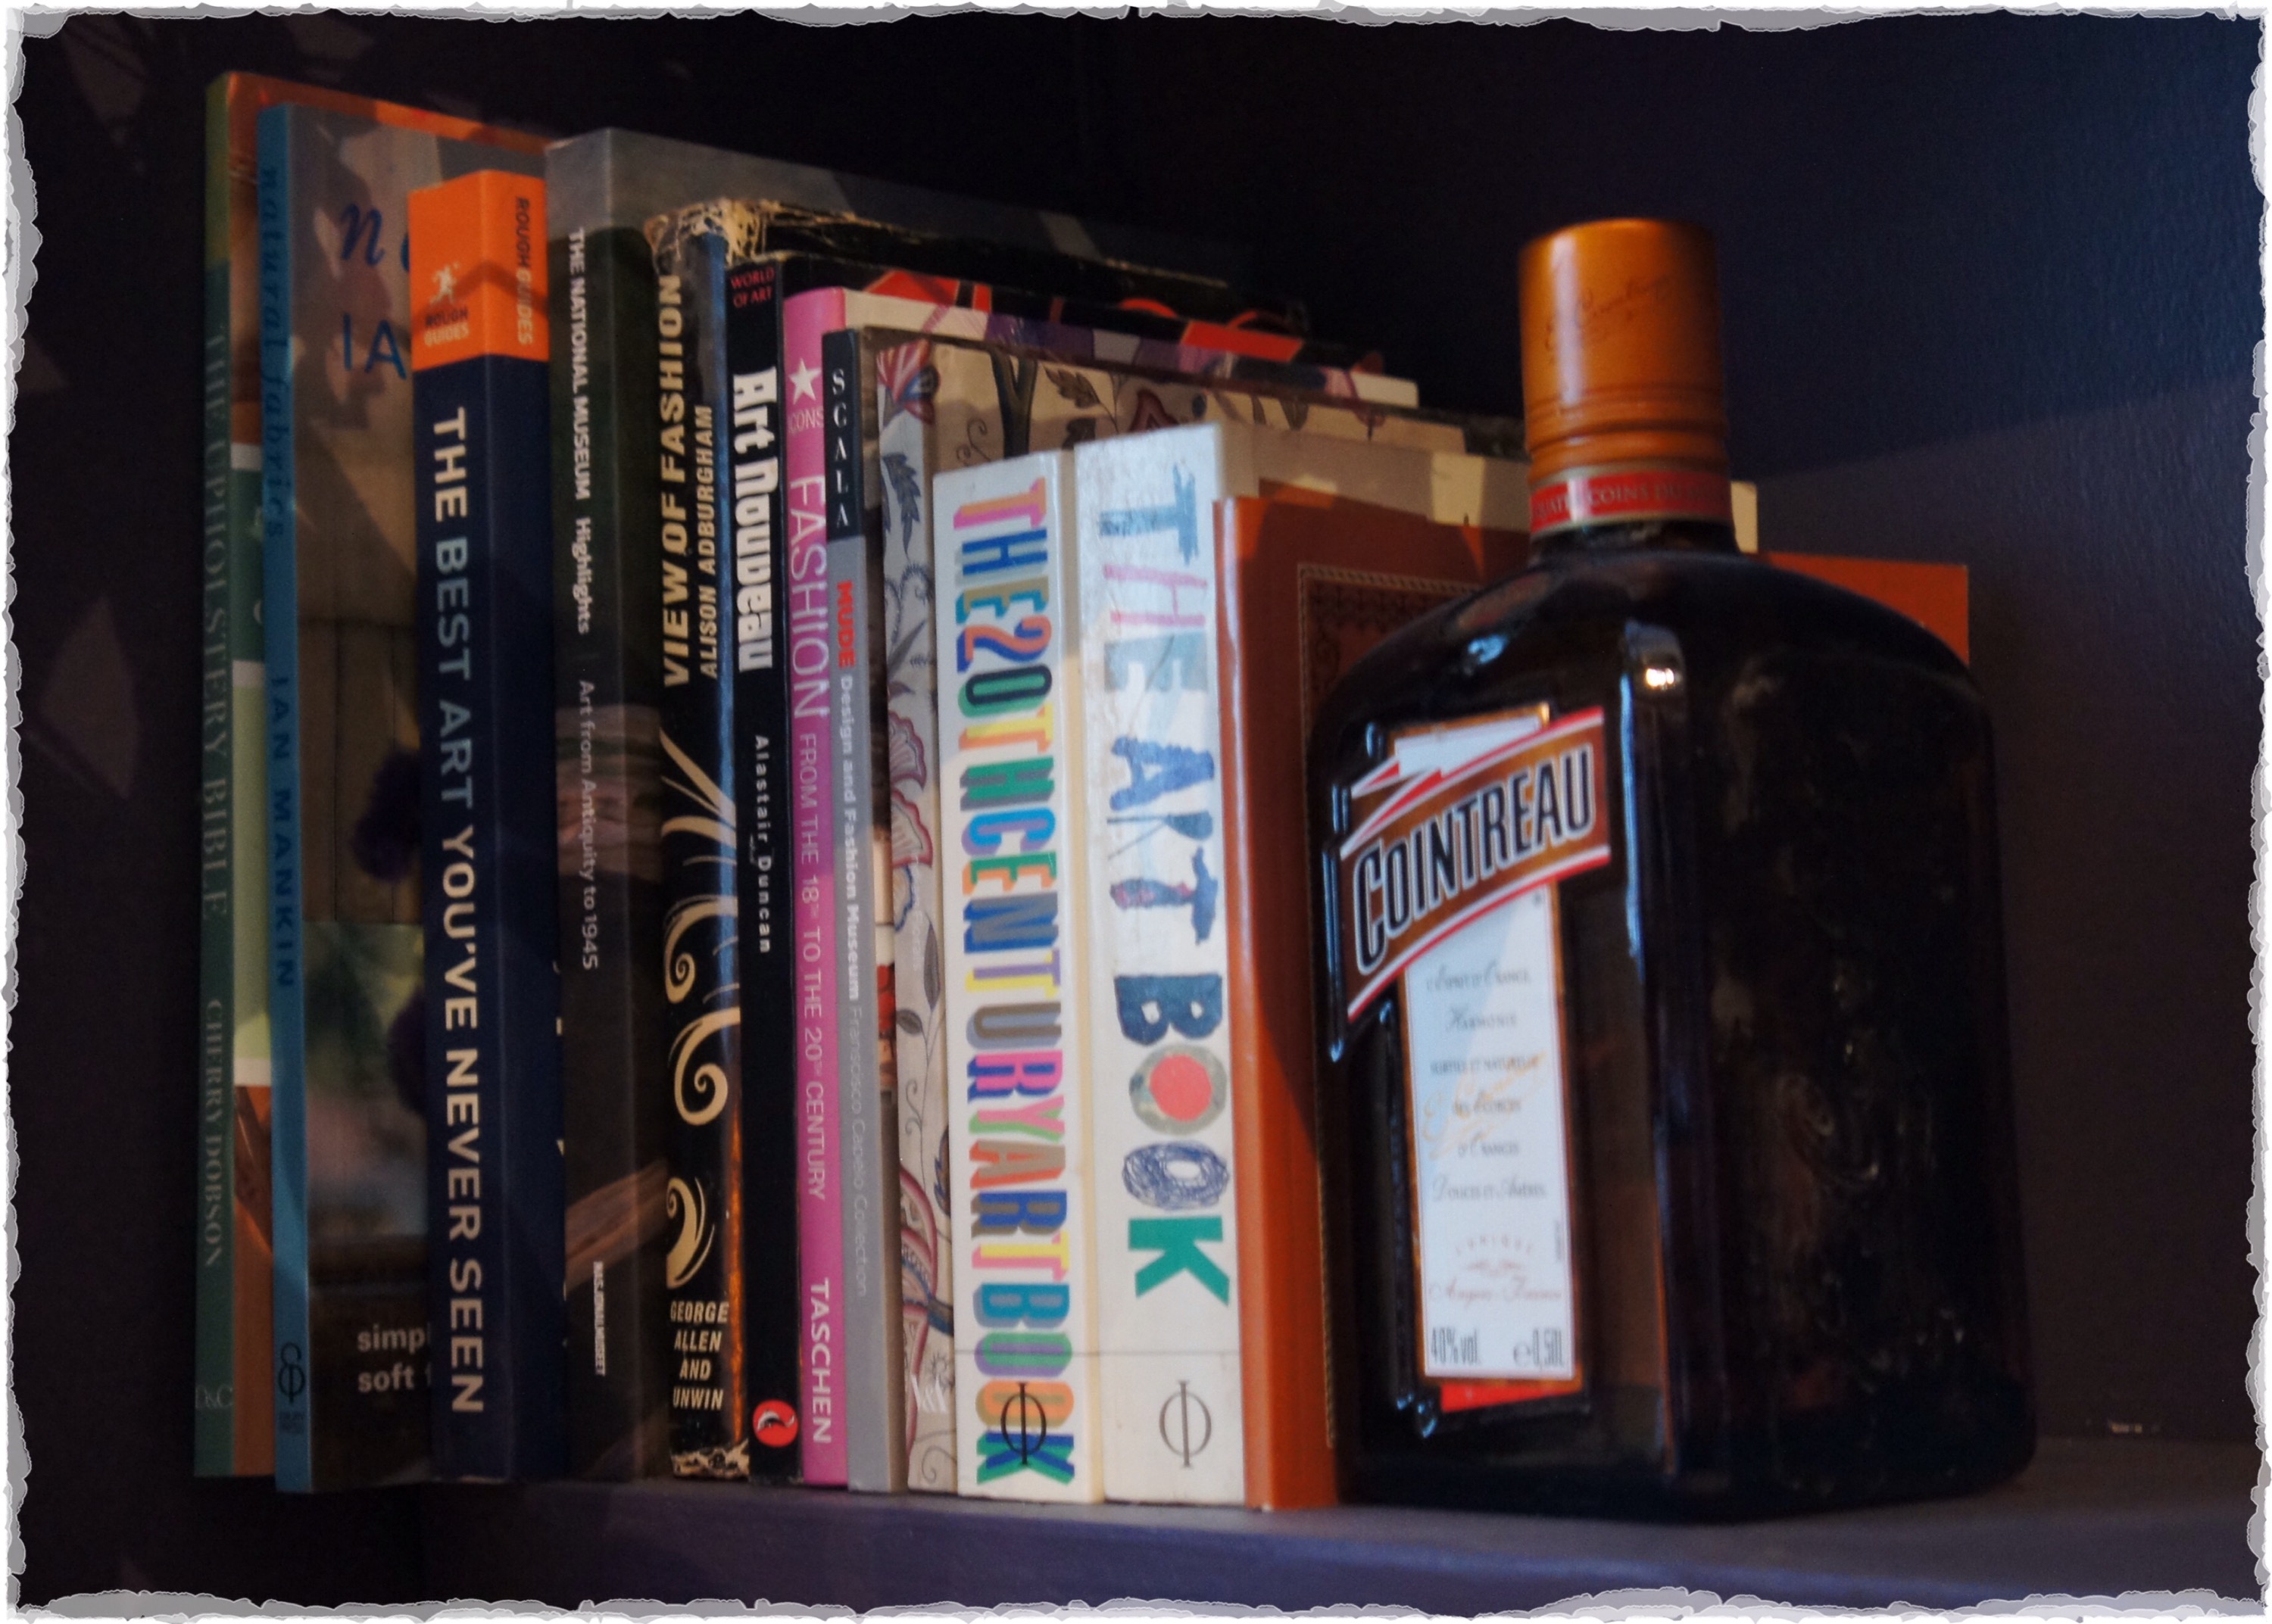
The shelf still needs a good wax and polish, but looks great and adds some real character to the room, as well as providing storage for some of our (excessive?!) alcohol collection.

The leather sofa, chair & cushions have been reused from my last house. We’ve been able to get the globe and picture that we found on weekends away over the last year or so out of the attic and found homes for them.


The pink chair has also come to live in the library, adding a much needed splash of colour.

The funny little Indonesian table & the painting we bought in Oslo have also found their home in the library.

The shelves now display our books & ornaments…I think they will evolve as we add to our eclectic collection.

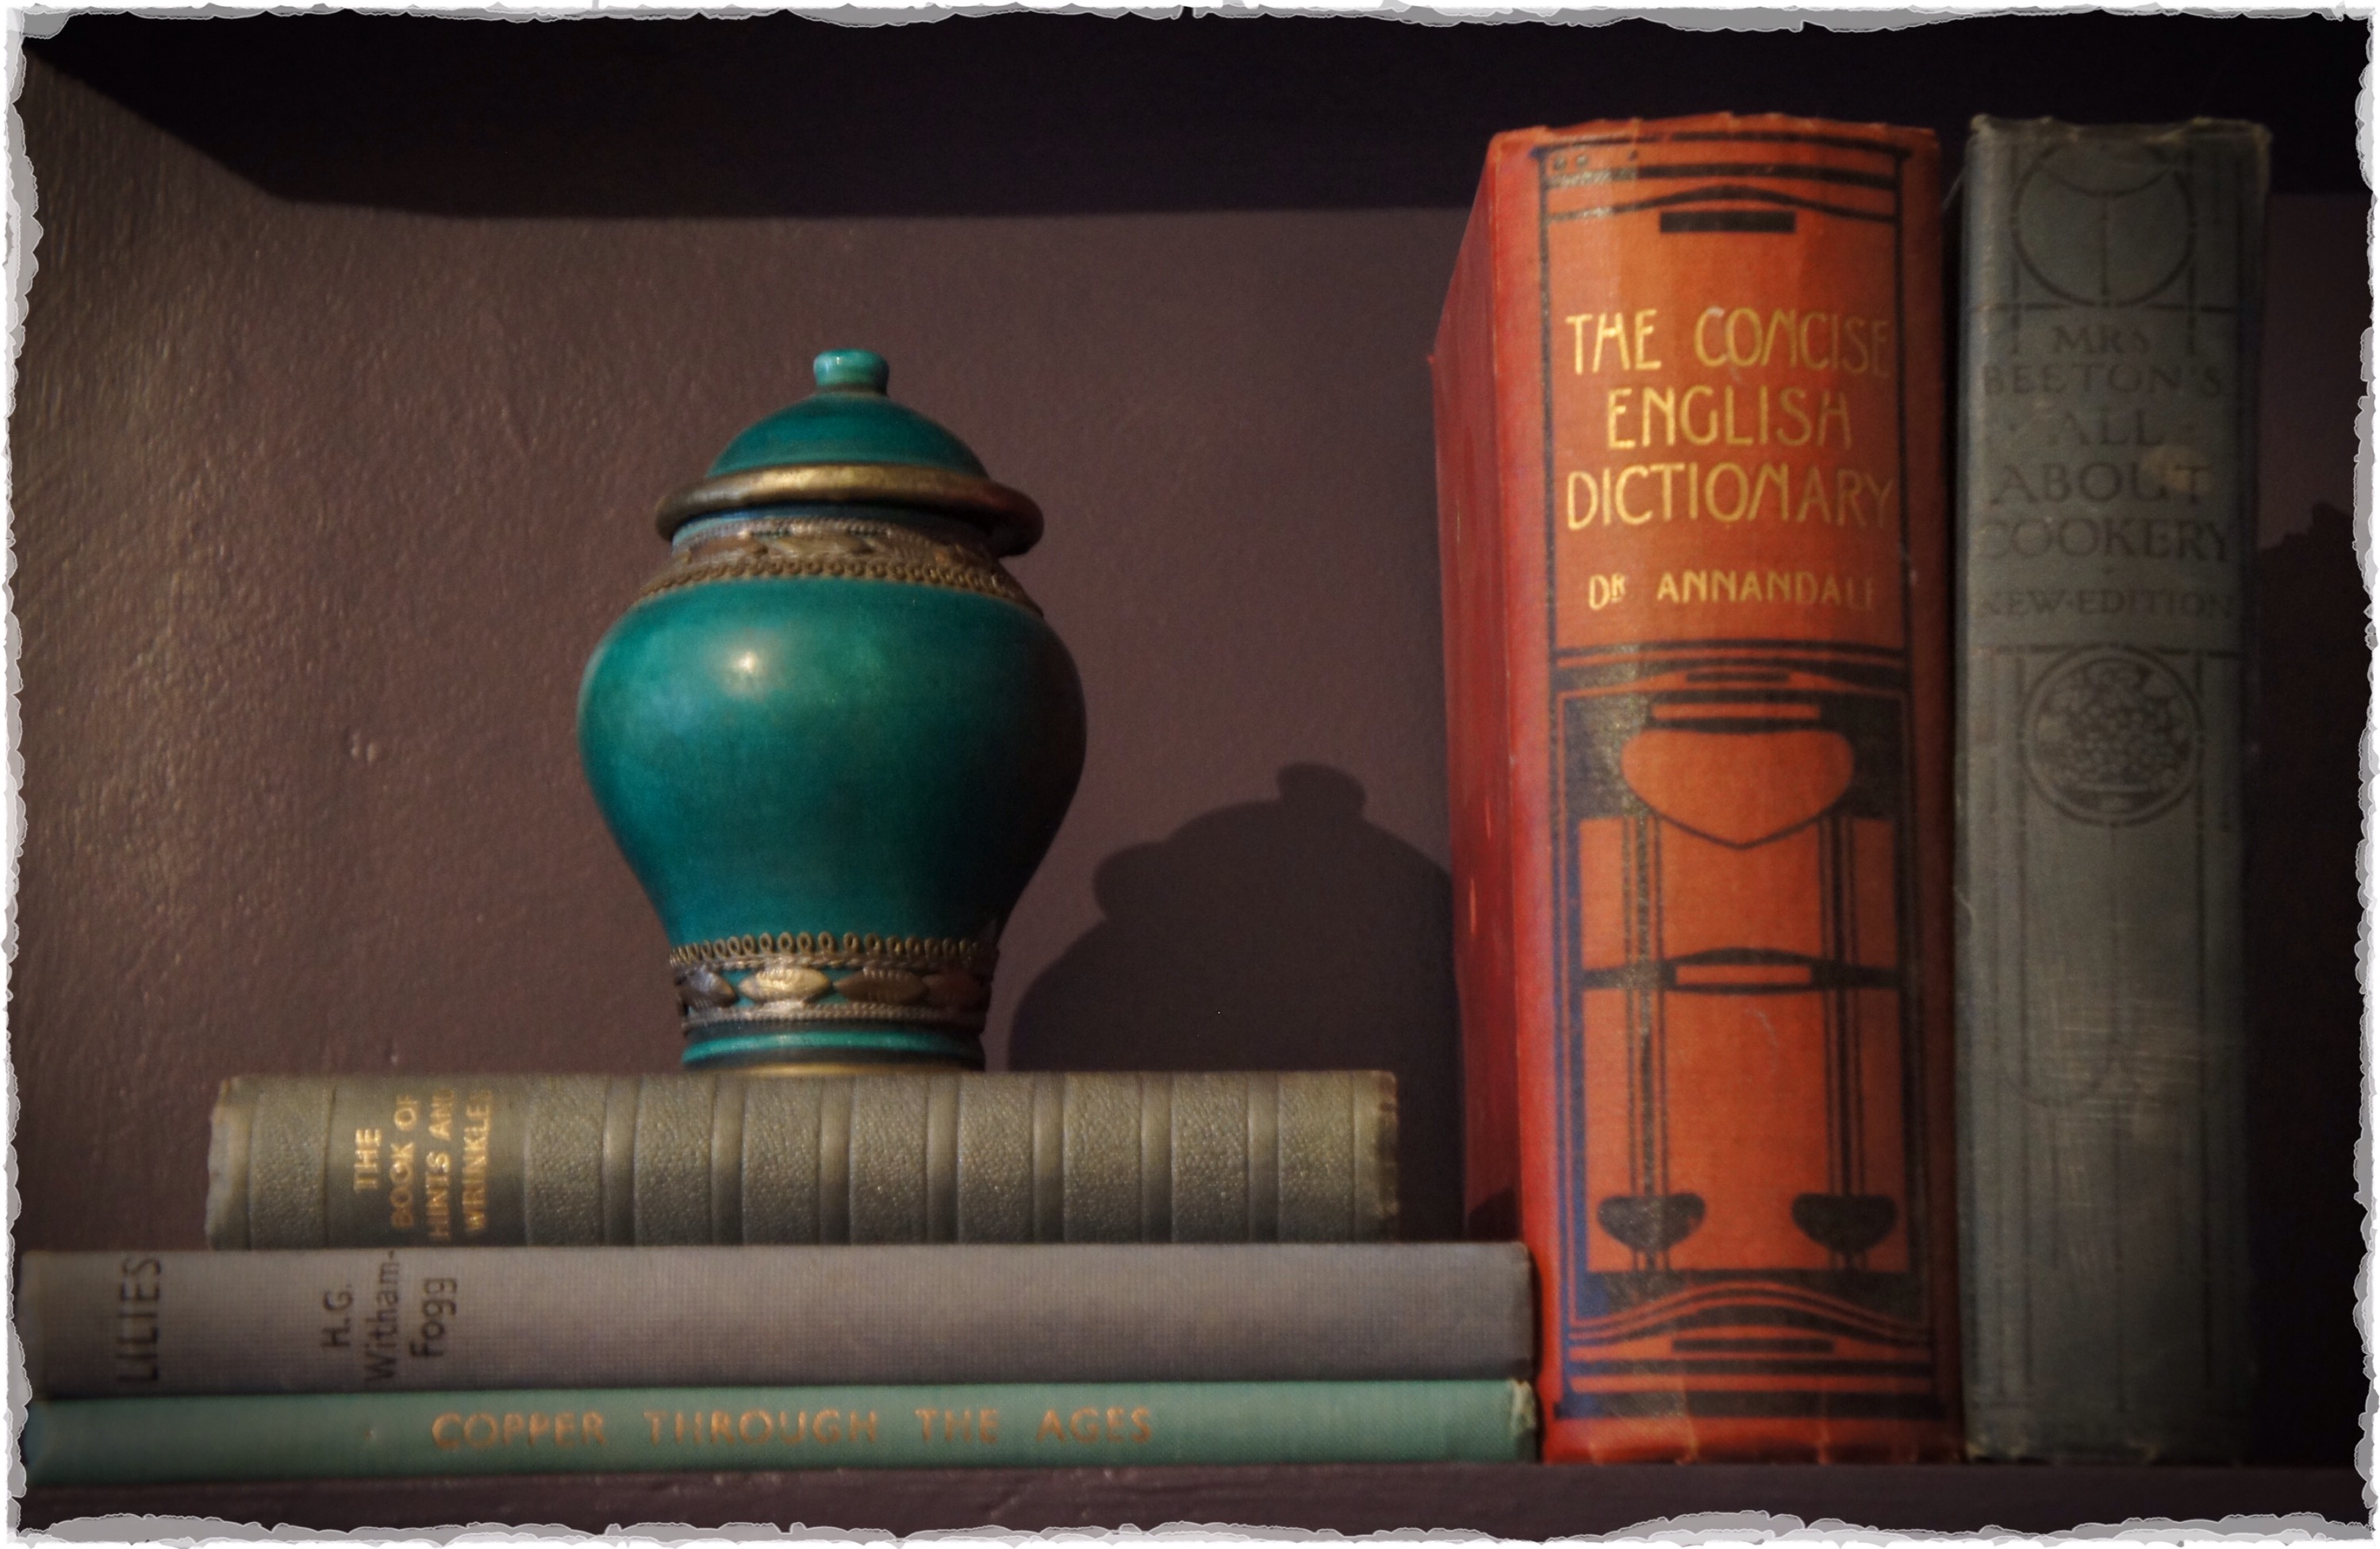
Other oddments lurking around, including our giant candle holder, copper pot and some plaster mouldings we bought in a junk shop in Sri Lanka.

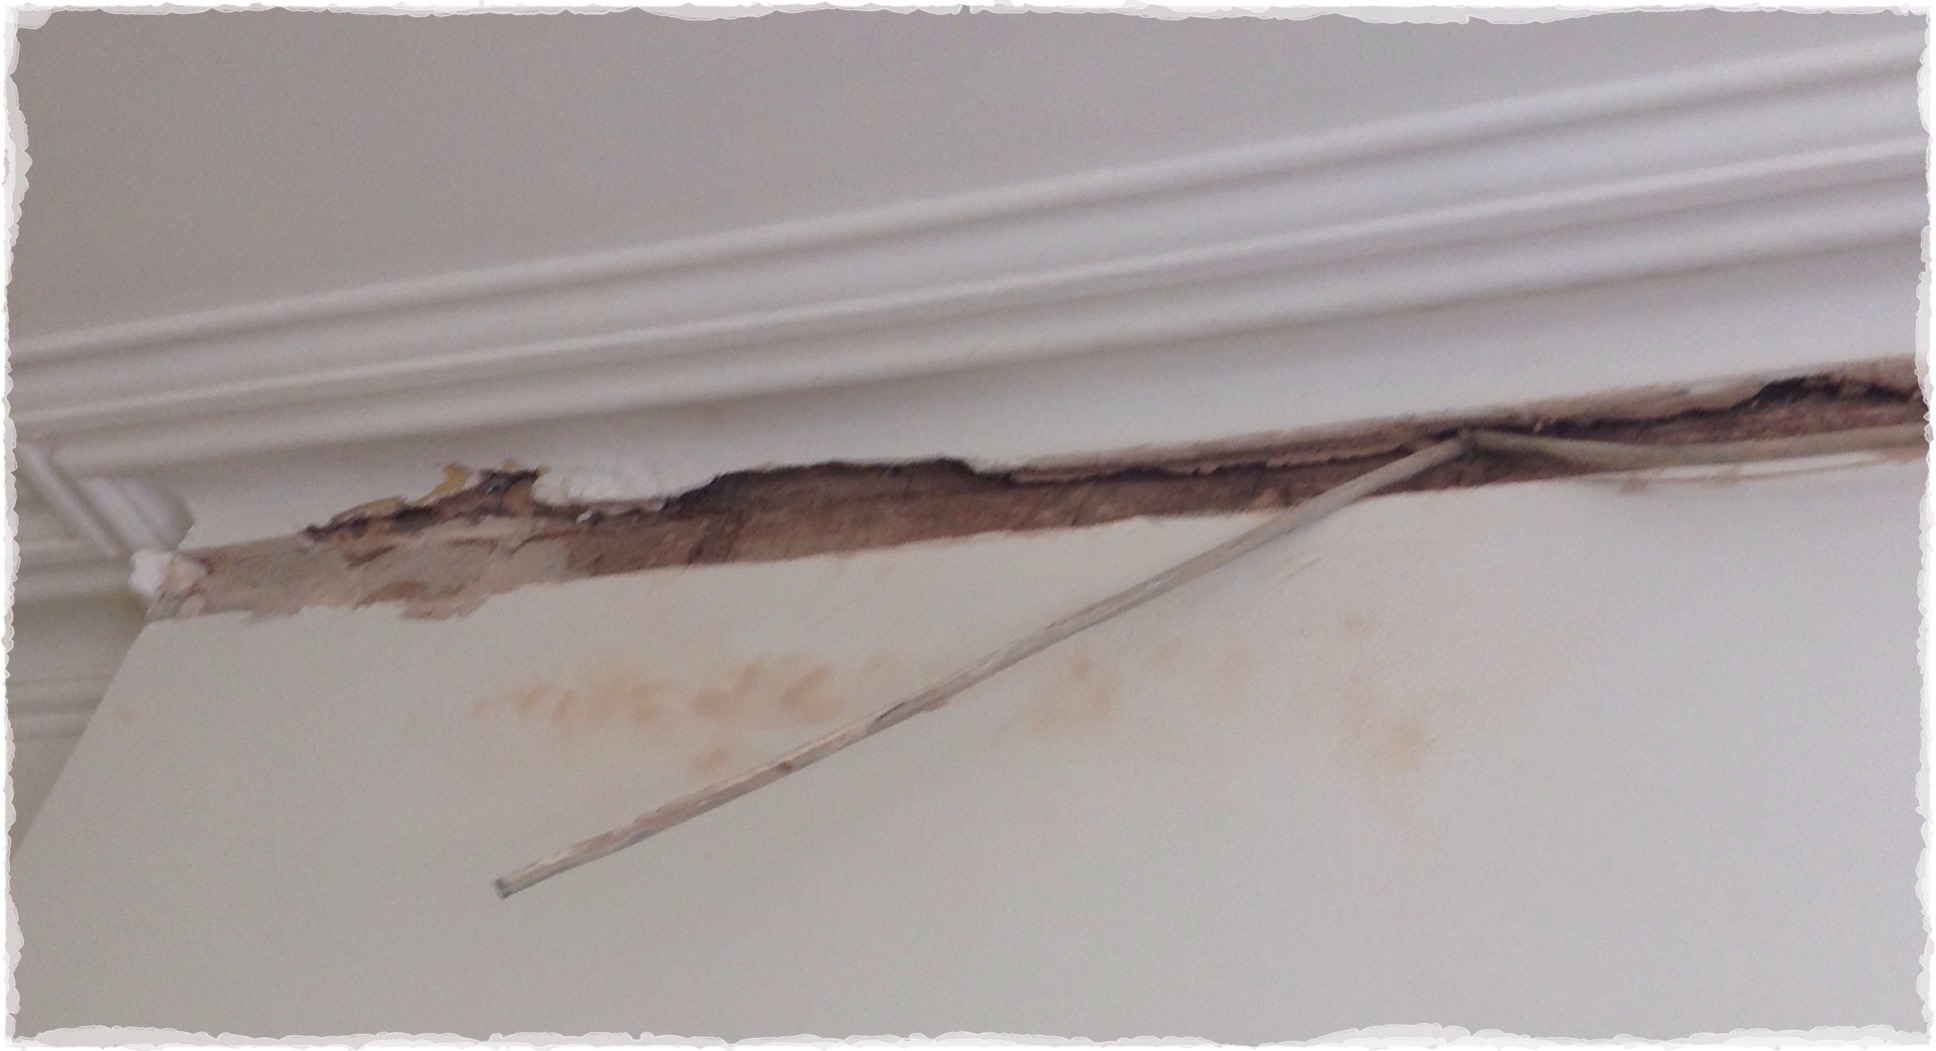
There is still a bit of snagging to do, including the strip lights under the shelves, making the window blind and a repair to the coving, but we’ve come a long way from the smelly, damp room we used to have…
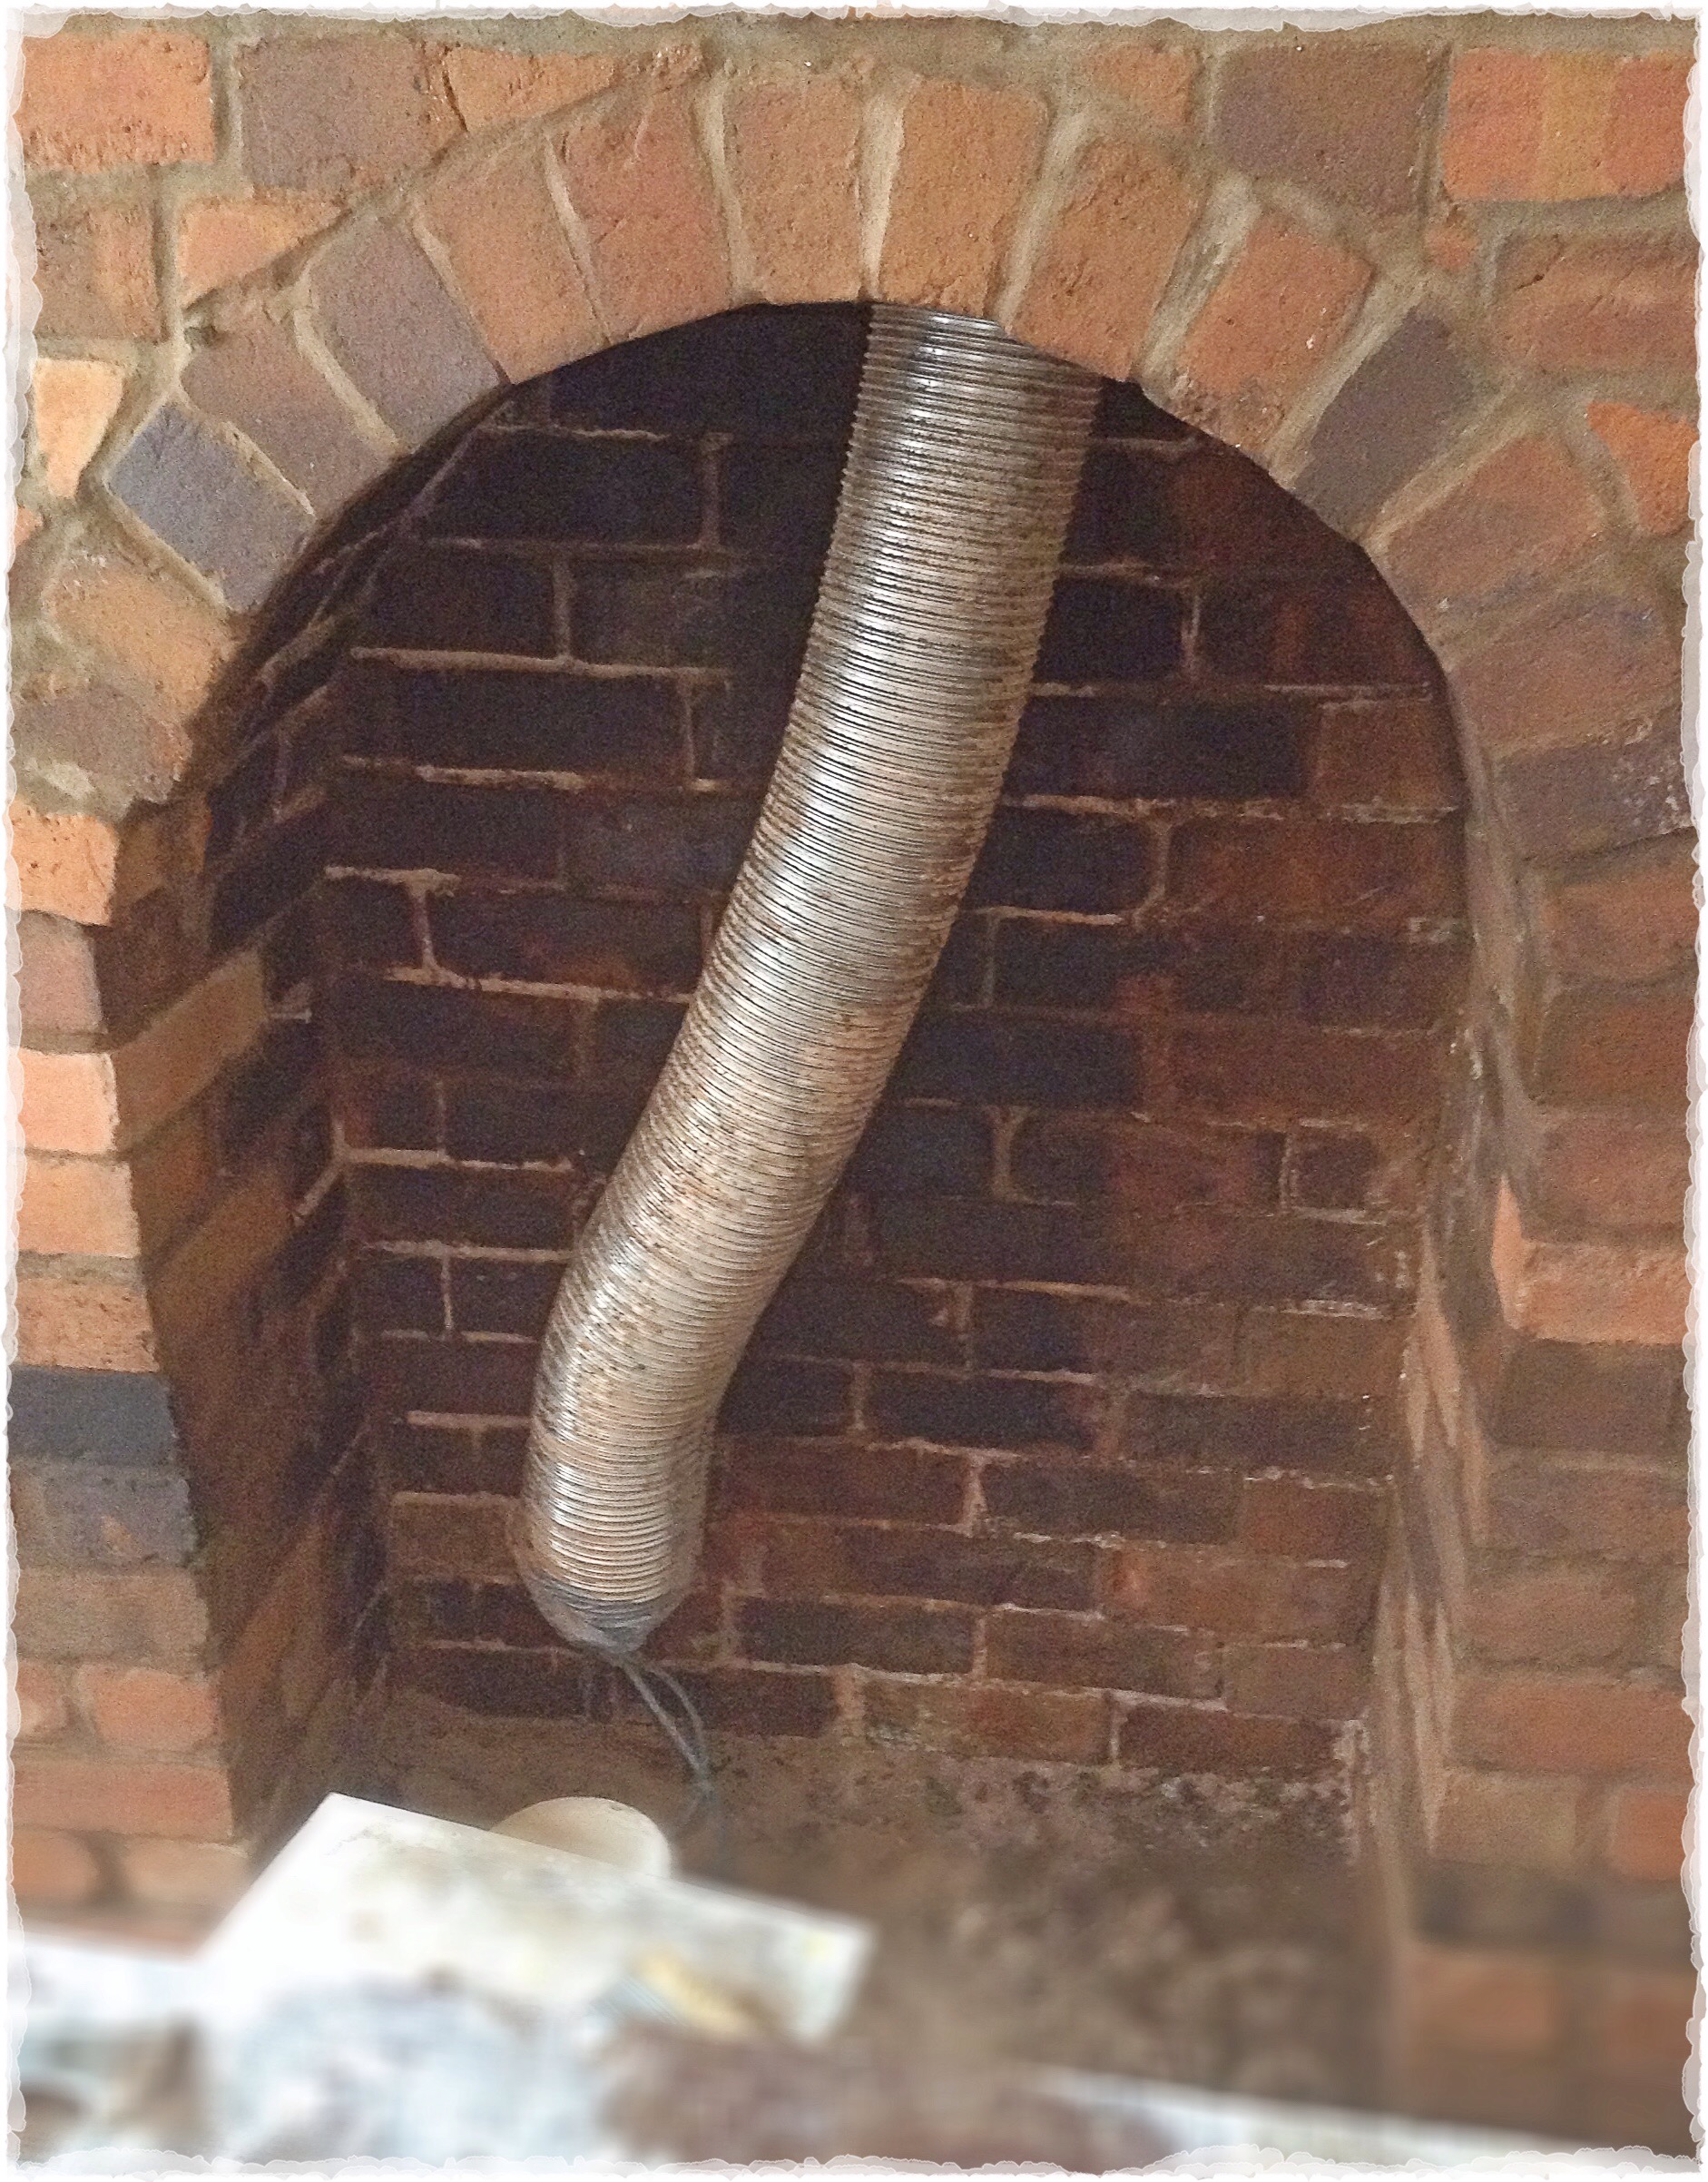
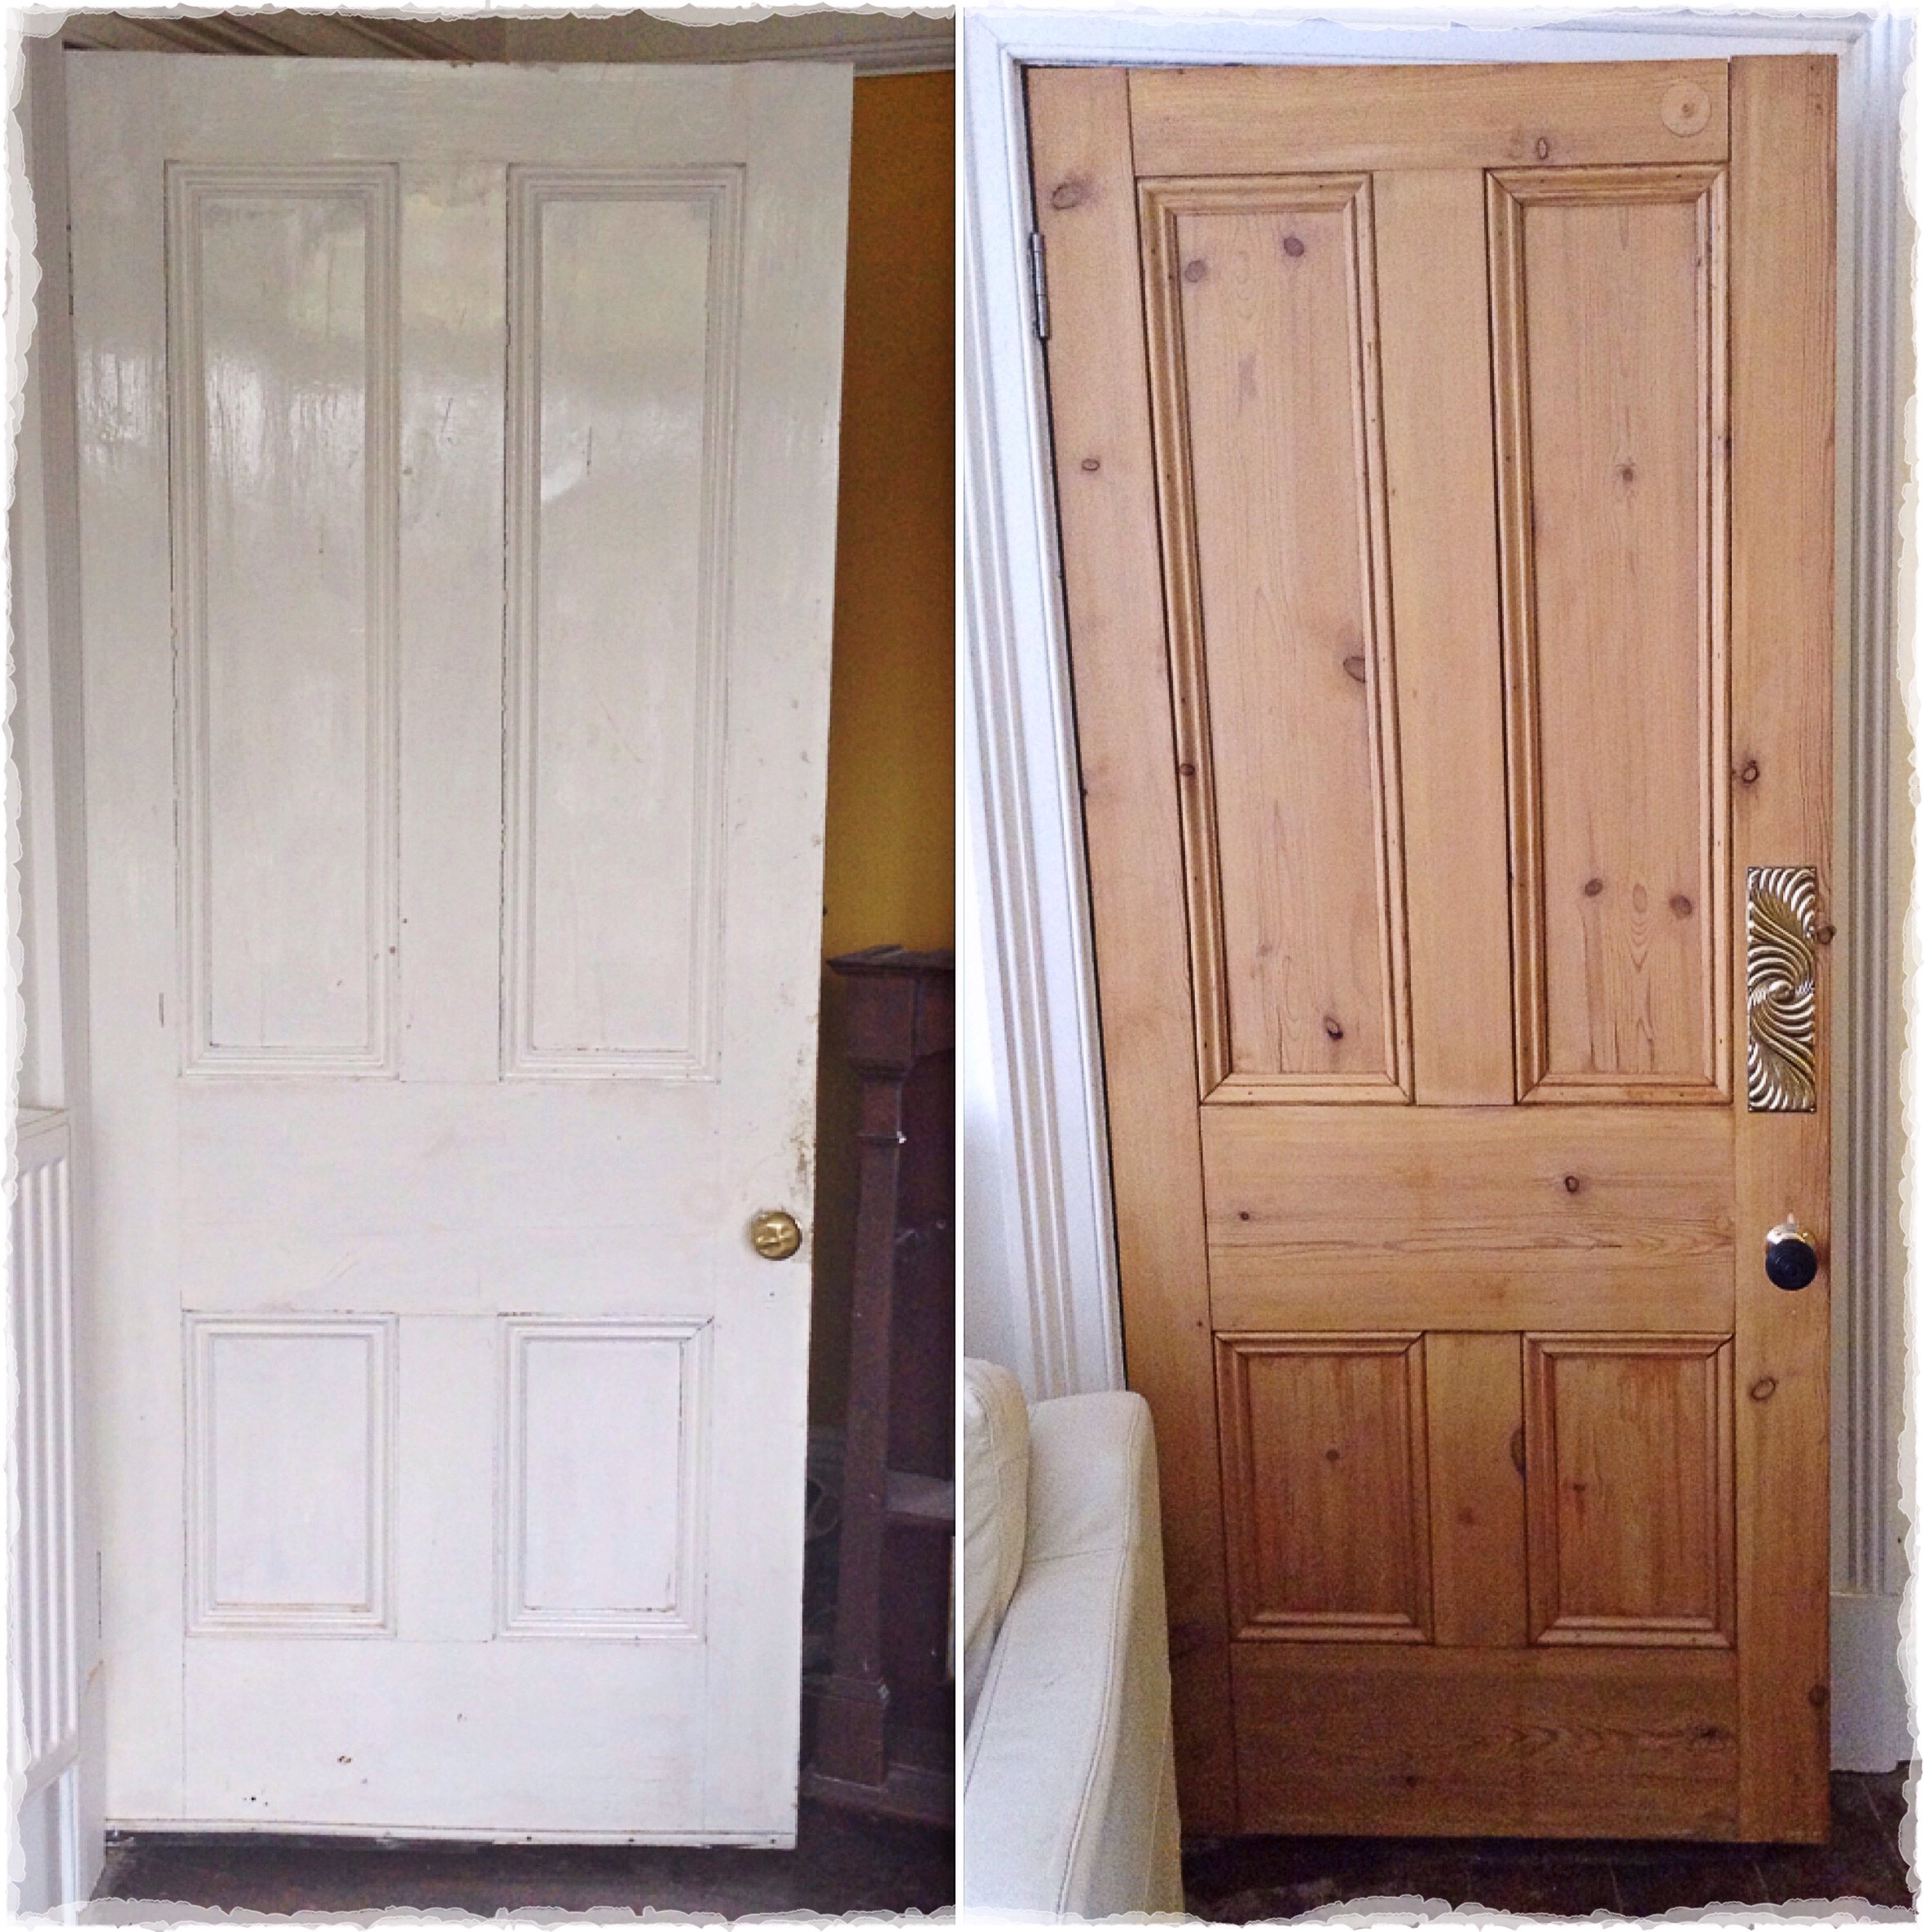
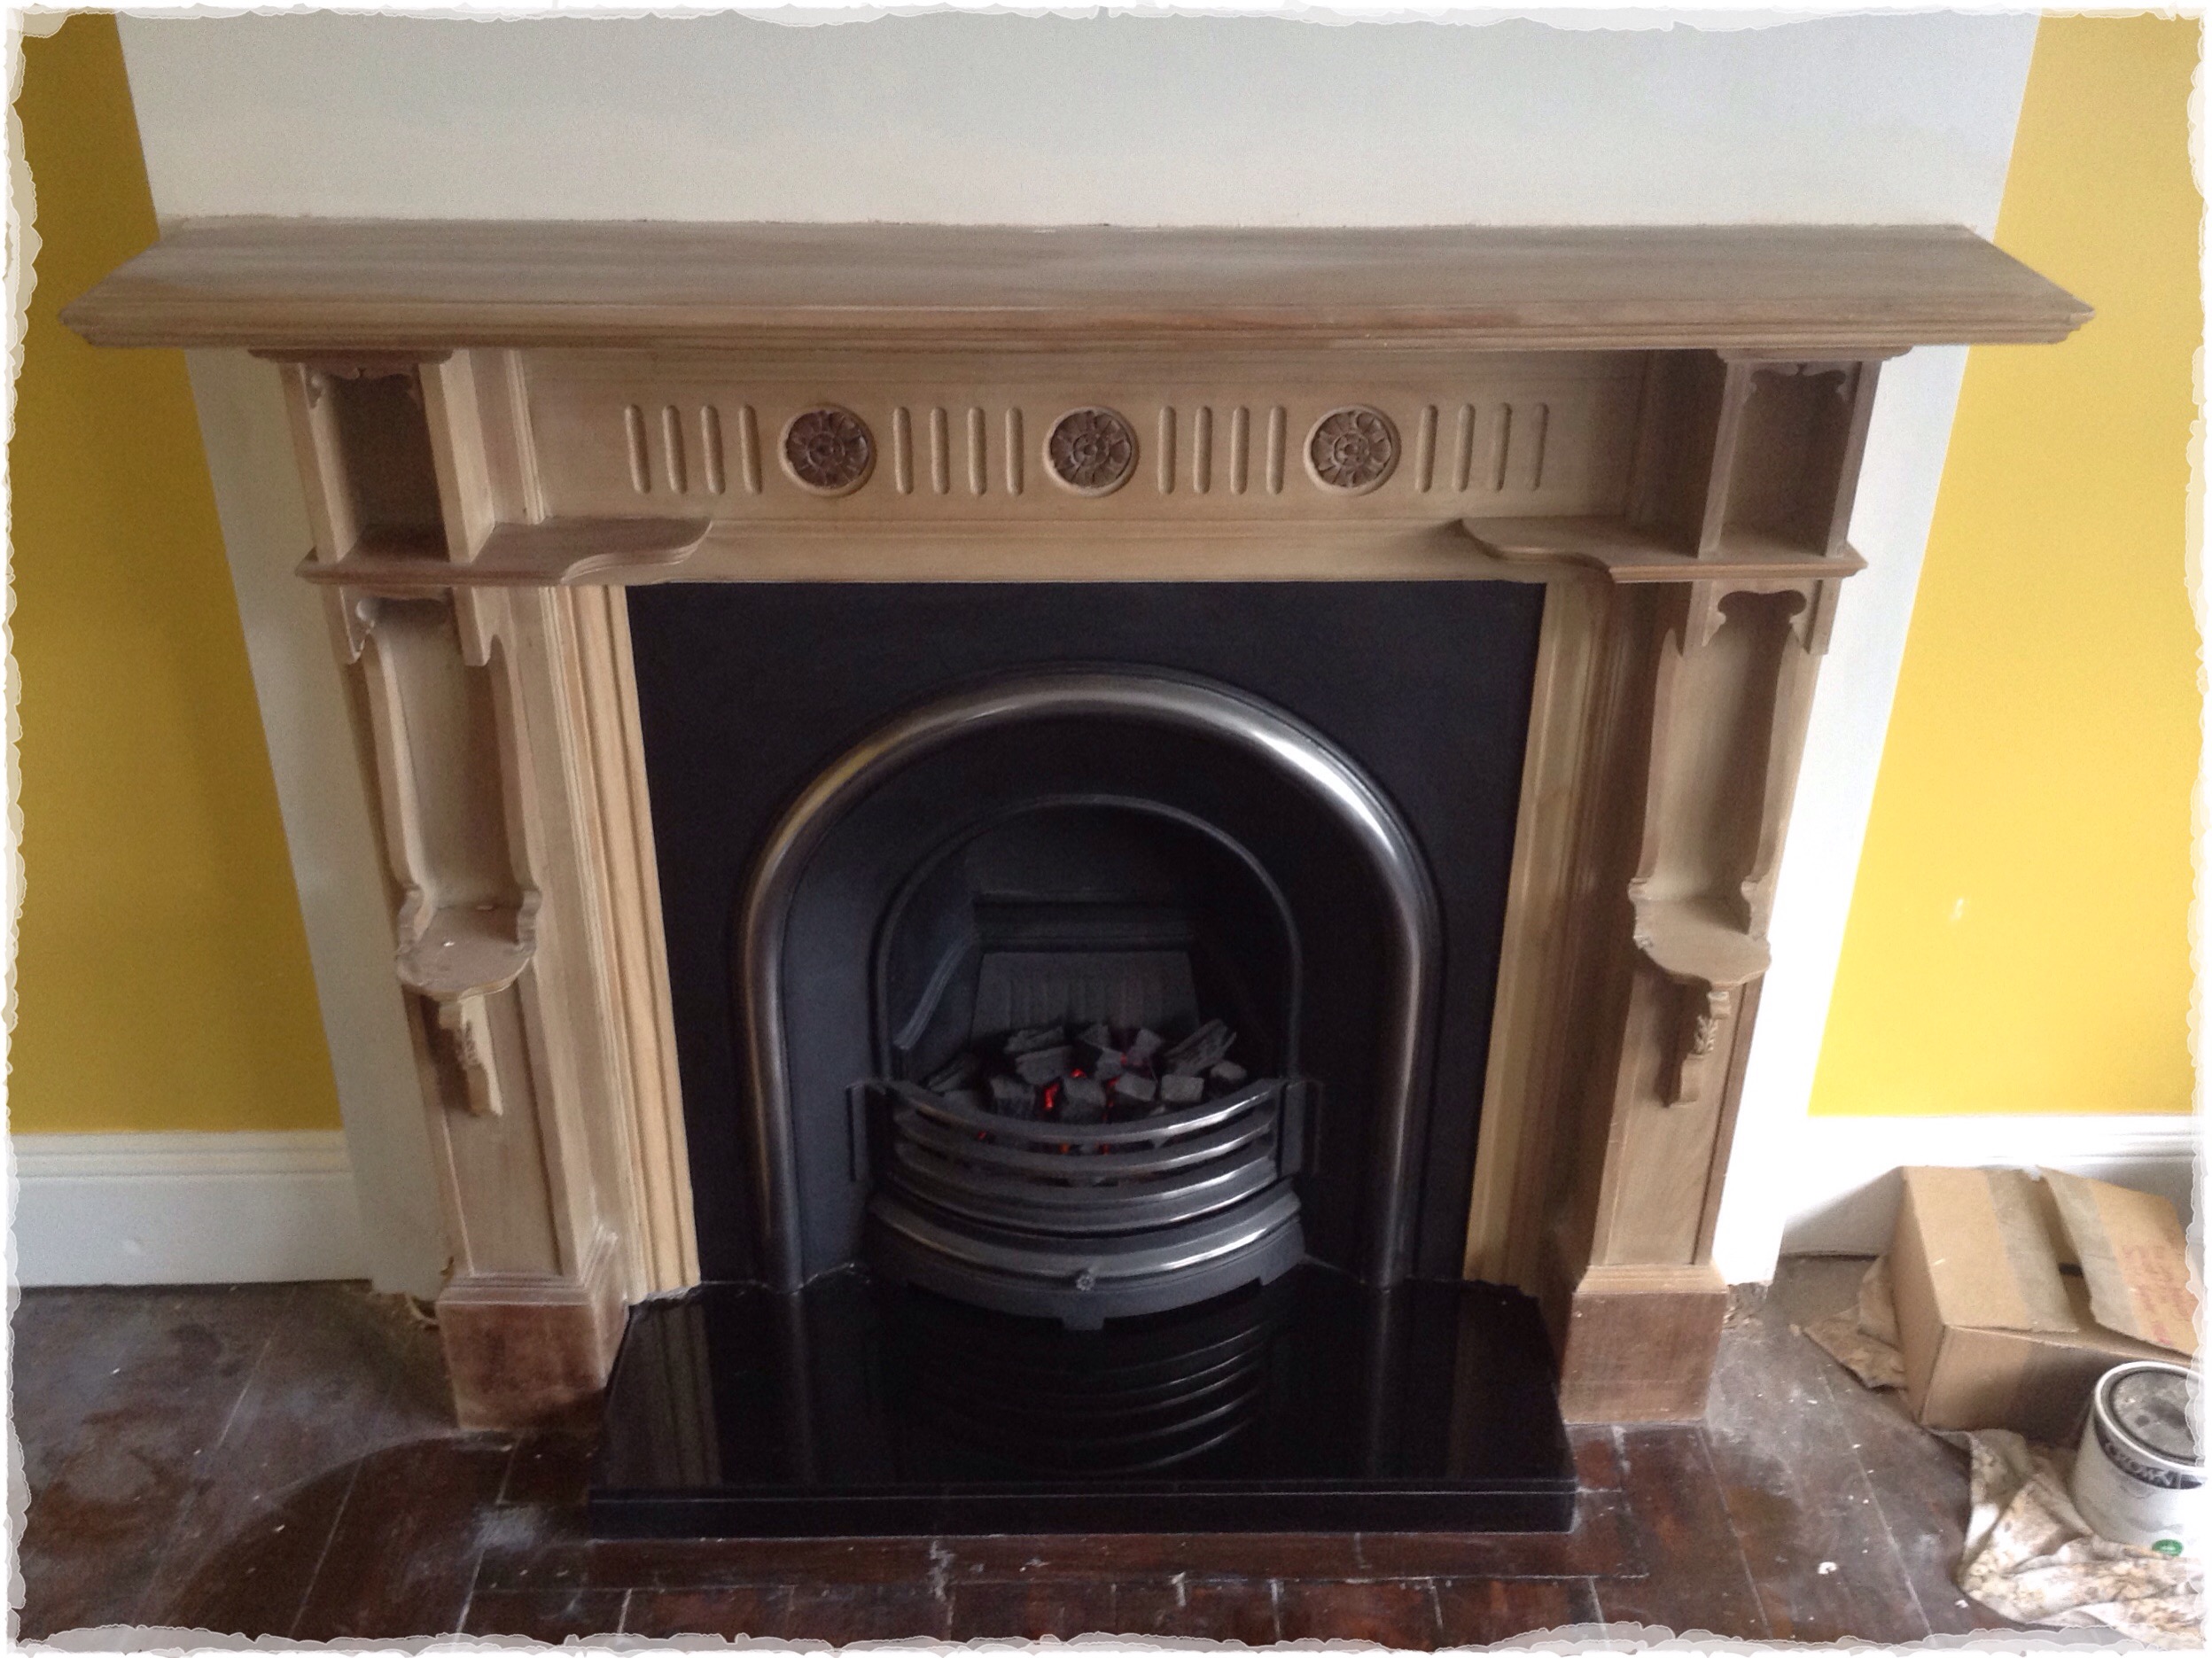
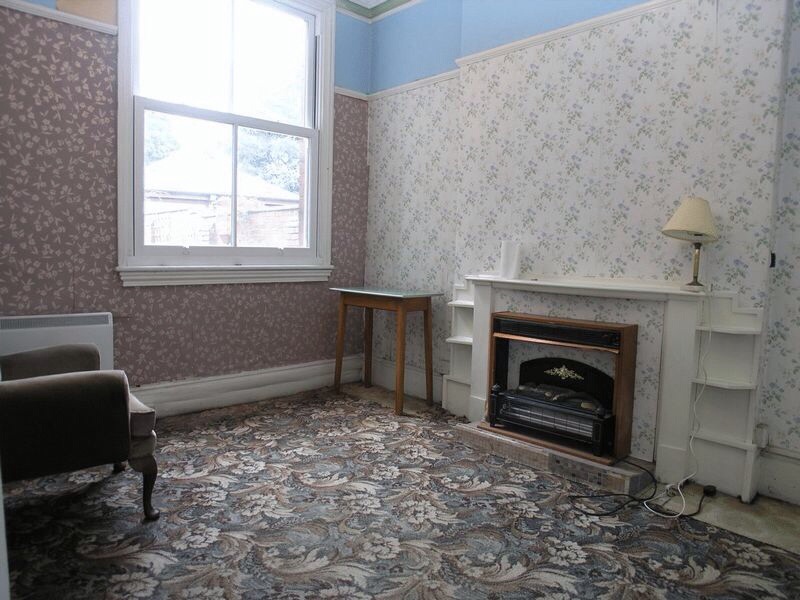
Before…

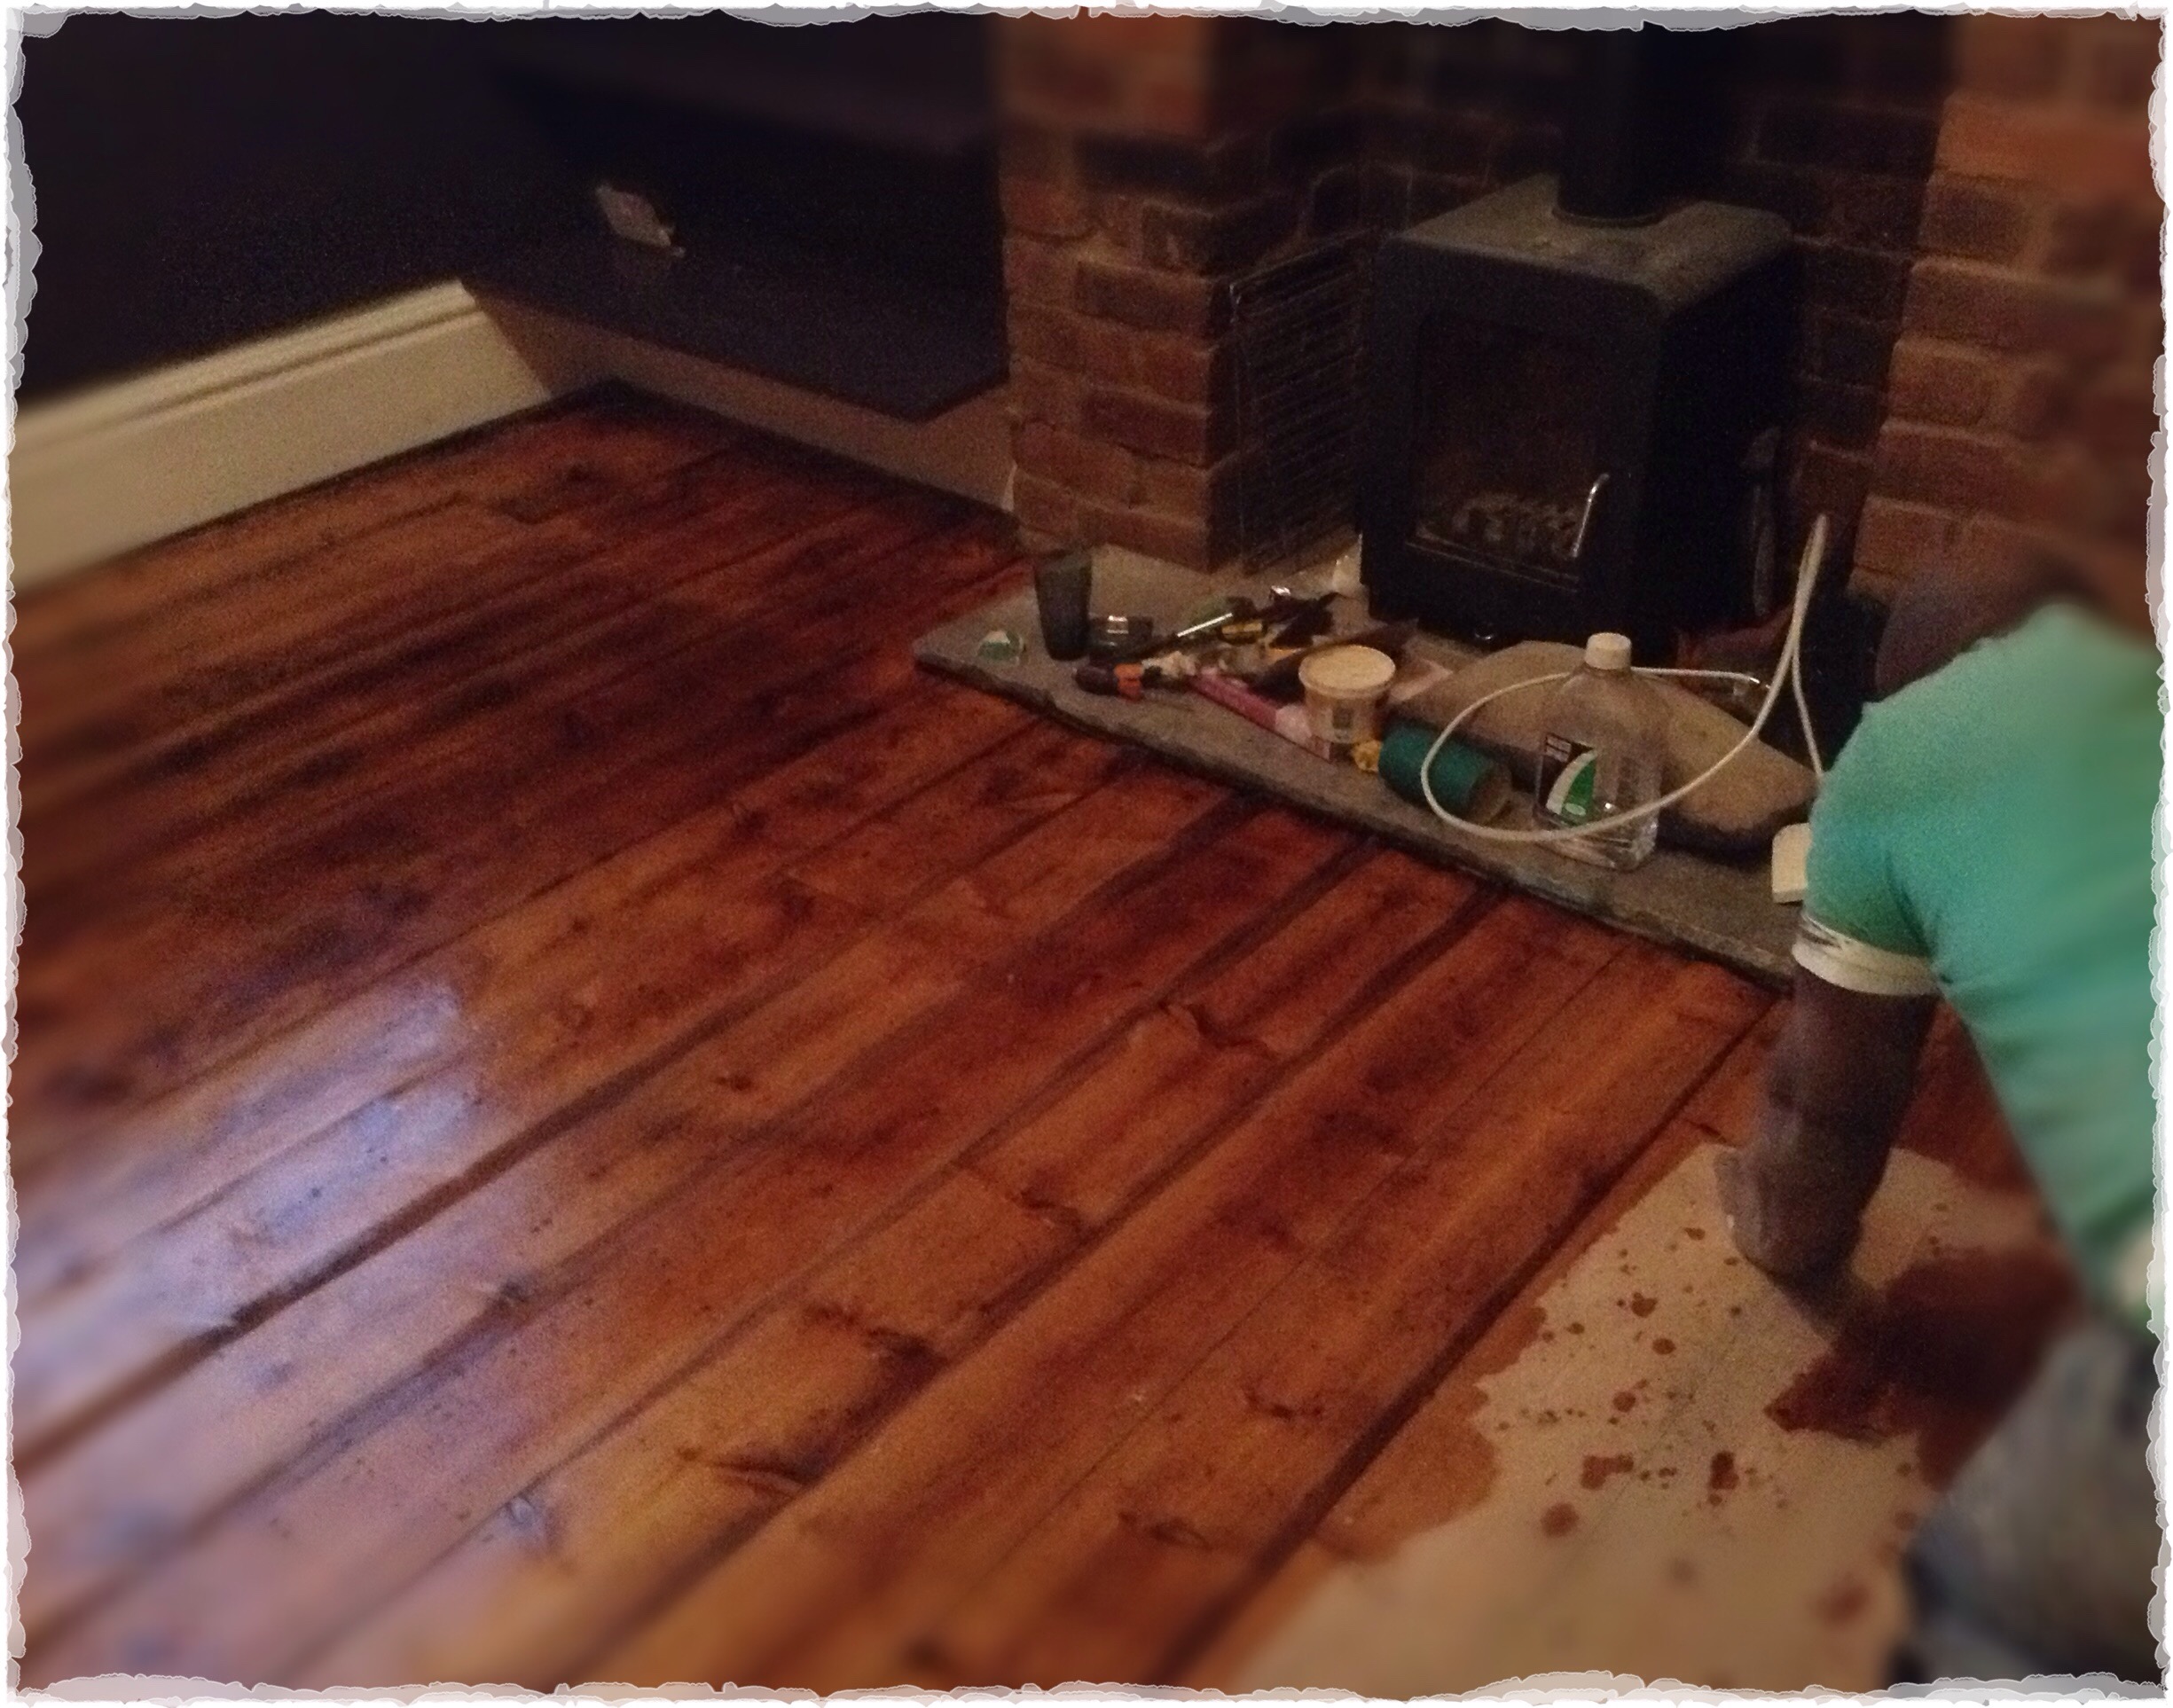
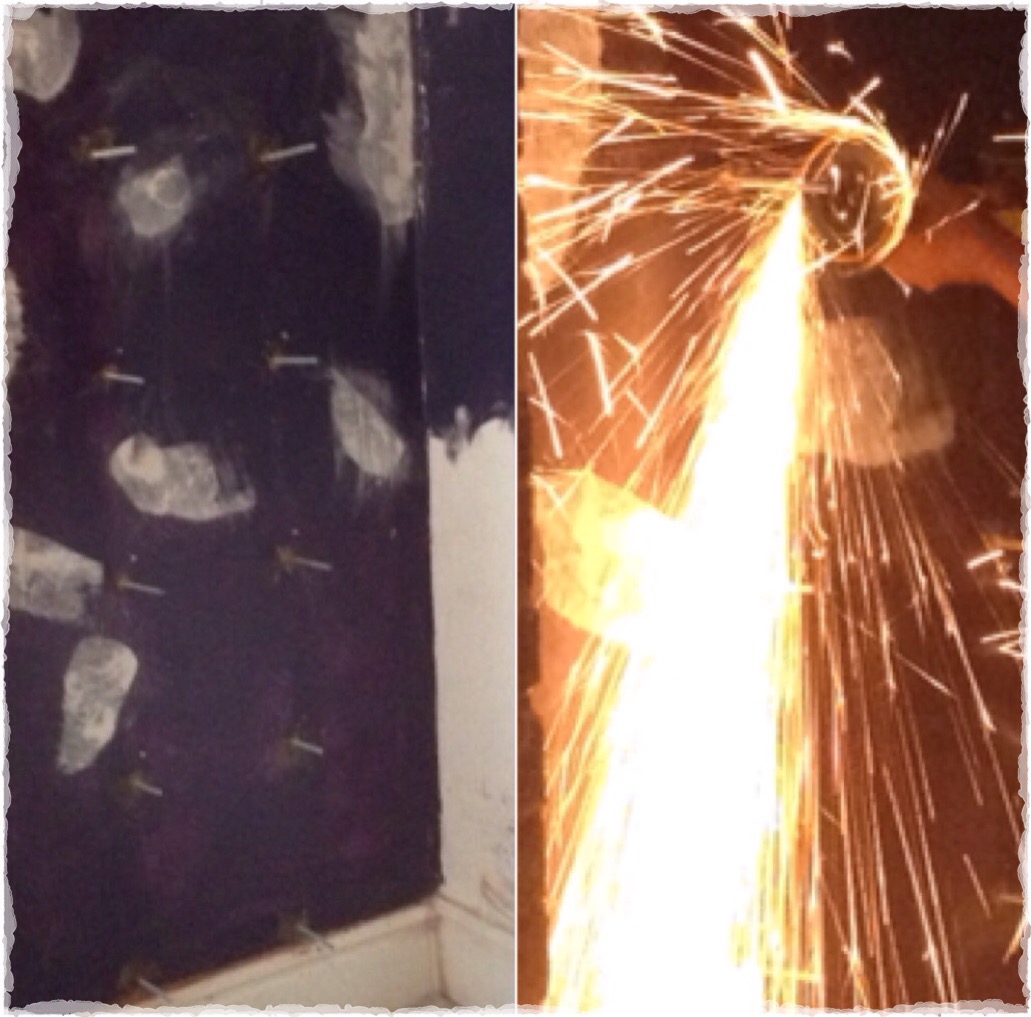
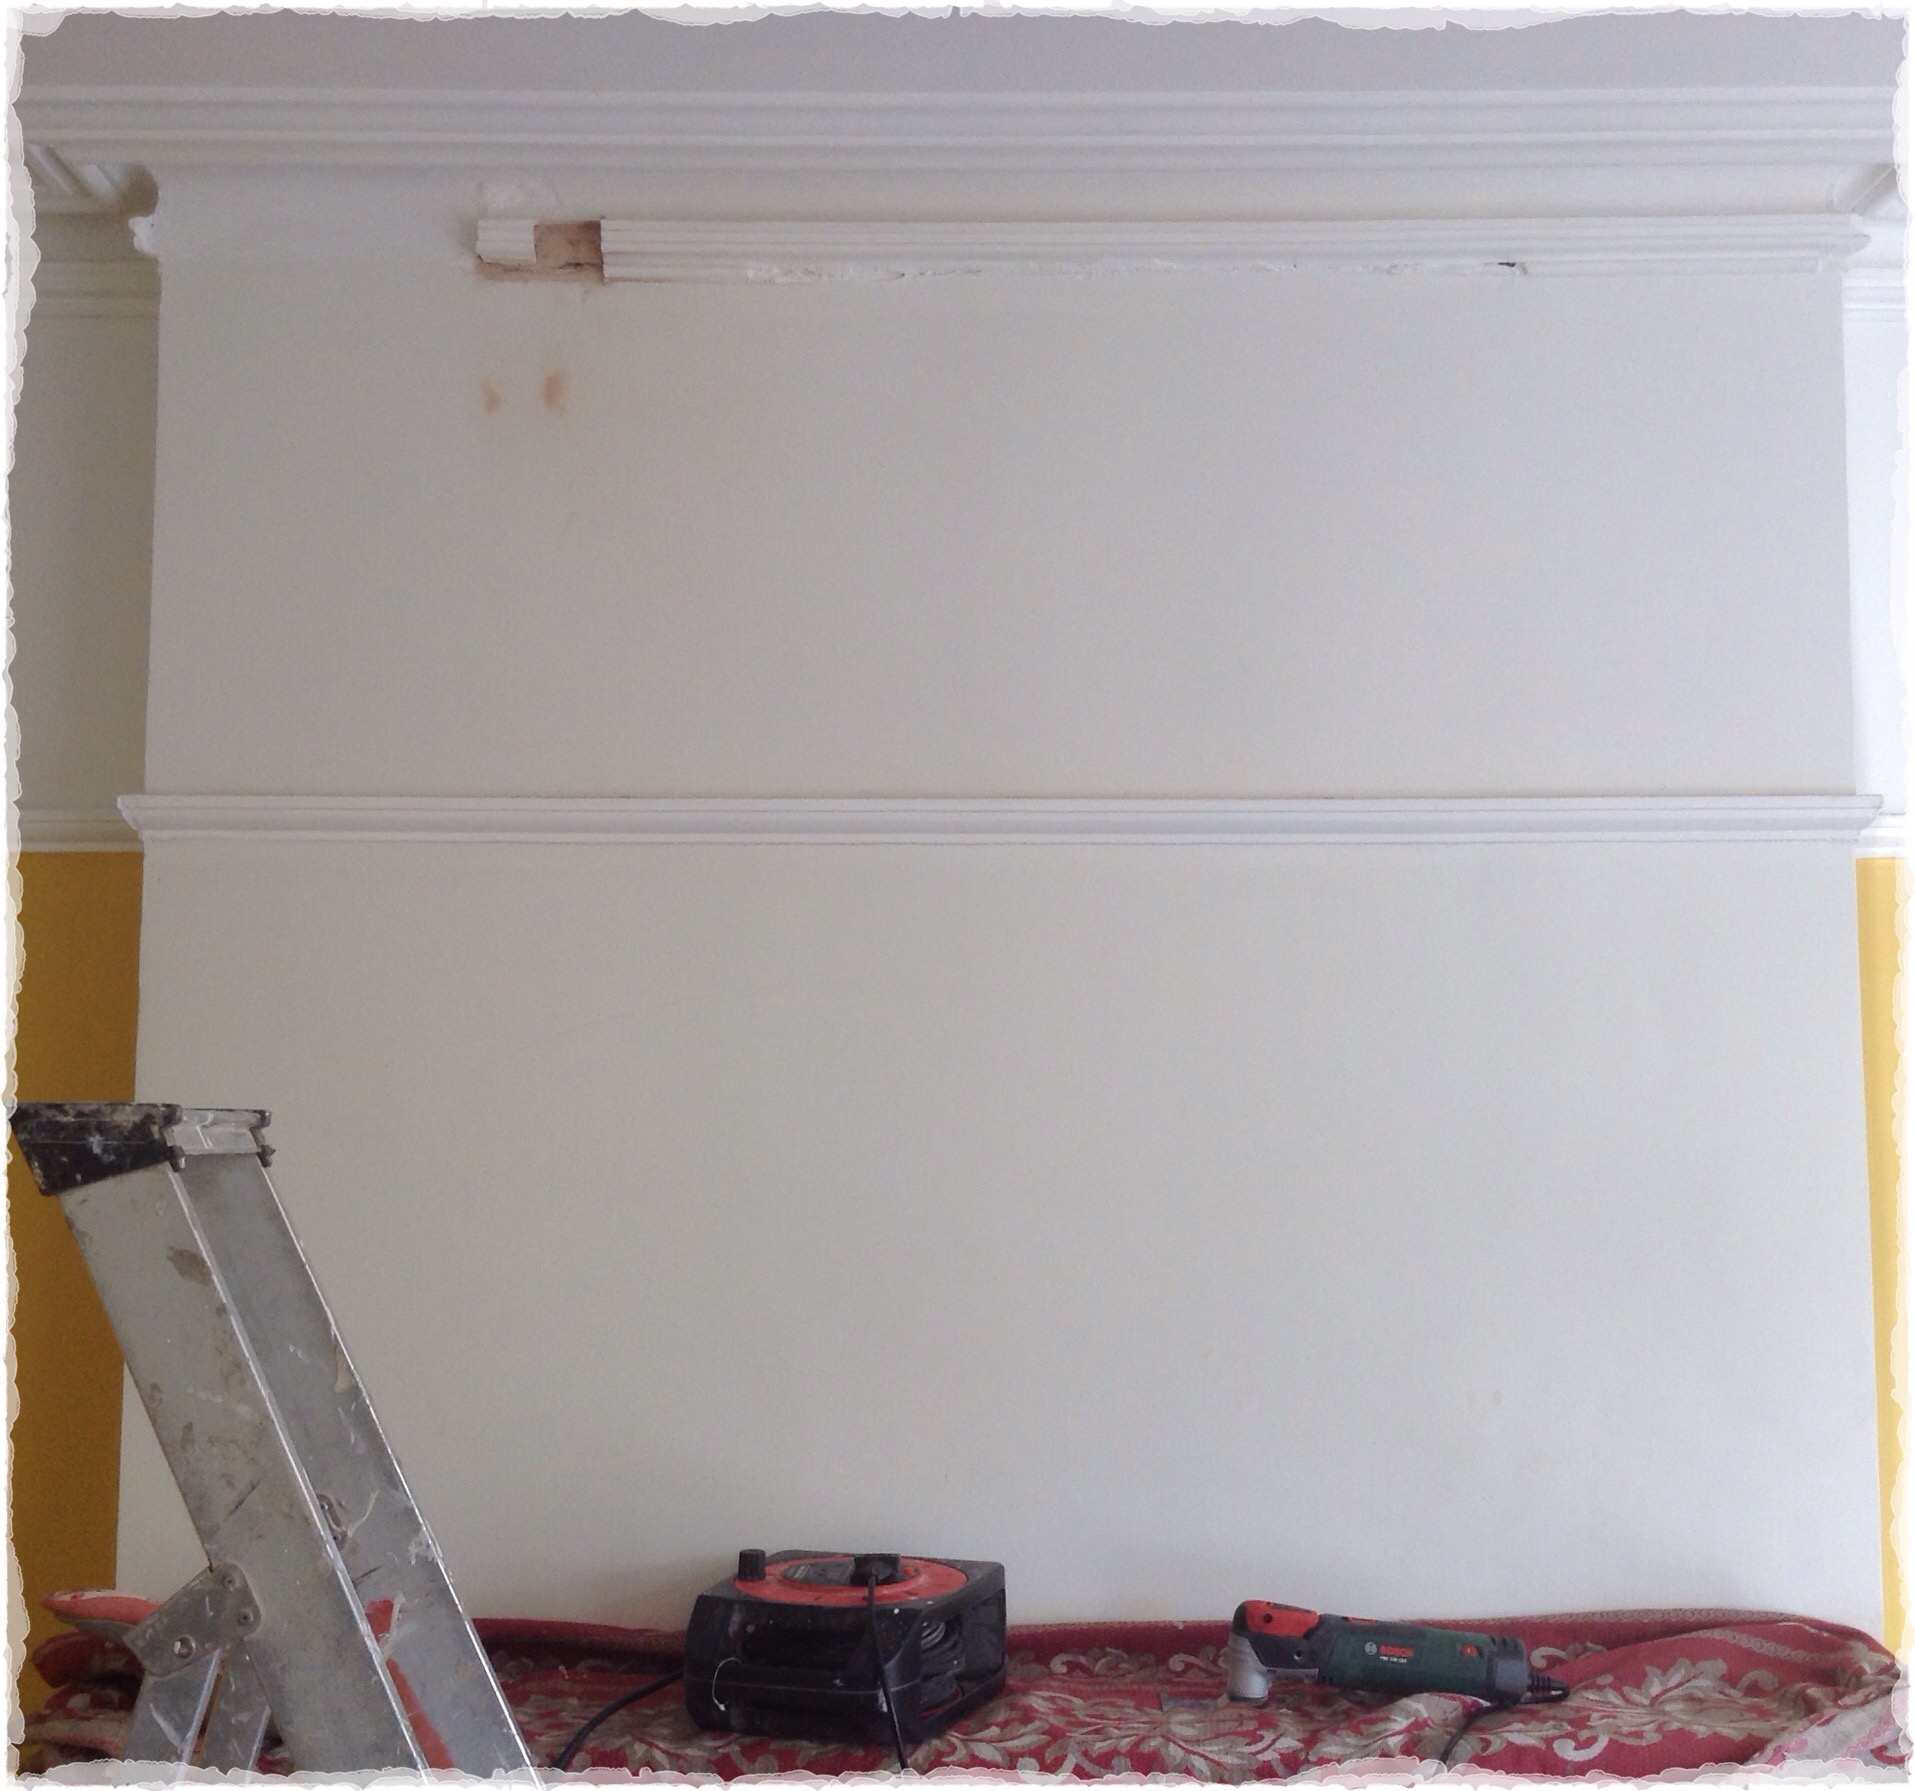
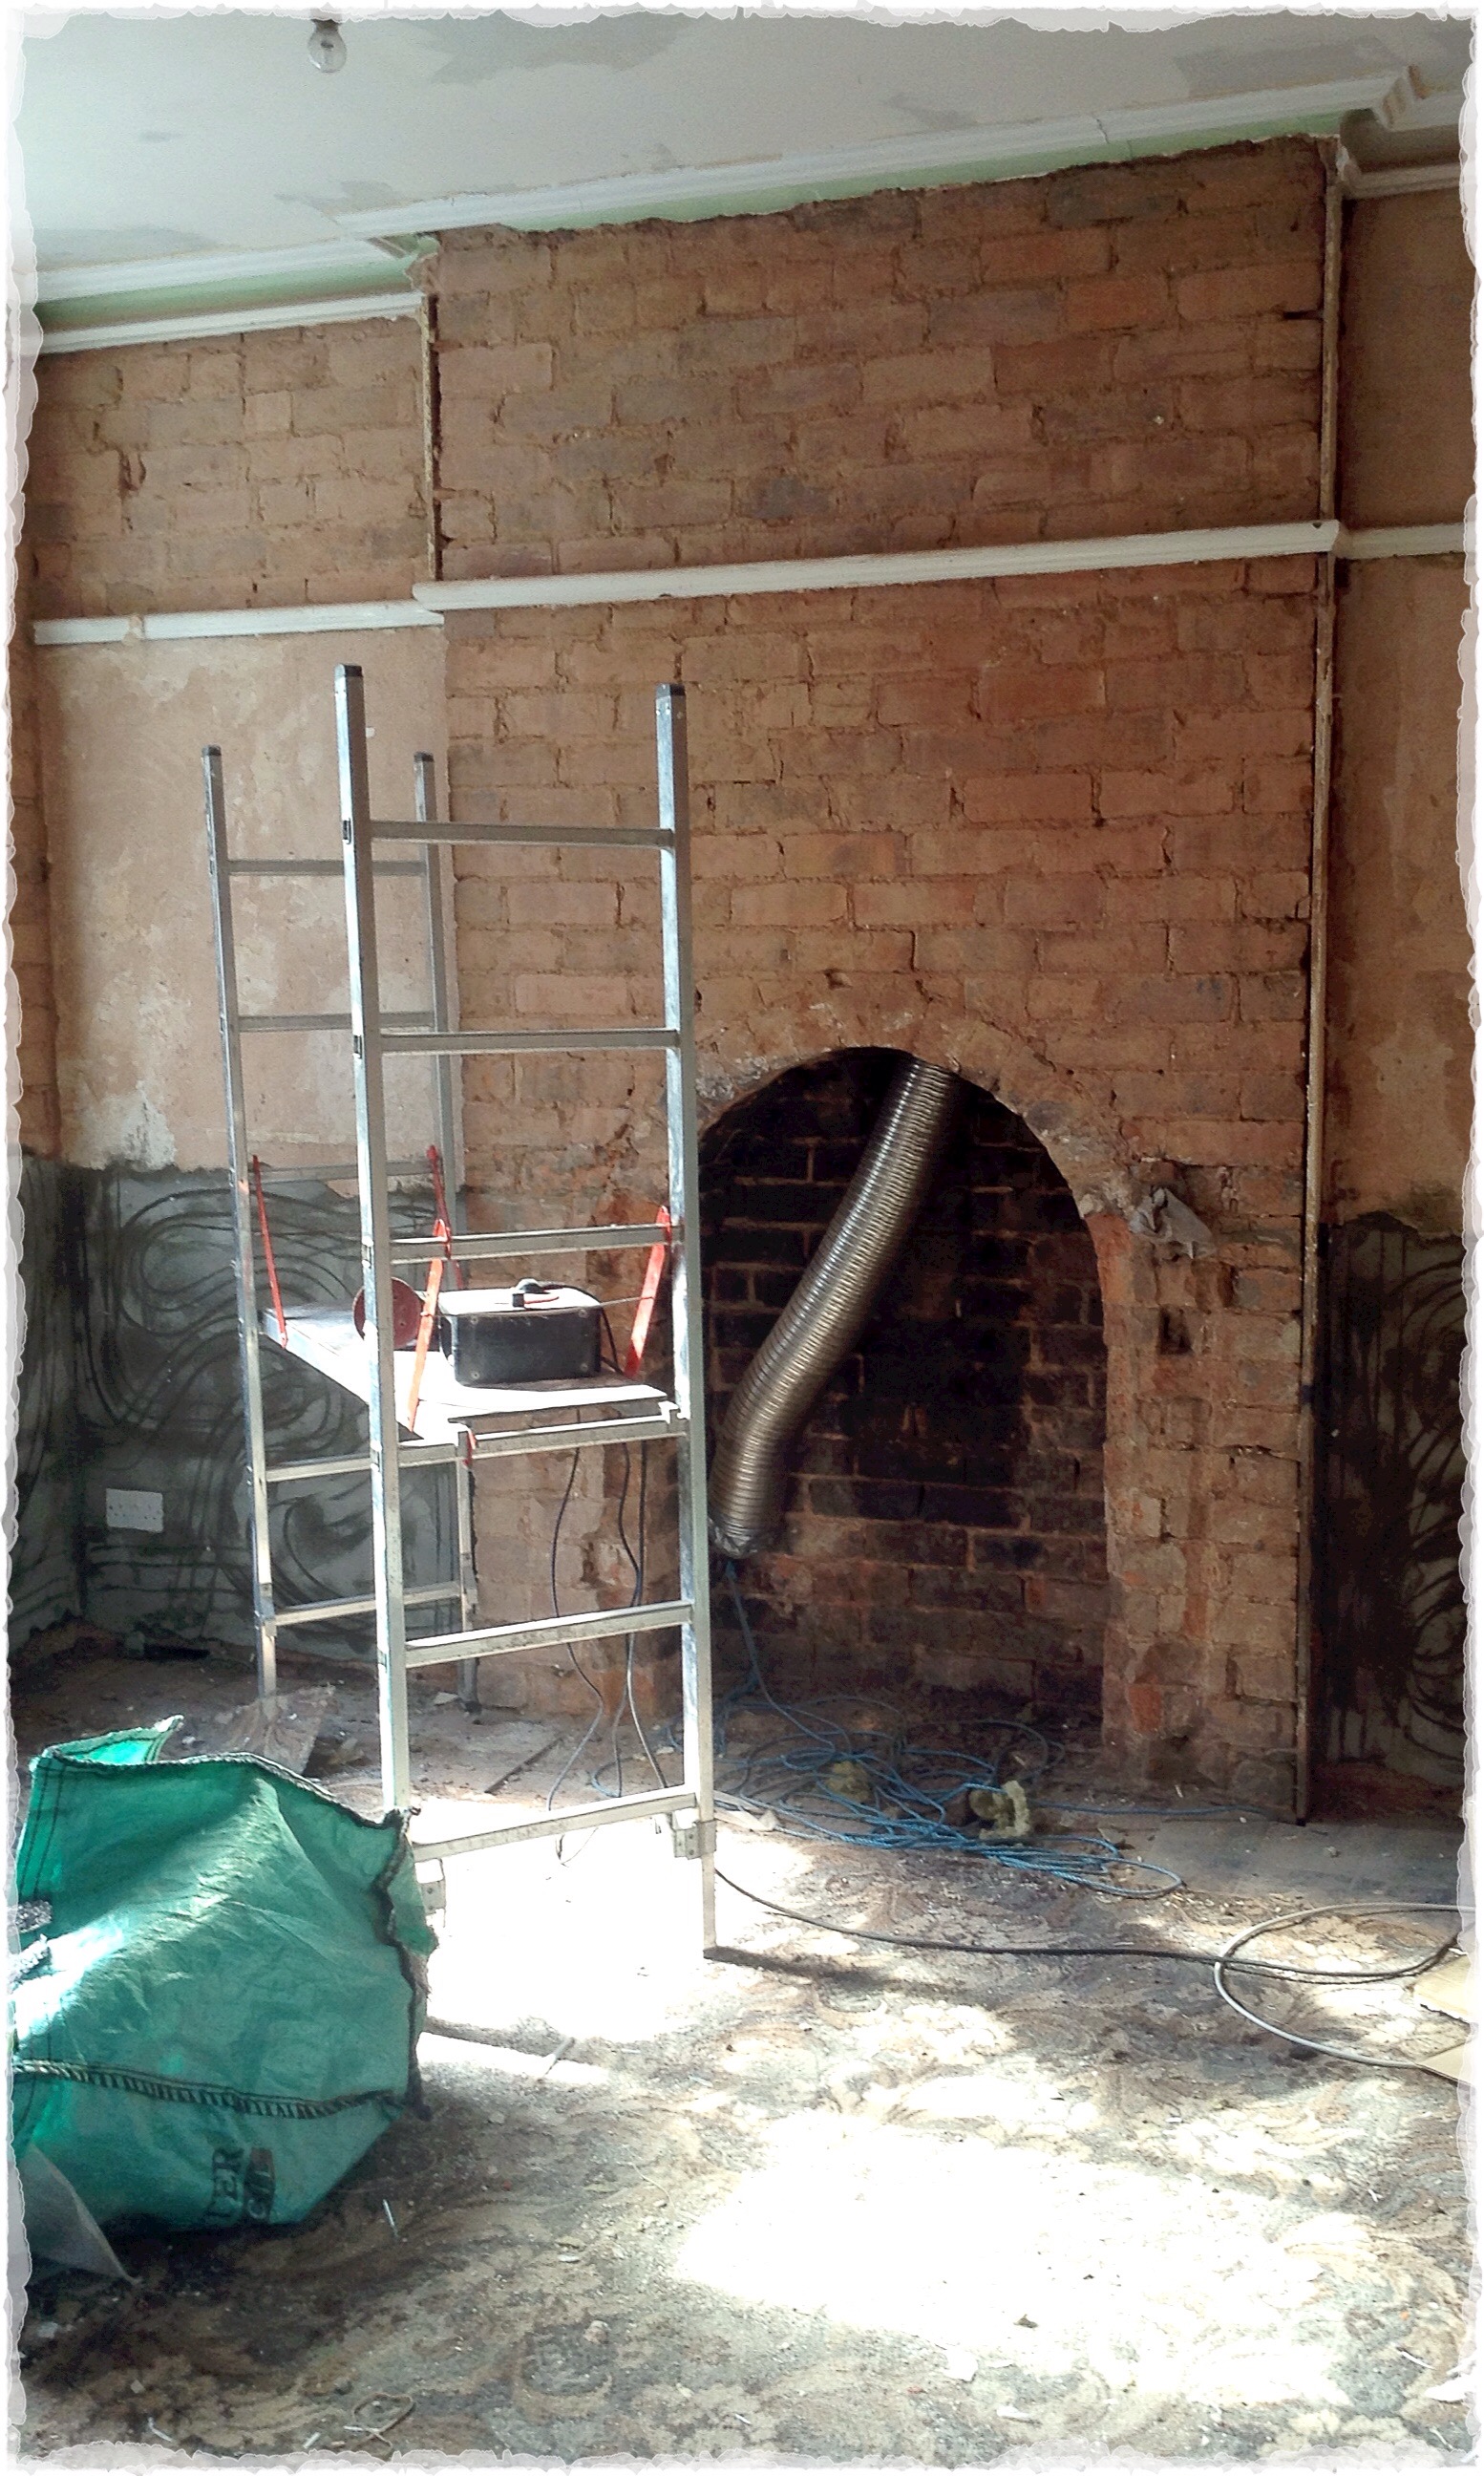
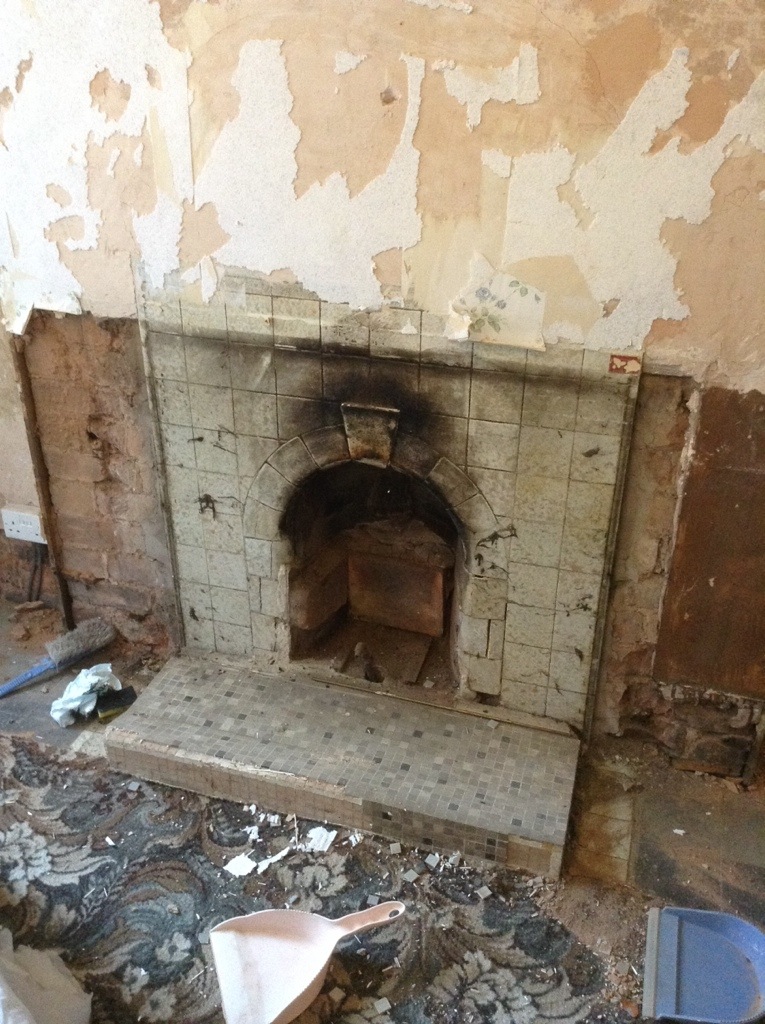
During…

After…

Most importantly, Dottie cat loves lounging in the library…winning.