Ceiling Price…

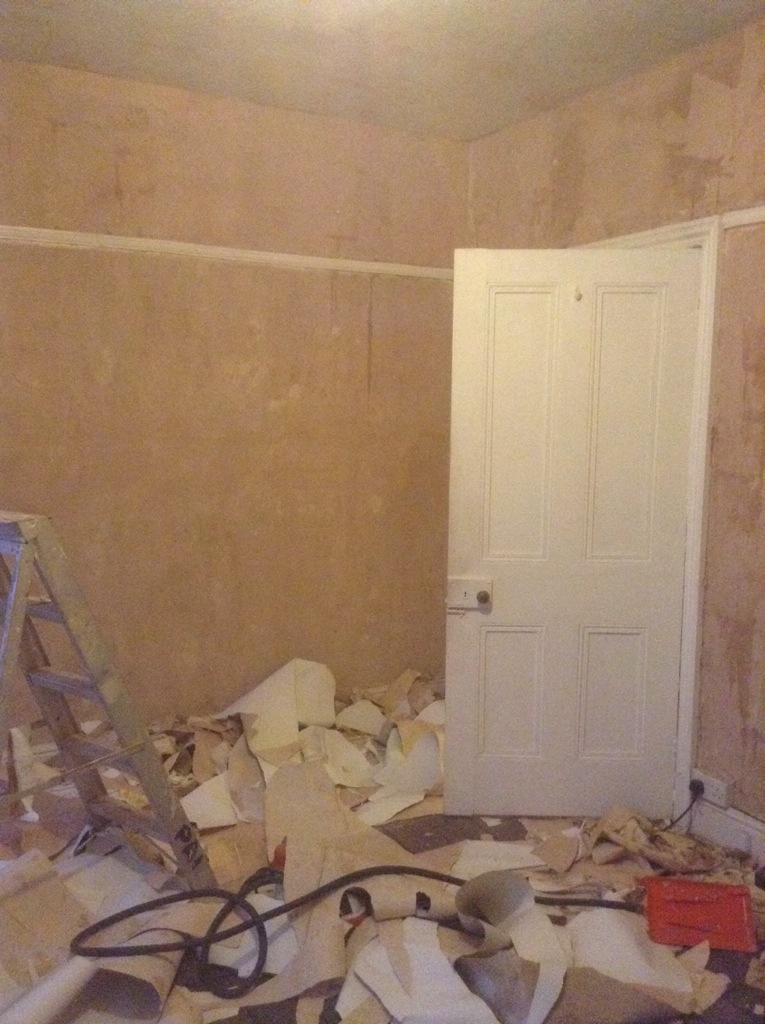
Upstairs, we have compacted everything from the guest room & craft room into the spare room, to allow us to do repairs, floors and decoration.

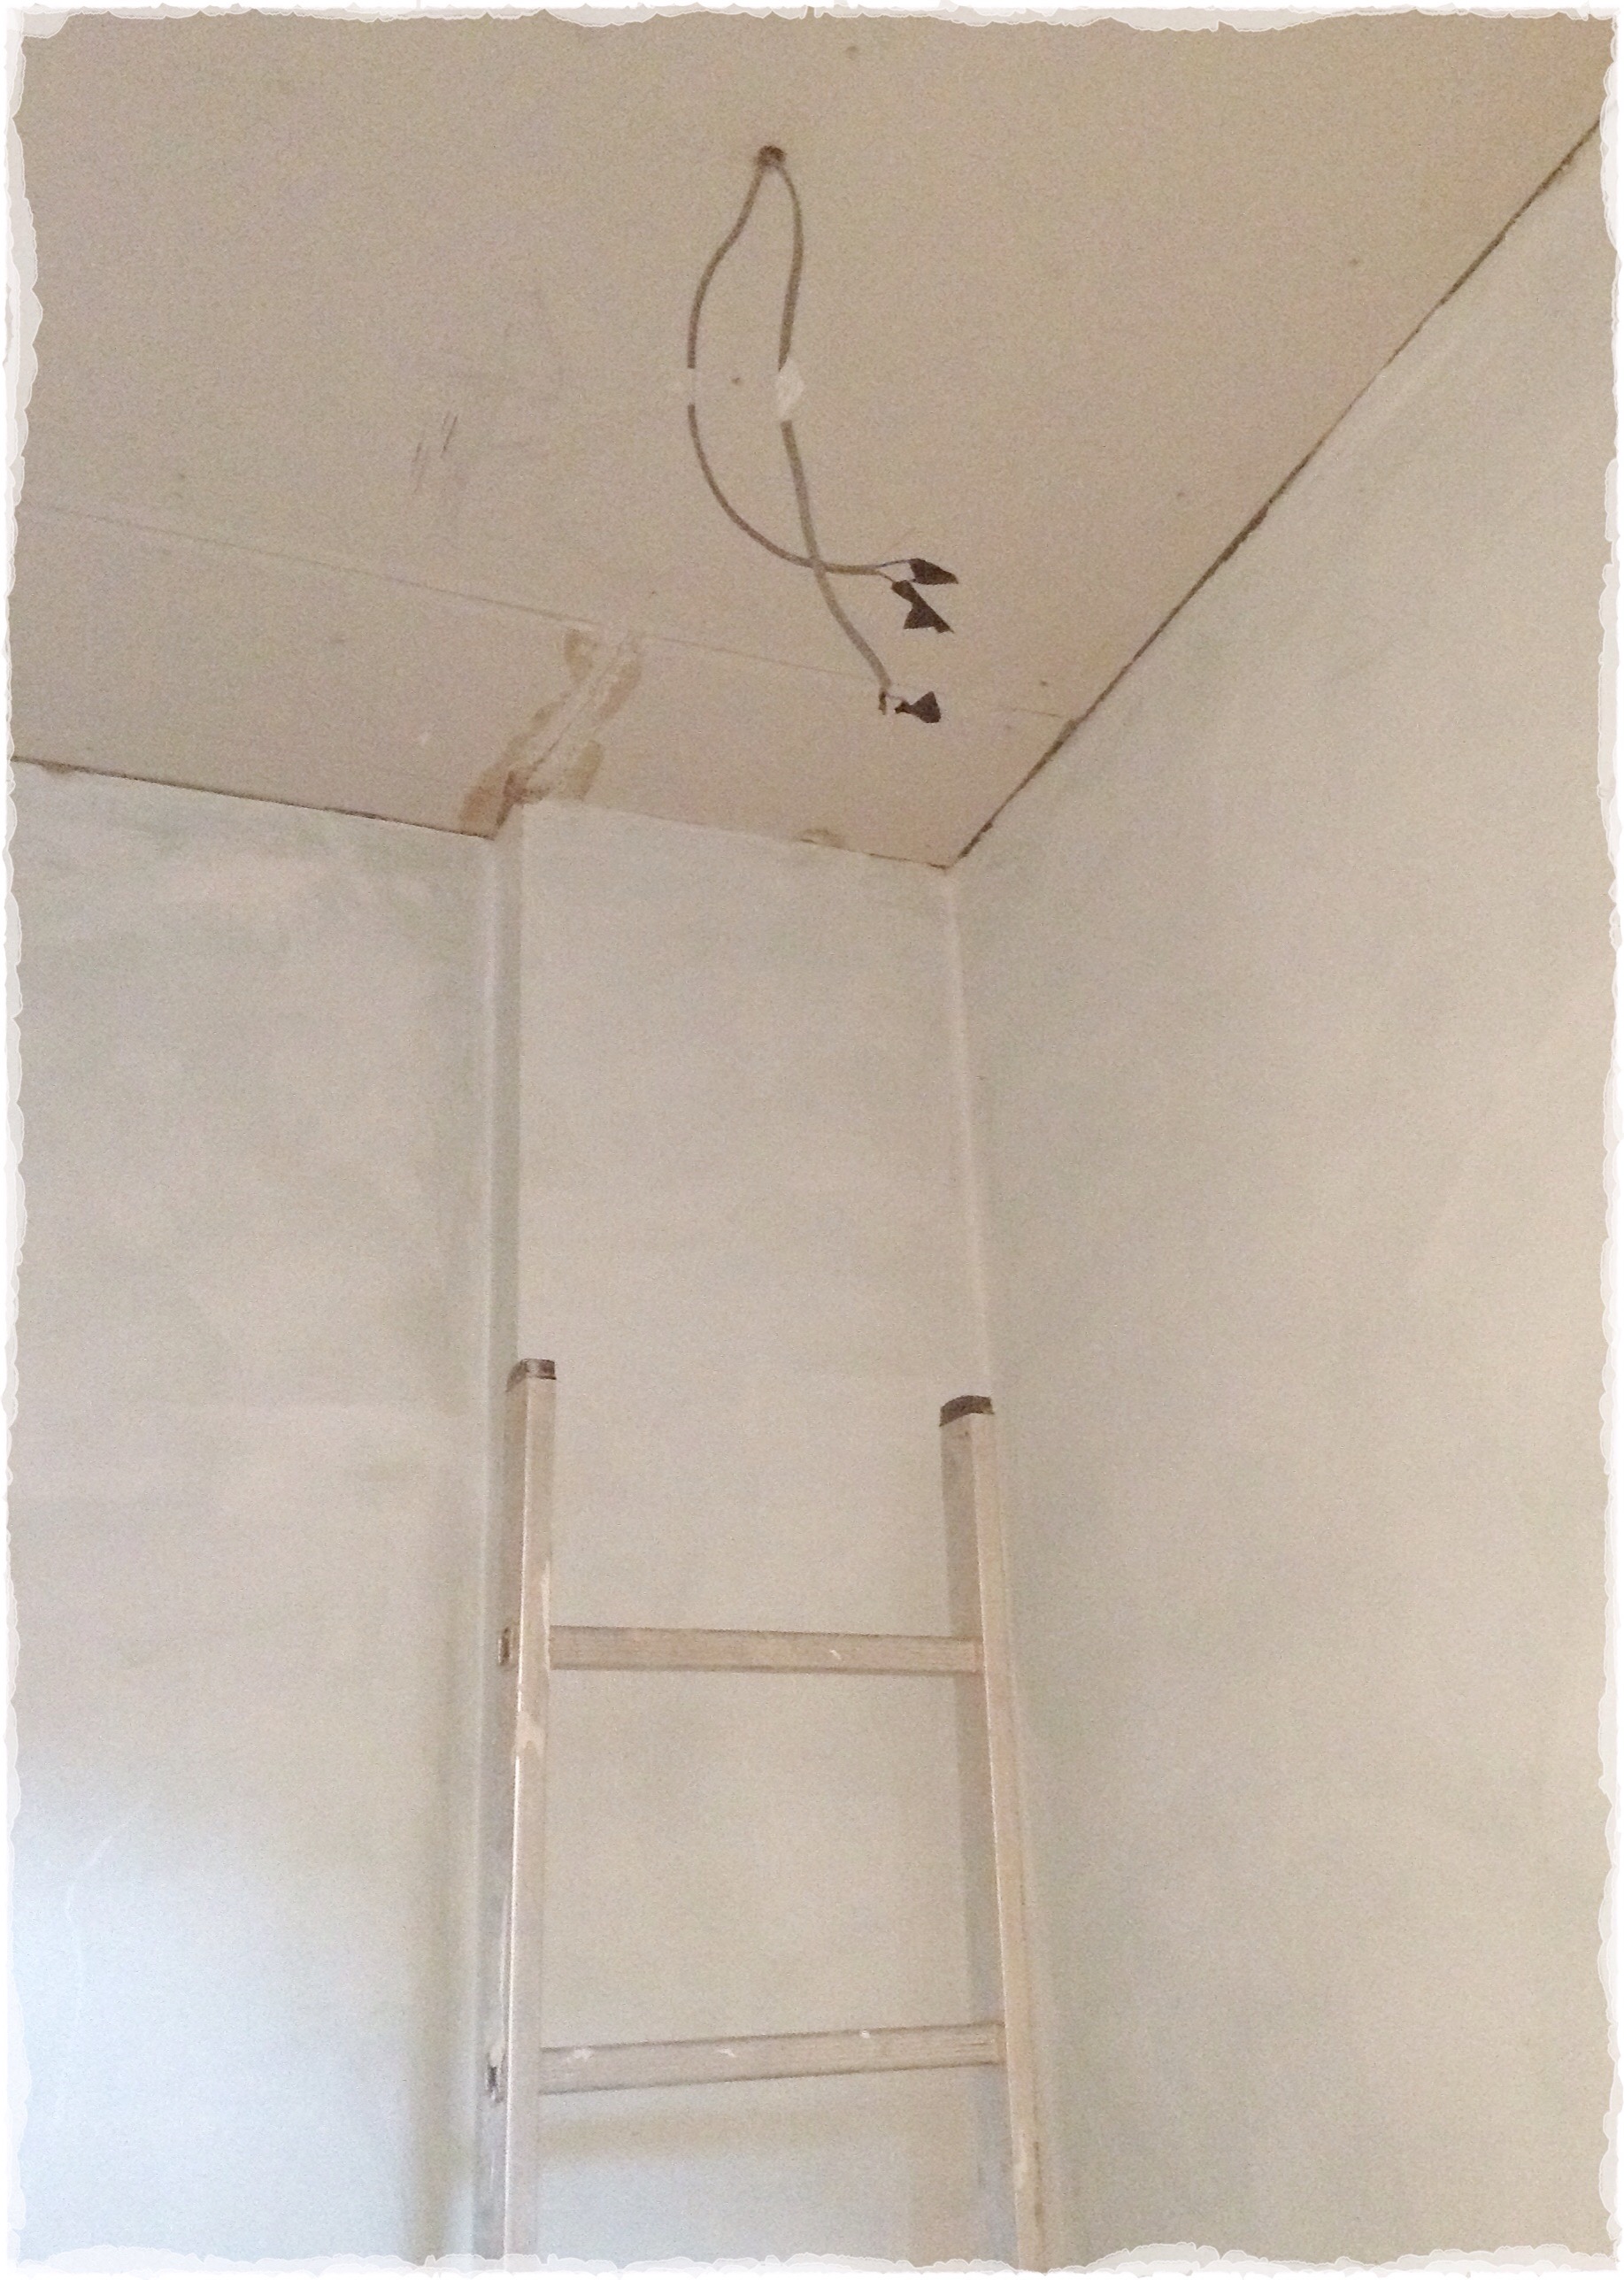
The first thing to do was pull down the guest room ceiling as though it looked perfect, it had zero insulation, the small cost of a new ceiling will soon be recouped through energy saving. I hate wrecking things in the house that look perfectly ok, but I’ve learned that A. Ceilings are easy to do B. Insulation has an instant & dramatic effect on the warmth of a room. 

This photo makes the task look a little cleaner than it actually was…

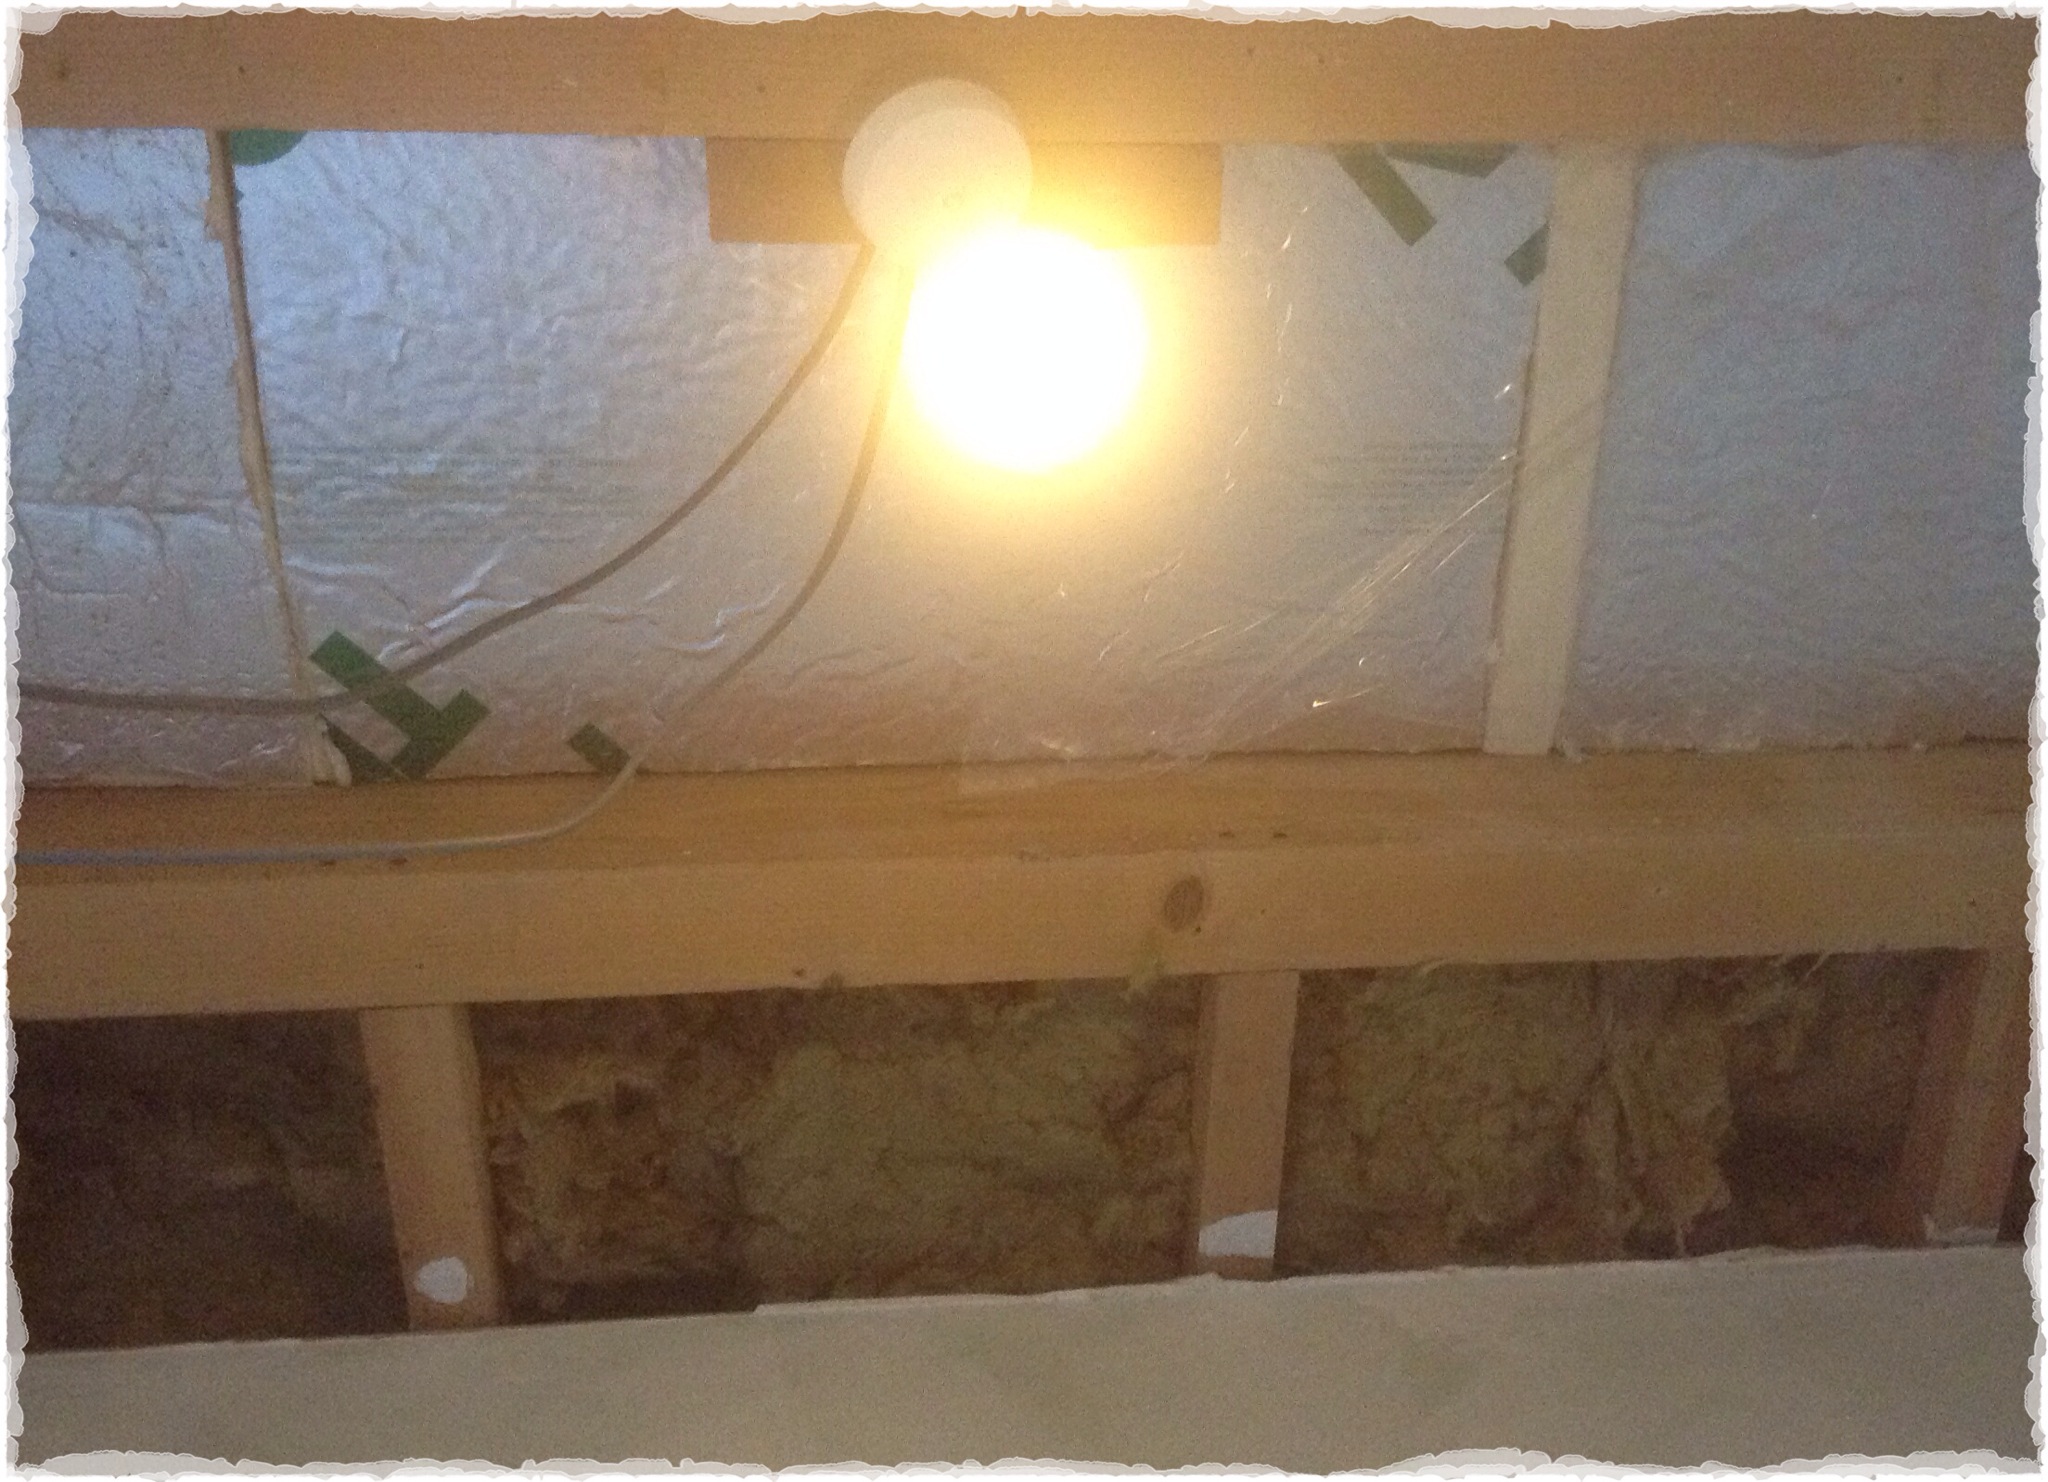
This reveals the true chaos of me being let loose with a hammer and a crow bar!


And this one…well, this shows the massive patch of rotten roof we found. Damnit. This is going to cost about £1000 to repair which was totally unbudgeted for but on the positive side it will mean we can insulate externally which offers increased heat retention and if we must have a rotten roof, better now than finding out once the new ceiling is is place.

I’ve started to think about how on earth to dress the windows in this room. It’s so difficult as there’s the short windows either side of the  inward opening doors. My latest thought is ceiling mounted roller blinds, as long as they are thin enough to allow the door to pass under. I’m checking out measurements as I’m thinking, if necessary it would perhaps be possible to create a counter sunk section of the ceiling for the blinds to sit into.

Finally, I’m excited to be part of the Amara Design Awards! If you’d like yo vote for Lansdowne Revisited, pls click the button below…thank you! 

Weekend Bits & Bobs…

We’ve had a weekend of finishing little jobs in the kitchen. Ronnie has been moaning that I’ve been posting too much ‘girly stuff’ so we’ll start with some manly grouting, grrrr!

We chose Marrakech tiles from Tons of Tiles (whose image I’ve borrowed) for our kitchen splash back.

2015/01/img_5006.jpgThe tiling was done a while ago, but we’d not got round to doing the grouting, mainly because the tiles are made to look like nine small individual tiles, as there is terracotta ‘grout’ between the tiles, we needed a similar colour to avoid the actual grout looking screamingly obvious. We only needed a really small amount of coloured grout so sourced some powder pigment to mix with standard grout.
2015/01/img_50021.jpgOnce I’d mixed in the pigment the grout was more atomic orange than terracotta, I added acrylic paint until i reached a near perfect match, does that make the man-job girly?

2015/01/img_50041.jpg I tried a couple of different sized spatulas to get the grout in, but found it was best to bite the bullet and get my hands in there.

2015/01/img_50071.jpg Once done, we were able to replace the socket cover. Ta da!

2015/01/img_5034.jpgWe also put the new new blackboard up. Annoyingly, I’ve not taken any photographs of this project, but as I was unable to find a vintage looking blackboard at a reasonable price, I decided to make one.

2015/01/img_5019.jpgI’d found an old pin board in the attic when we first moved in and it was about the right size, we took the board from the frame and used it as a template to have a sheet of steel cut to size, we then covered it in blackboard vinyl and popped into the frame. So we now have a magnetic blackboard for just a few pounds. I’ve since found a local company Chalkboards UK that does a similar thing which I may well have used if I’d known they were there! Perhaps I’ll get them to make me something for the Craft Room.

On a roll with blackboards, I hung this dinky Ebay unit on the inside of the pantry door, it’s really just for the shopping list etc. but quite handy with it’s little pocket and hooks.

2015/01/img_5026.jpgWe put a couple of hooks under the new shelves to hold our new mugs, in an attempt to reduce washing up we’ve both got an initial mug, and it’s against Lansdowne law to use anything else!

2015/01/img_5021.jpg

I’ve also finally got the fabric sorted for the kitchen sofa and bench seat, so we can now get on with making those! The heather linen will be for the seat pads, the rest will be for cushions and chair seat pads. The Harris tweed cushion was bought on our pre-Christmas visit to Edinburgh, I could do with getting a bit of this fabric to tie in elsewhere.

2015/01/img_5023.jpg We also fitted the ceiling in the downstairs bathroom, the whole house now has ceilings, oh the luxury!

2015/01/img_5028.jpg Lastly for this weekend, we attempted to fill a hairline crack in the craft room, guess what…the plaster fell off. I’d hoped those days were behind us but seems not, on the plus side, it’s interesting to see where the old and new parts of the house meet.

2015/01/img_5030.jpg

Ceilings, Floors and Something For The Wall…

There’s been quite a lot going on this week, we finally have the central heating installation booked to commence a week tomorrow. In preparation we collected our beautiful school style radiator for our bedroom from Coventry Demolition. It’s amazing…Given the choice I’d have these everywhere, but Ronnie (aka the budget police) has put his foot down and we’ll be having ‘normal’ radiators throughout the rest of the house…boo!

IMG_3648.JPG
The main job this week has been replacing the kitchen ceiling after we took it down to run electrics and insulation through. This was a job we’d put off as we thought it would be a nightmare, in truth, it was fairly painless. The plasterer has finished phase one, and left his tower with us until we’re ready to complete the library & attic conversion, so that bit of kit came in handy, he also recommended getting some props, we’d thought these would make the job easier, but dismissed the idea expecting them to be really expensive, they are actually only around £20, so if they are never used again, we’ve had great value from them! First task was to mark, measure and cut the boards, inc. apertures for spot lights.

IMG_3650.JPG Once these were cut, they were manoeuvred into position by Dad and I, held by the props, while Ronnie tacked them to the joists.

IMG_3651.JPG We had to make a few additional cuts here and there, but the whole job only took a morning. Last job for now was to scrim tape the joints and put on some plaster. We need to repeat this a couple of times until we’re ready for mist coat.

IMG_3653.JPG Ta da! It’s made a huge difference and the room already feels brighter and warmer.
In the cloakroom and lobby, we’ve got the ceilings ready to take pipework during the forthcoming heating installation. I’ve spent this afternoon stuffing in more insulation to any gaps.

IMG_3657.JPG We’ve received the beautiful stone for our kitchen floor, it’s currently sitting outside, we were planning on having this fitted professionally, but as we (I) blew the budget on the stone, we’re thinking of fitting it ourselves. You’ll notice there are a few of the stones broken…we don’t talk about that, it wasn’t me is all I’m saying!

IMG_3656.JPGIn the lounge and hallway we’ve been beavering away working on the cracks in the ceiling and preparing the coving and plasterwork for painting, it’s looking good! More on that next week. Finally for this week I bought a gorgeous kiko frame which I’ve been trying to find for a while, strangely enough I found one on Ebay. Mine was from Indico-Wendy and I love it.

IMG_3649.JPG

A mixed bag…

Where did the week go? We’ve both been off work, and had grand intentions of all that we were going to achieve. A Christmas tree, a birthday, a ‘spot check’ visit from parents and more trades people than I could count coming in to quote, slowed us up a little. We have got some things done though, all totally unrelated and in no particular order:

1. We (he) took the kitchen ceiling down, what started as an ‘investigative hole’ revealed there was no insulation in the 1980’s extension, eek. At least that explains why it’s so damn cold in there! For reasons I’m not entirely sure of, the kitchen, bathroom and lobby ceilings then got taken down. Apparently to make way for insulation, electrician and gas man, due in late January and March, I’d rather have have waited and had a ceiling for Christmas given the choice!

20131215-112604.jpg

2. I put up my favourite snowflake garland, it needs extending for the super sized fireplace.

20131215-173423.jpg

3. We said a sad goodbye to Flash Gordon, fact is, it was him, or a radiator, super powers alone can’t keep you warm. Most of it came off in full pieces, so we’ll put him somewhere else one of these days.

20131215-113004.jpg

4. We stripped the main bedroom. Actually, I mean ‘I’ stripped the bedroom, all by myself AND the steamer didn’t blow up even once!

20131215-113341.jpg

I found another epic wall covering, above the picture rail languished this teapot-on-shelf number!

20131215-113519.jpg

It had been hung upside down, of all the papers you could get away with hanging wrongly, this is not the one! (But please don’t haunt me past occupant, I’m sure it was cool at the time). There’s now only the last bedroom and the hallway and then the stripping is done – boom!

5. We found this printed Lino under several layers of carpet in the guest bedroom…

20131215-113922.jpg

There was a newspaper underneath from 1929, so I’m presuming the Lino is around that era… The pixelated camo could easily be on the high street today, though maybe not as a floor covering… I can confirm nothing of major interest occurred on 8th October 1929 in Birmingham, on the sports page West Bromich Albion managed to beat Aston Villa 6/1, had that have happened this weekend, their manager might still have a job!

20131215-173302.jpg

6. The house plants came home, they have been in the expert care of my aunt and uncle during our moves. We also bought back a couple of Belfast sinks I’d squirreld, we inherited two more when we moved in and STILL have two more to come… There is such a thing as too much of a good thing! The garden plants are staying until March, giving us a little time to clear some clutter from the patio area.

7. And finally, in other news, we have reason to believe Dottie cat has got a sideline as a Christmas Card model… So that’s where she’s been disappearing to since the cat flap was installed!

20131215-194355.jpg