There’s been quite a lot going on this week, we finally have the central heating installation booked to commence a week tomorrow. In preparation we collected our beautiful school style radiator for our bedroom from Coventry Demolition. It’s amazing…Given the choice I’d have these everywhere, but Ronnie (aka the budget police) has put his foot down and we’ll be having ‘normal’ radiators throughout the rest of the house…boo!

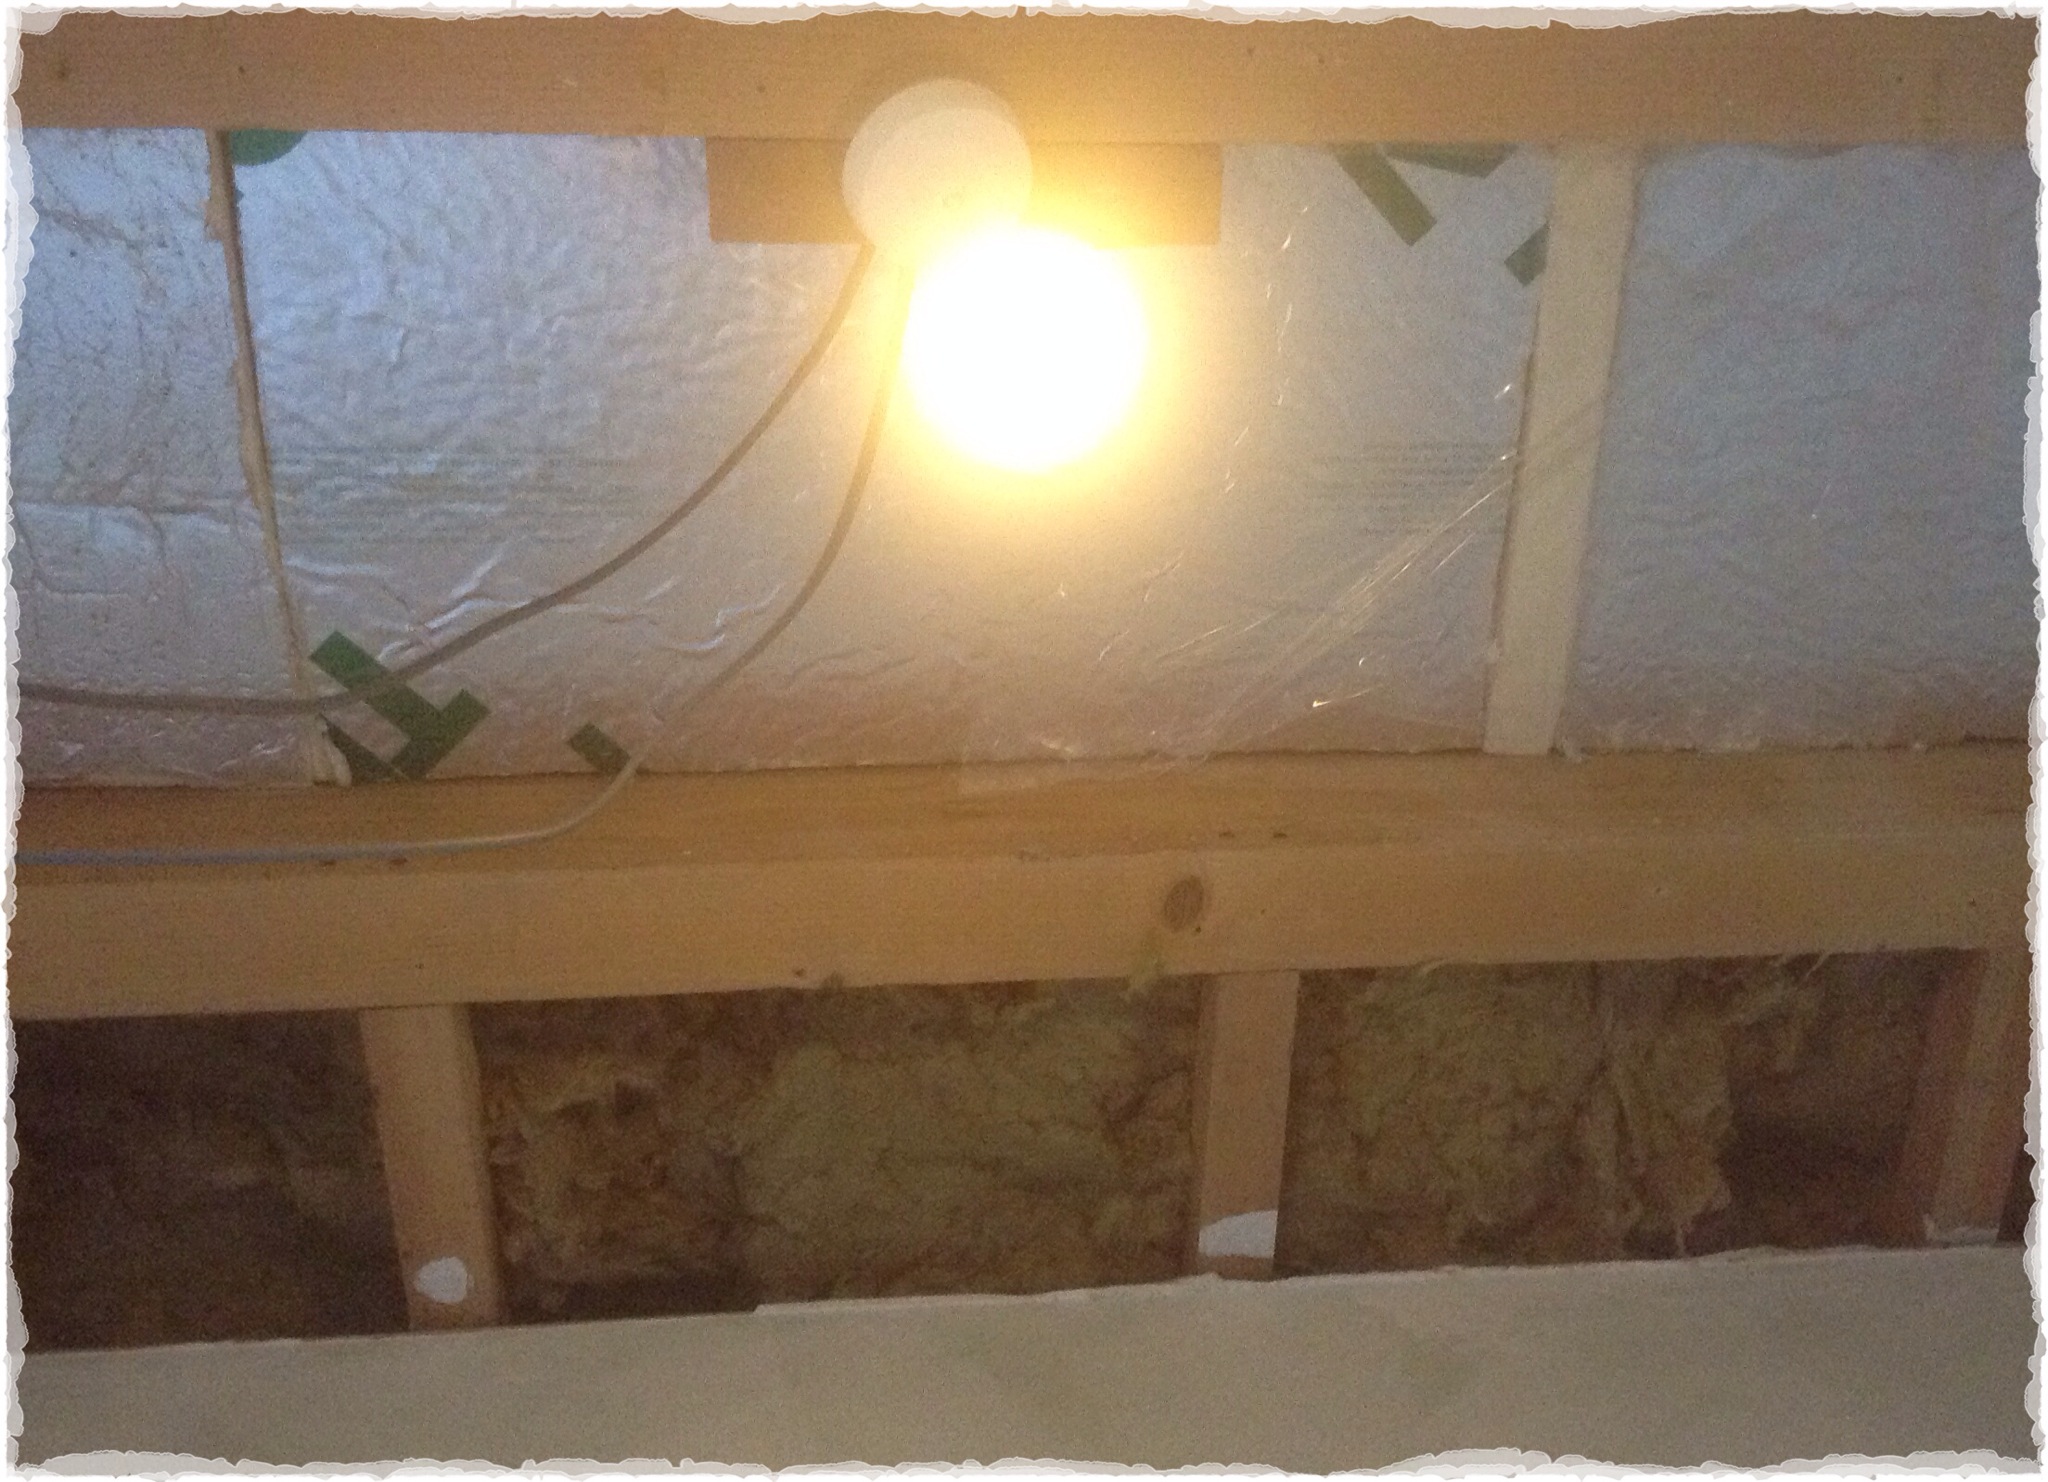
The main job this week has been replacing the kitchen ceiling after we took it down to run electrics and insulation through. This was a job we’d put off as we thought it would be a nightmare, in truth, it was fairly painless. The plasterer has finished phase one, and left his tower with us until we’re ready to complete the library & attic conversion, so that bit of kit came in handy, he also recommended getting some props, we’d thought these would make the job easier, but dismissed the idea expecting them to be really expensive, they are actually only around £20, so if they are never used again, we’ve had great value from them! First task was to mark, measure and cut the boards, inc. apertures for spot lights.
 Once these were cut, they were manoeuvred into position by Dad and I, held by the props, while Ronnie tacked them to the joists.
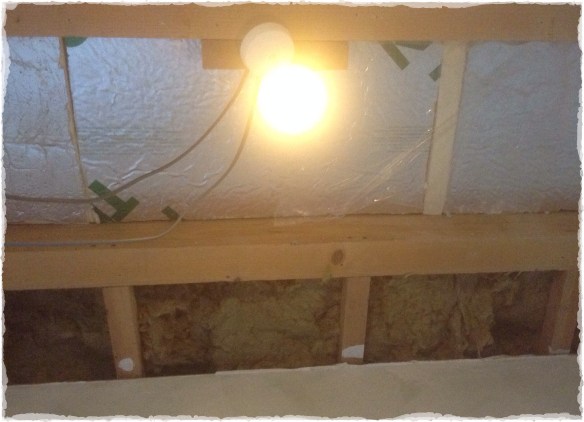
 We had to make a few additional cuts here and there, but the whole job only took a morning. Last job for now was to scrim tape the joints and put on some plaster. We need to repeat this a couple of times until we’re ready for mist coat.
 Ta da! It’s made a huge difference and the room already feels brighter and warmer.
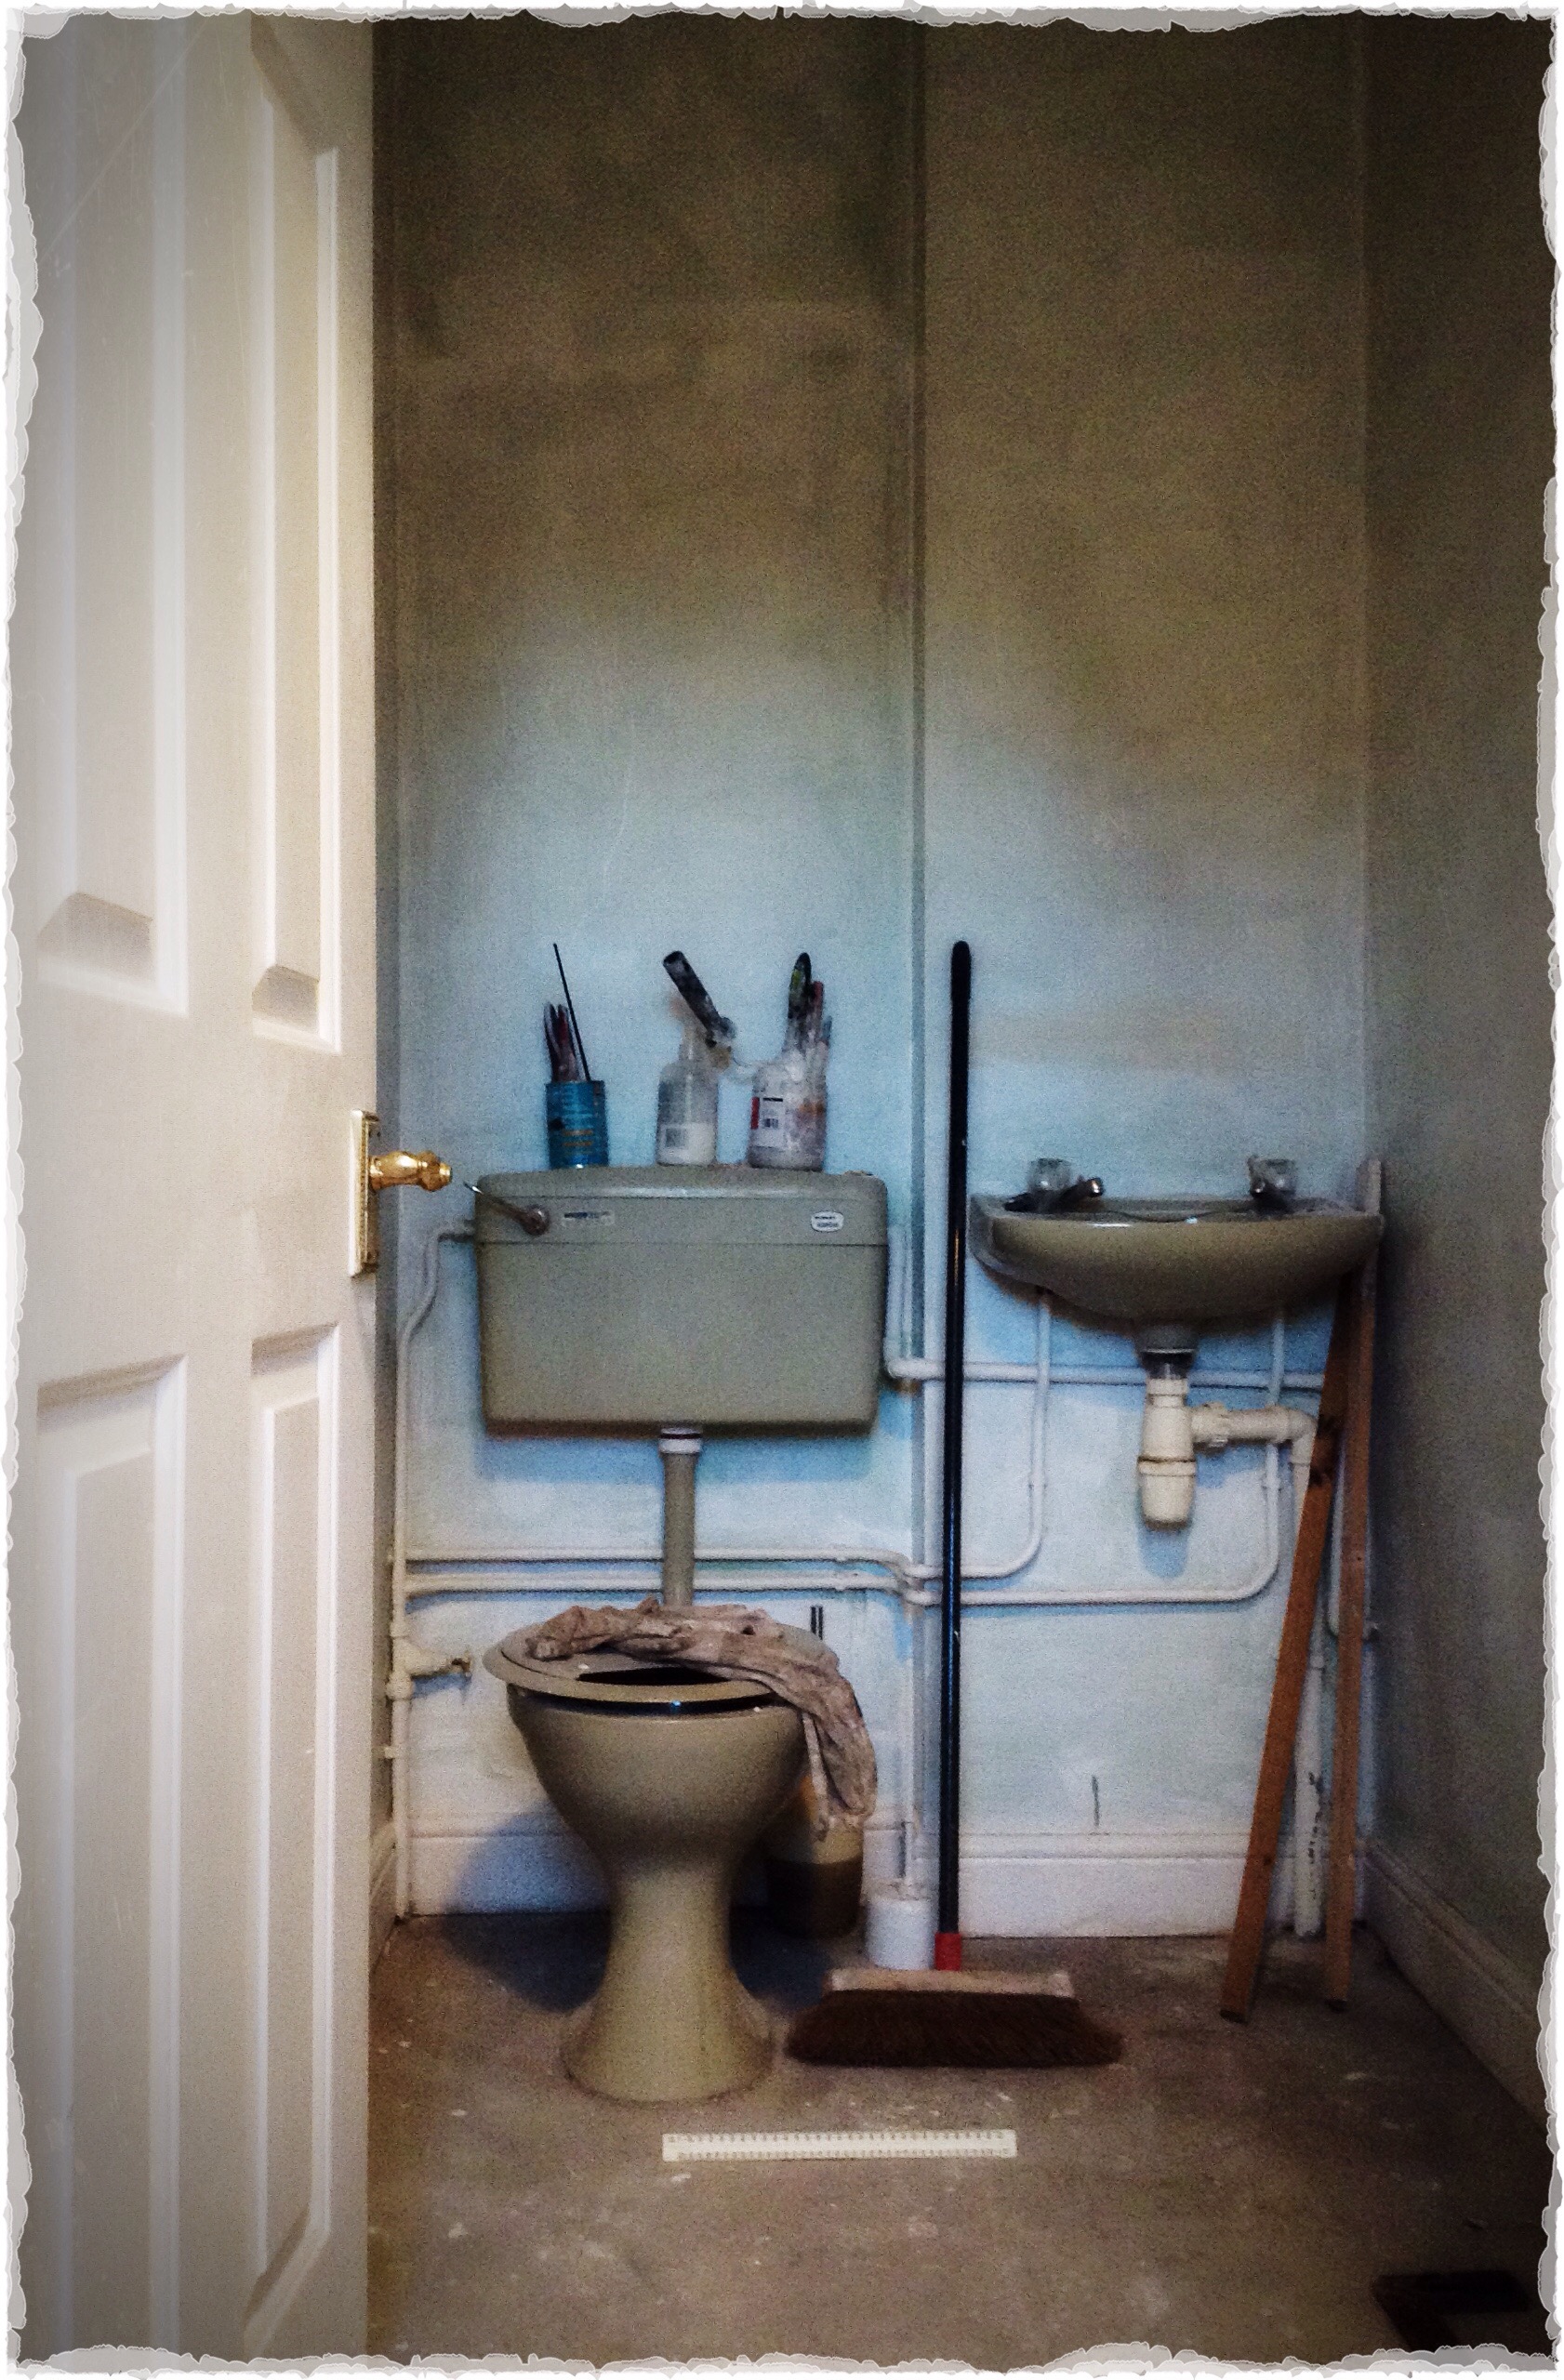
In the cloakroom and lobby, we’ve got the ceilings ready to take pipework during the forthcoming heating installation. I’ve spent this afternoon stuffing in more insulation to any gaps.
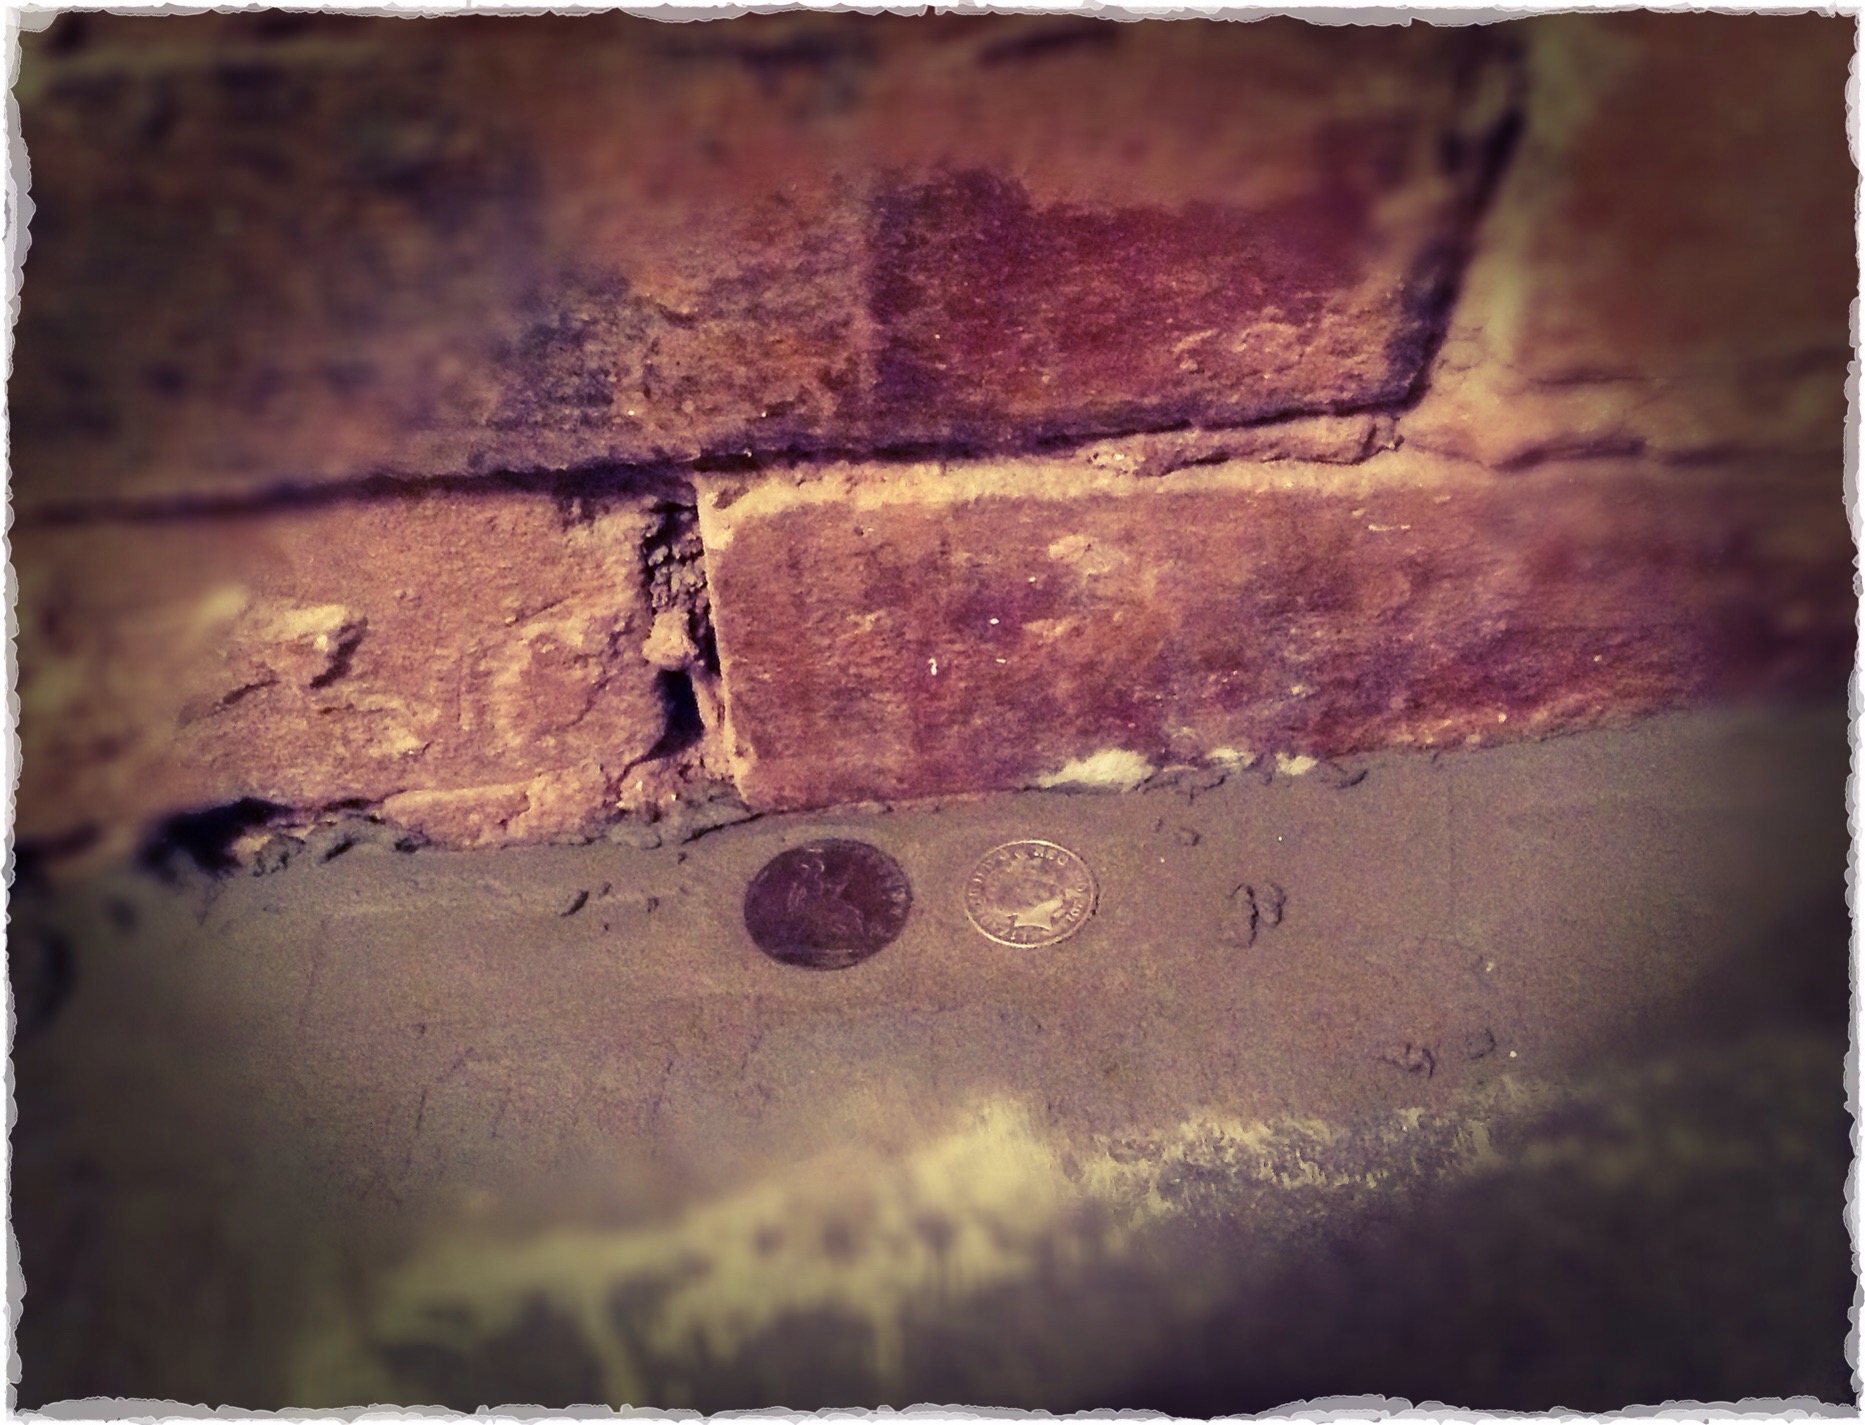
 We’ve received the beautiful stone for our kitchen floor, it’s currently sitting outside, we were planning on having this fitted professionally, but as we (I) blew the budget on the stone, we’re thinking of fitting it ourselves. You’ll notice there are a few of the stones broken…we don’t talk about that, it wasn’t me is all I’m saying!
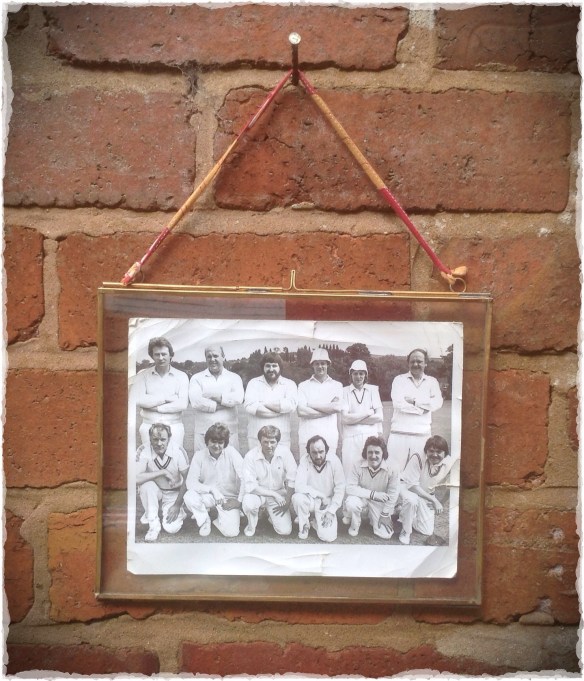
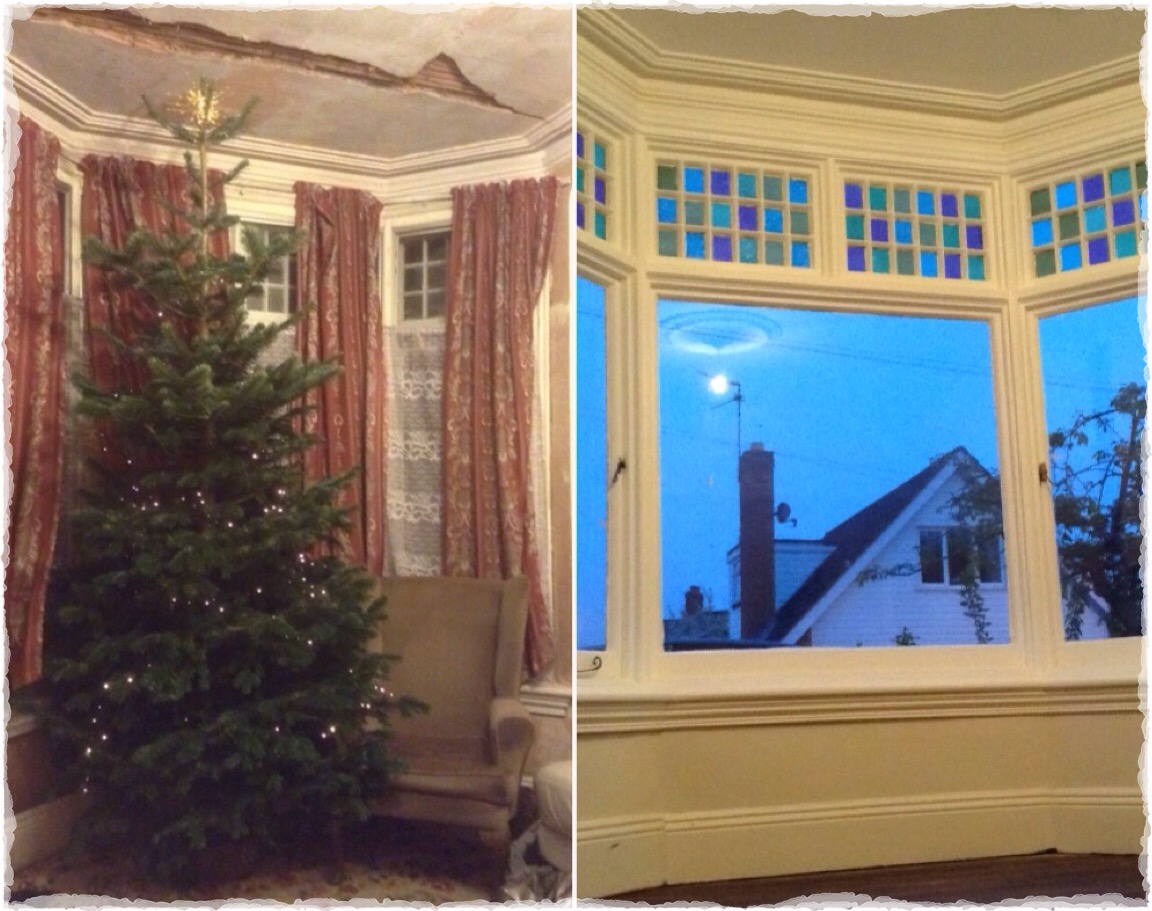
 In the lounge and hallway we’ve been beavering away working on the cracks in the ceiling and preparing the coving and plasterwork for painting, it’s looking good! More on that next week. Finally for this week I bought a gorgeous kiko frame which I’ve been trying to find for a while, strangely enough I found one on Ebay. Mine was from Indico-Wendy and I love it.

 2. Painted the cloakroom, white, in preparation for our photos to be put up…maybe next weekend?
  4. Masticed (it’s a new word, ok?!) the floorboard gaps in the lounge. We matched the colour to the wood, it needs another sanding, another coat of colour and then we start on the yacht varnish. The mastic will be invisible after all that and will really help with the insulation of the room, and, it leaves little smiley faces on your fingers!