May I Take Your Coat?

The boot room (technically not a room and with storage for shoes at best) is the first area to be completely finished…

 
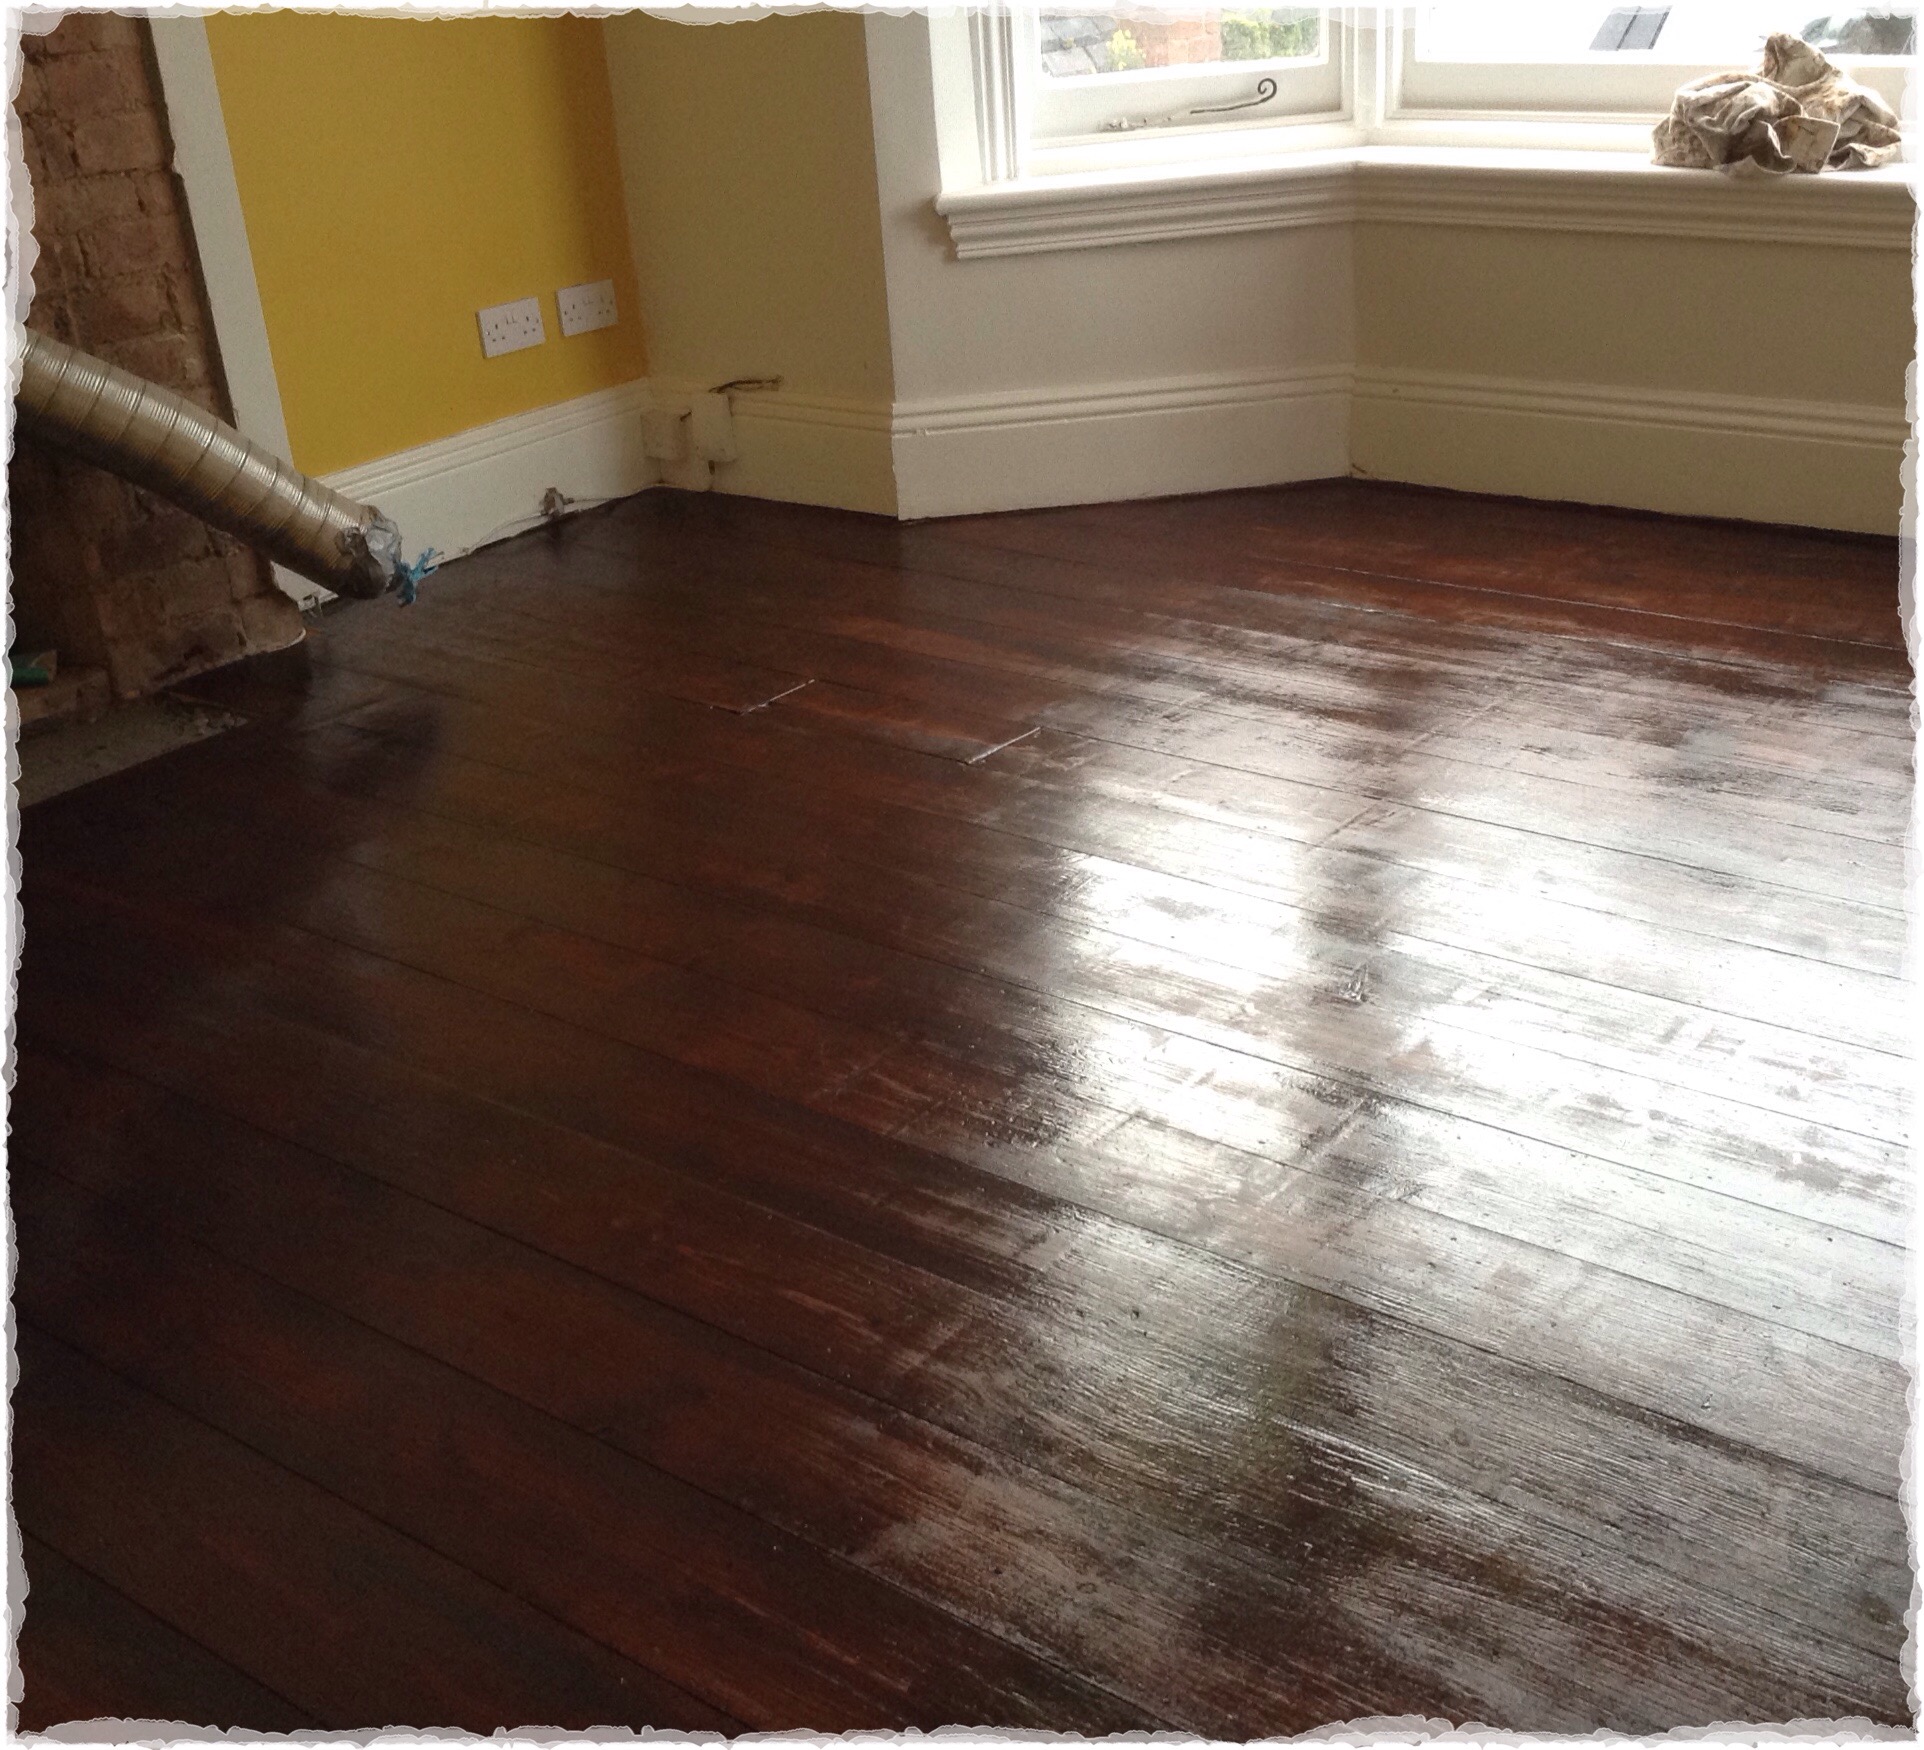
For such a dinky area, there’s been a lot done. Firstly, there was a new back door fitted, followed by the rewire which destroyed the main wall. As this is in the newer part of the house, it didn’t need DPC, but as we’ve grown accustomed to complete destruction, we decided to pull down the ceiling. The ceiling cavity had more insulation squeezed in than I thought possible and then a little more, finally we fitted a new ceiling (which is surprisingly easy.) Oh and we fitted a new light fitting. And new light switches. That’s it.
It was then on to the decorating. The flooring was replaced with tiles running through from the kitchen. The paper that took me about two months to choose took all of twenty minutes to fit, it’s a little bolder than I anticipated but I love it. The bench which I painted a few months back, has taken a few knocks so needed another coat of paint and the cushion that June made for was popped on, though I should mention June sees faces in this wallpaper, so I need to think carefully before letting her at any other projects!  The final touch was hanging the coat hook.   

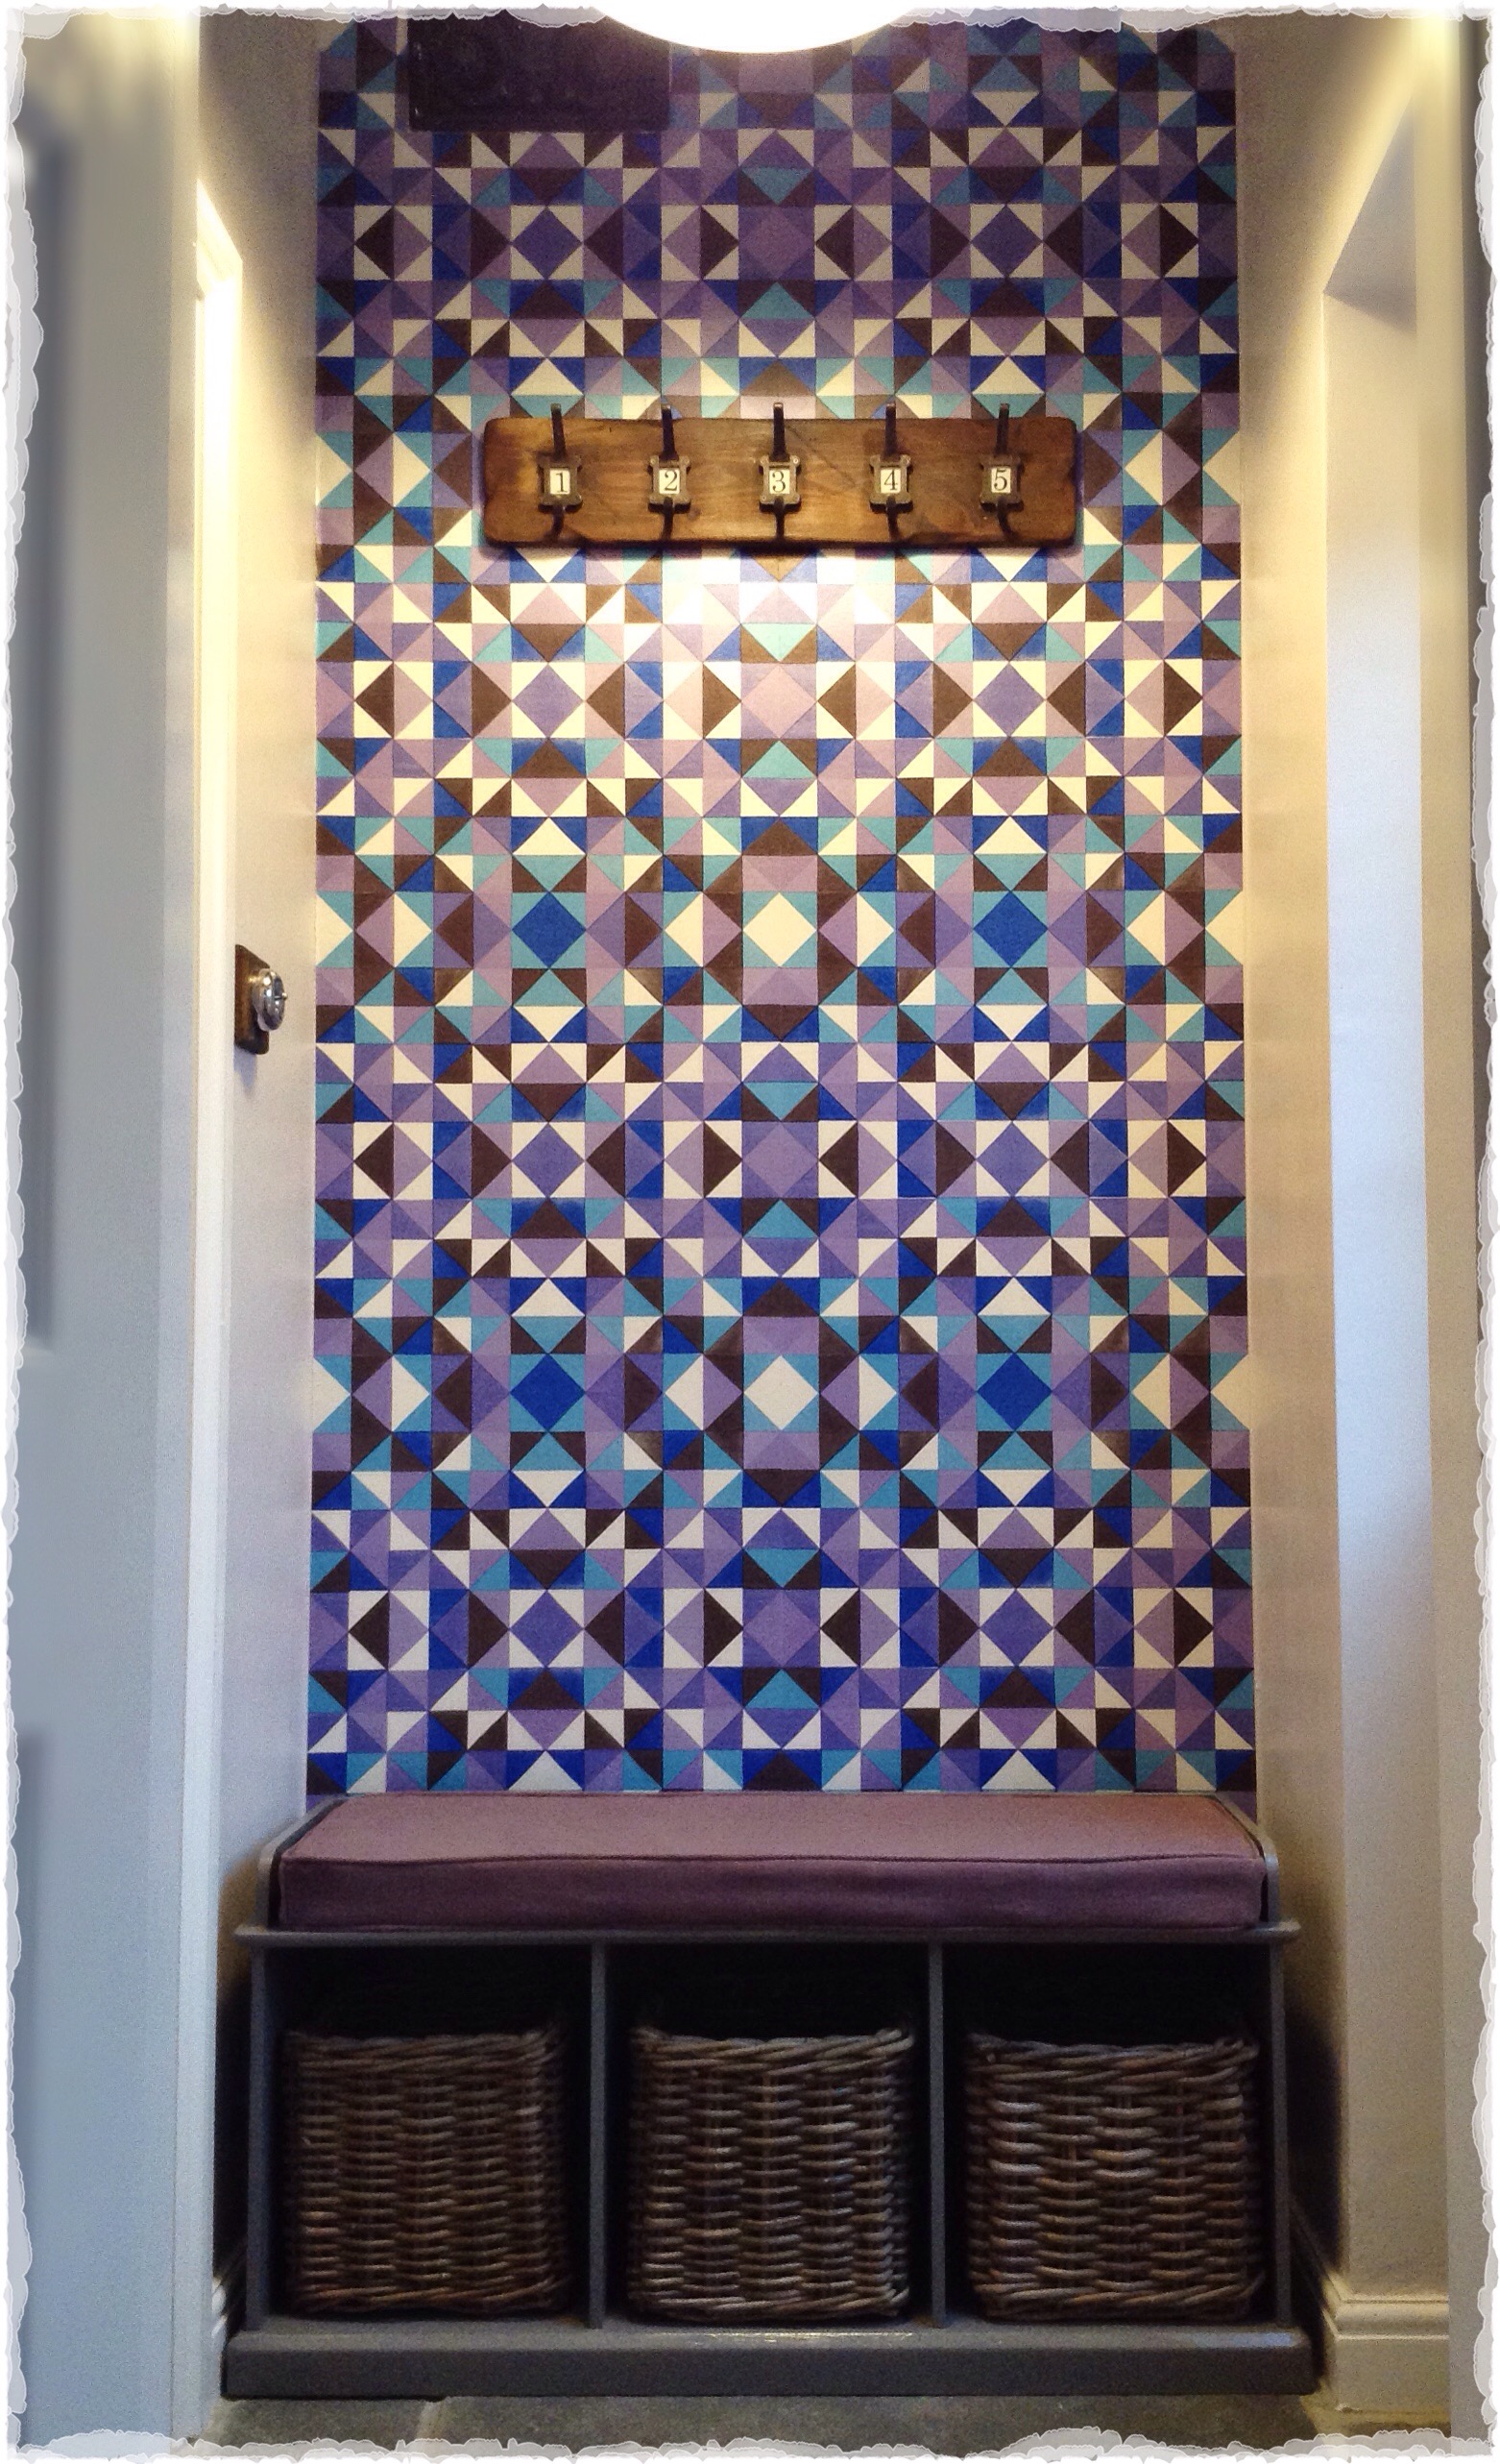
 So here’s how it look – Ta Da! I’m pleased that from a useless little area we have created space that works for coats, a seat and baskets for junk storage.  

 One room finished, ten more to go…

STOCKISTS:

Wallpaper – Brian Yates at Wallpaper Direct.

Bench – Abbeville Storage Bench at   Great Little Trading Co.

Paint – Spotlight by Crown.

Everything else? You guessed it, Ebay.

Ticking Boxes…

We have got quite a lot done this weekend, including a few things of the snagging list…tick!

We had a couple of gas engineers come to quote on fitting the new fire. Normally our quotes are pretty close, but in this instance one was almost double the other…hmm. We ordered a made to measure hearth of black marble, it should be around a week. In preparation for its arrival Ronnie got rid of some of the old bricks from the base of fire and laid a new cement bed.  


Meanwhile, I got on to waxing the fireplace. I used fine wire wool to apply clear beeswax and buffed with the orbital sander. It’s come up a lovely honey colour but needs a lot more work to look it’s best. 

 This image shows the carved roses painted, stripped, waxed and polished. The  polishing has really highlighted the difference in colour of the inlaid wood.  


While the mantel was laid flat I was able to clearly see the makers plaque which first allowed us to discover a little of it’s history. 


I picked a few flowers whilst I was outdoors and tried to avert my eyes from the  rapidly thickening jungle of a garden. 


Oh, and I dug up some mother of petal buttons, about 40mm diameter. I’ll have to use them in a project some time. 


Back indoors, we fitted the chandelier in the cloakroom. This came from the bedroom in my cottage. There has been comments that the light be a little ‘overstated’ for the smallest room in the house, thing is, I like overstated!  We also got the floor sealed at last.


In the kitchen Ronnie made a trim to cover the gaps between the extractor fan and the ceiling, it needs a final coat of paint and masking removed but looks better already. It’s so satisfying concluding jobs like this.


Meanwhile, I sanded the lounge boards again and gave them their final coat of colour. They now need varnishing.  


Lastly I chose wallpaper for the boot room, which is a positive step forward as I was in danger of bankrupting the project with excessive sample ordering…


To help the decision, I roughly visualised what the shortlist might look like… I love the black and white print on the right, but as the wall is going to accommodate our main coat hook, I’m worried it will soon look dirty, so in conclusion, I’m going with the one on the left from Brian Yates…almost probably certainly.


Venting…

We’ve had gaping holes in both the bootroom and downstairs bathroom walls for a while as we’d taken off the horrid 1980’s plastic vent covers to cram as much insulation as possible into the walls! I’d been looking for some vintage replacements for a while, but we’ve settled for these pretty plaster repros from Classic Ceilings.

2015/01/img_5050.jpg This wrought iron style vent is for the boot room, and here are some before, during and after images.
2015/01/img_5045.jpg They basically get stuck on with adhesive, we propped ours up with a stick and protective cloth and left overnight, they are now soundly in place. Once we’ve wallpapered we’ll clean it up, but I’m pleased with the results.

2015/01/img_5049.jpg We chose this pretty floral version for the bathroom.
2015/01/img_5046.jpg Here it is in situ…terrible photo, we may have a ceiling, but alas no lights…you can’t have it all hey?!