We’ve had a weekend of finishing little jobs in the kitchen. Ronnie has been moaning that I’ve been posting too much ‘girly stuff’ so we’ll start with some manly grouting, grrrr!
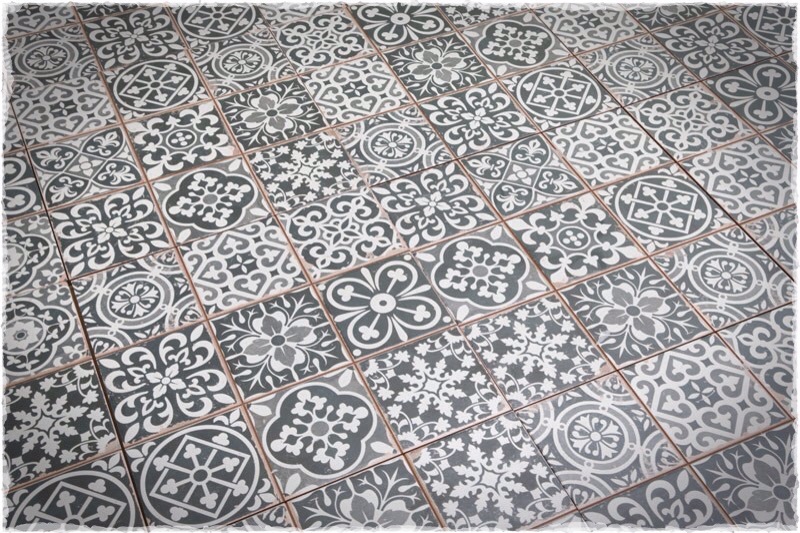
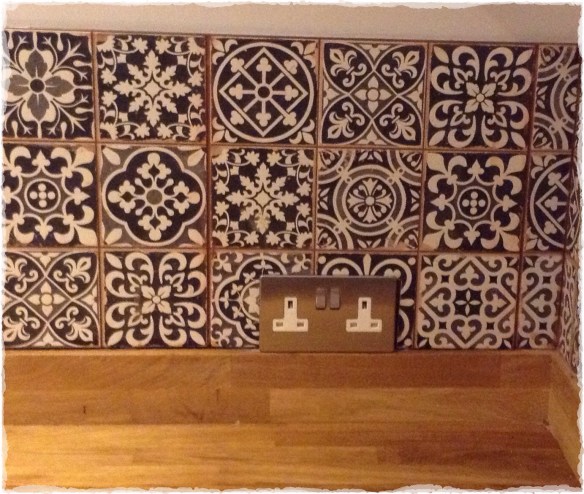
We chose Marrakech tiles from Tons of Tiles (whose image I’ve borrowed) for our kitchen splash back.
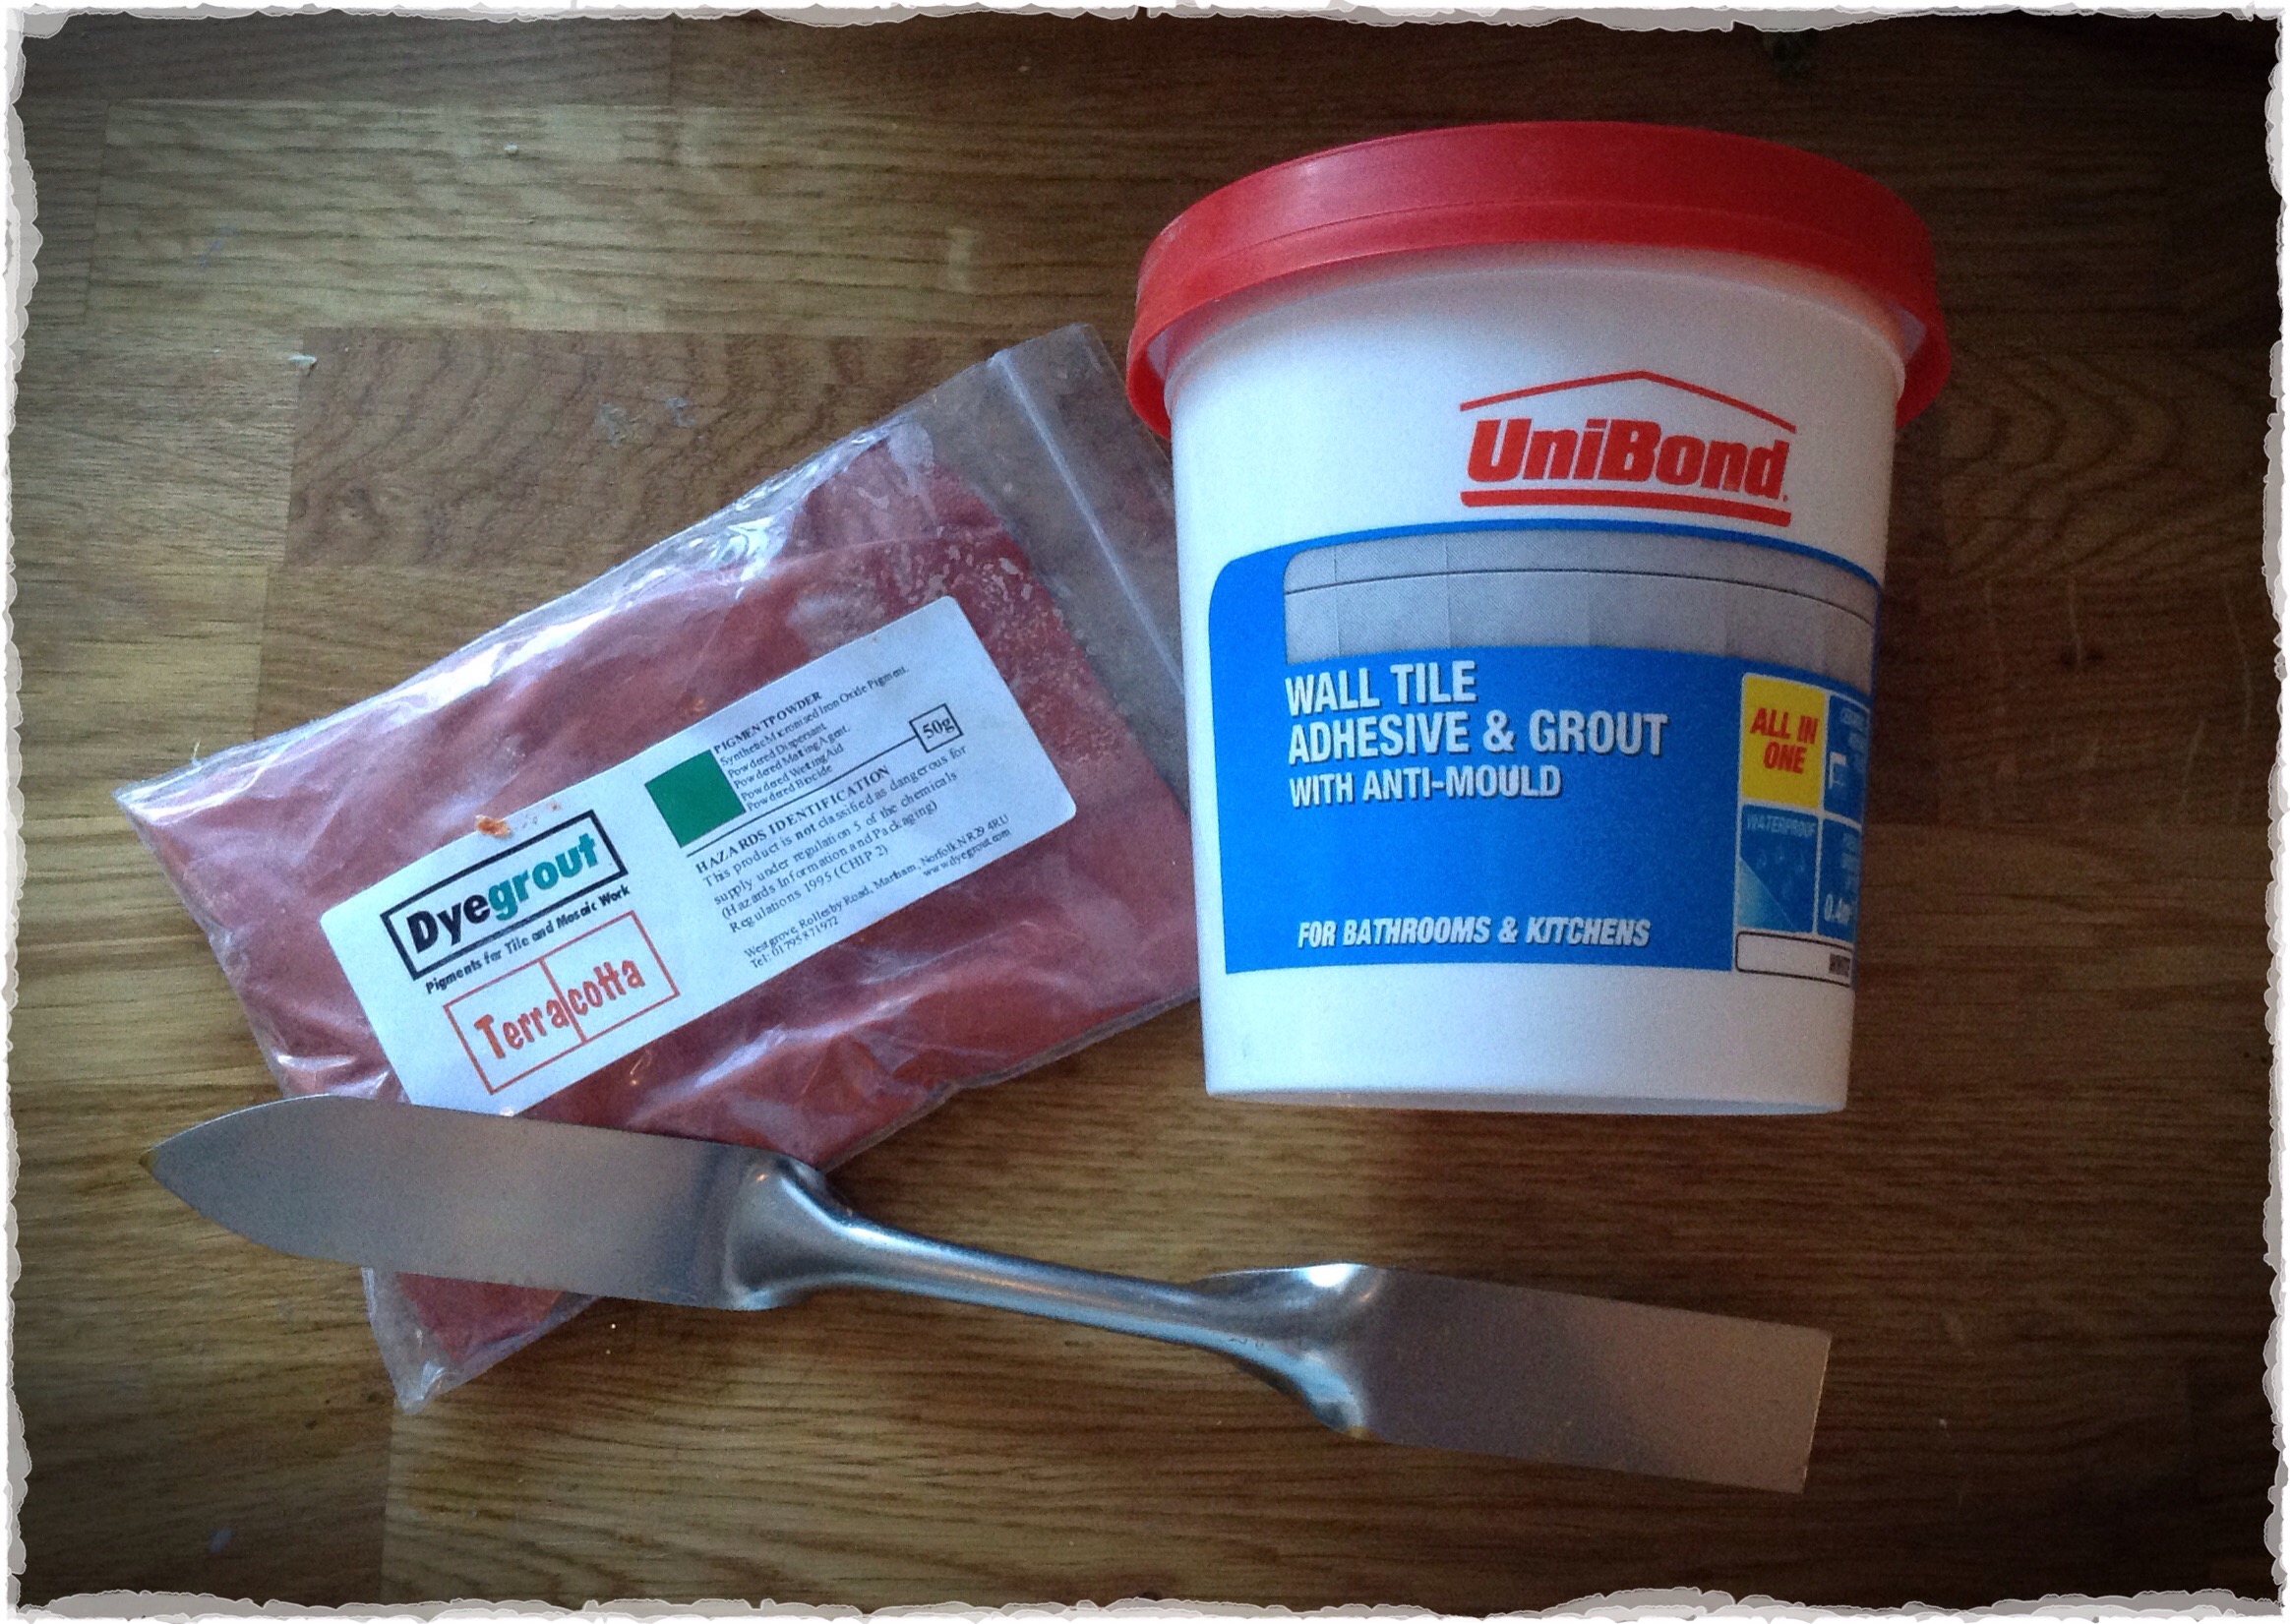
 The tiling was done a while ago, but we’d not got round to doing the grouting, mainly because the tiles are made to look like nine small individual tiles, as there is terracotta ‘grout’ between the tiles, we needed a similar colour to avoid the actual grout looking screamingly obvious. We only needed a really small amount of coloured grout so sourced some powder pigment to mix with standard grout.
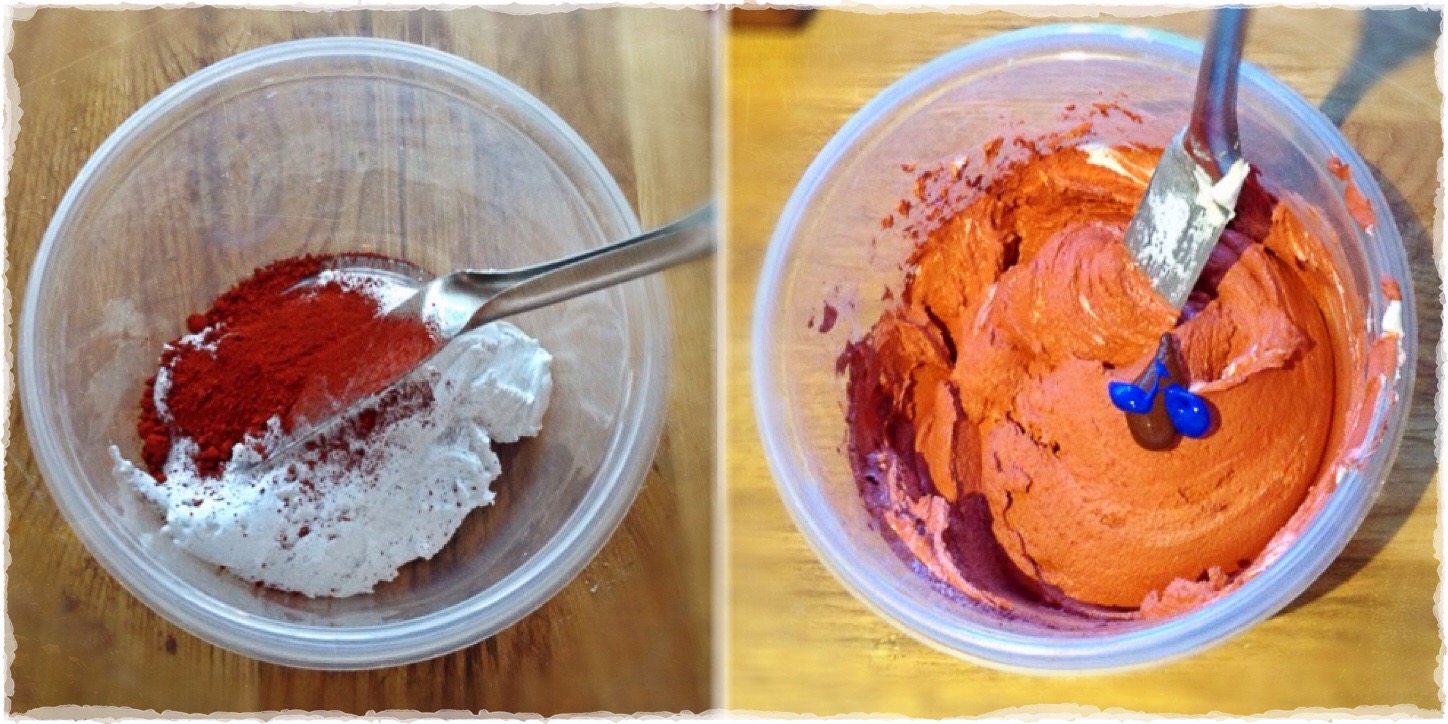
 Once I’d mixed in the pigment the grout was more atomic orange than terracotta, I added acrylic paint until i reached a near perfect match, does that make the man-job girly?
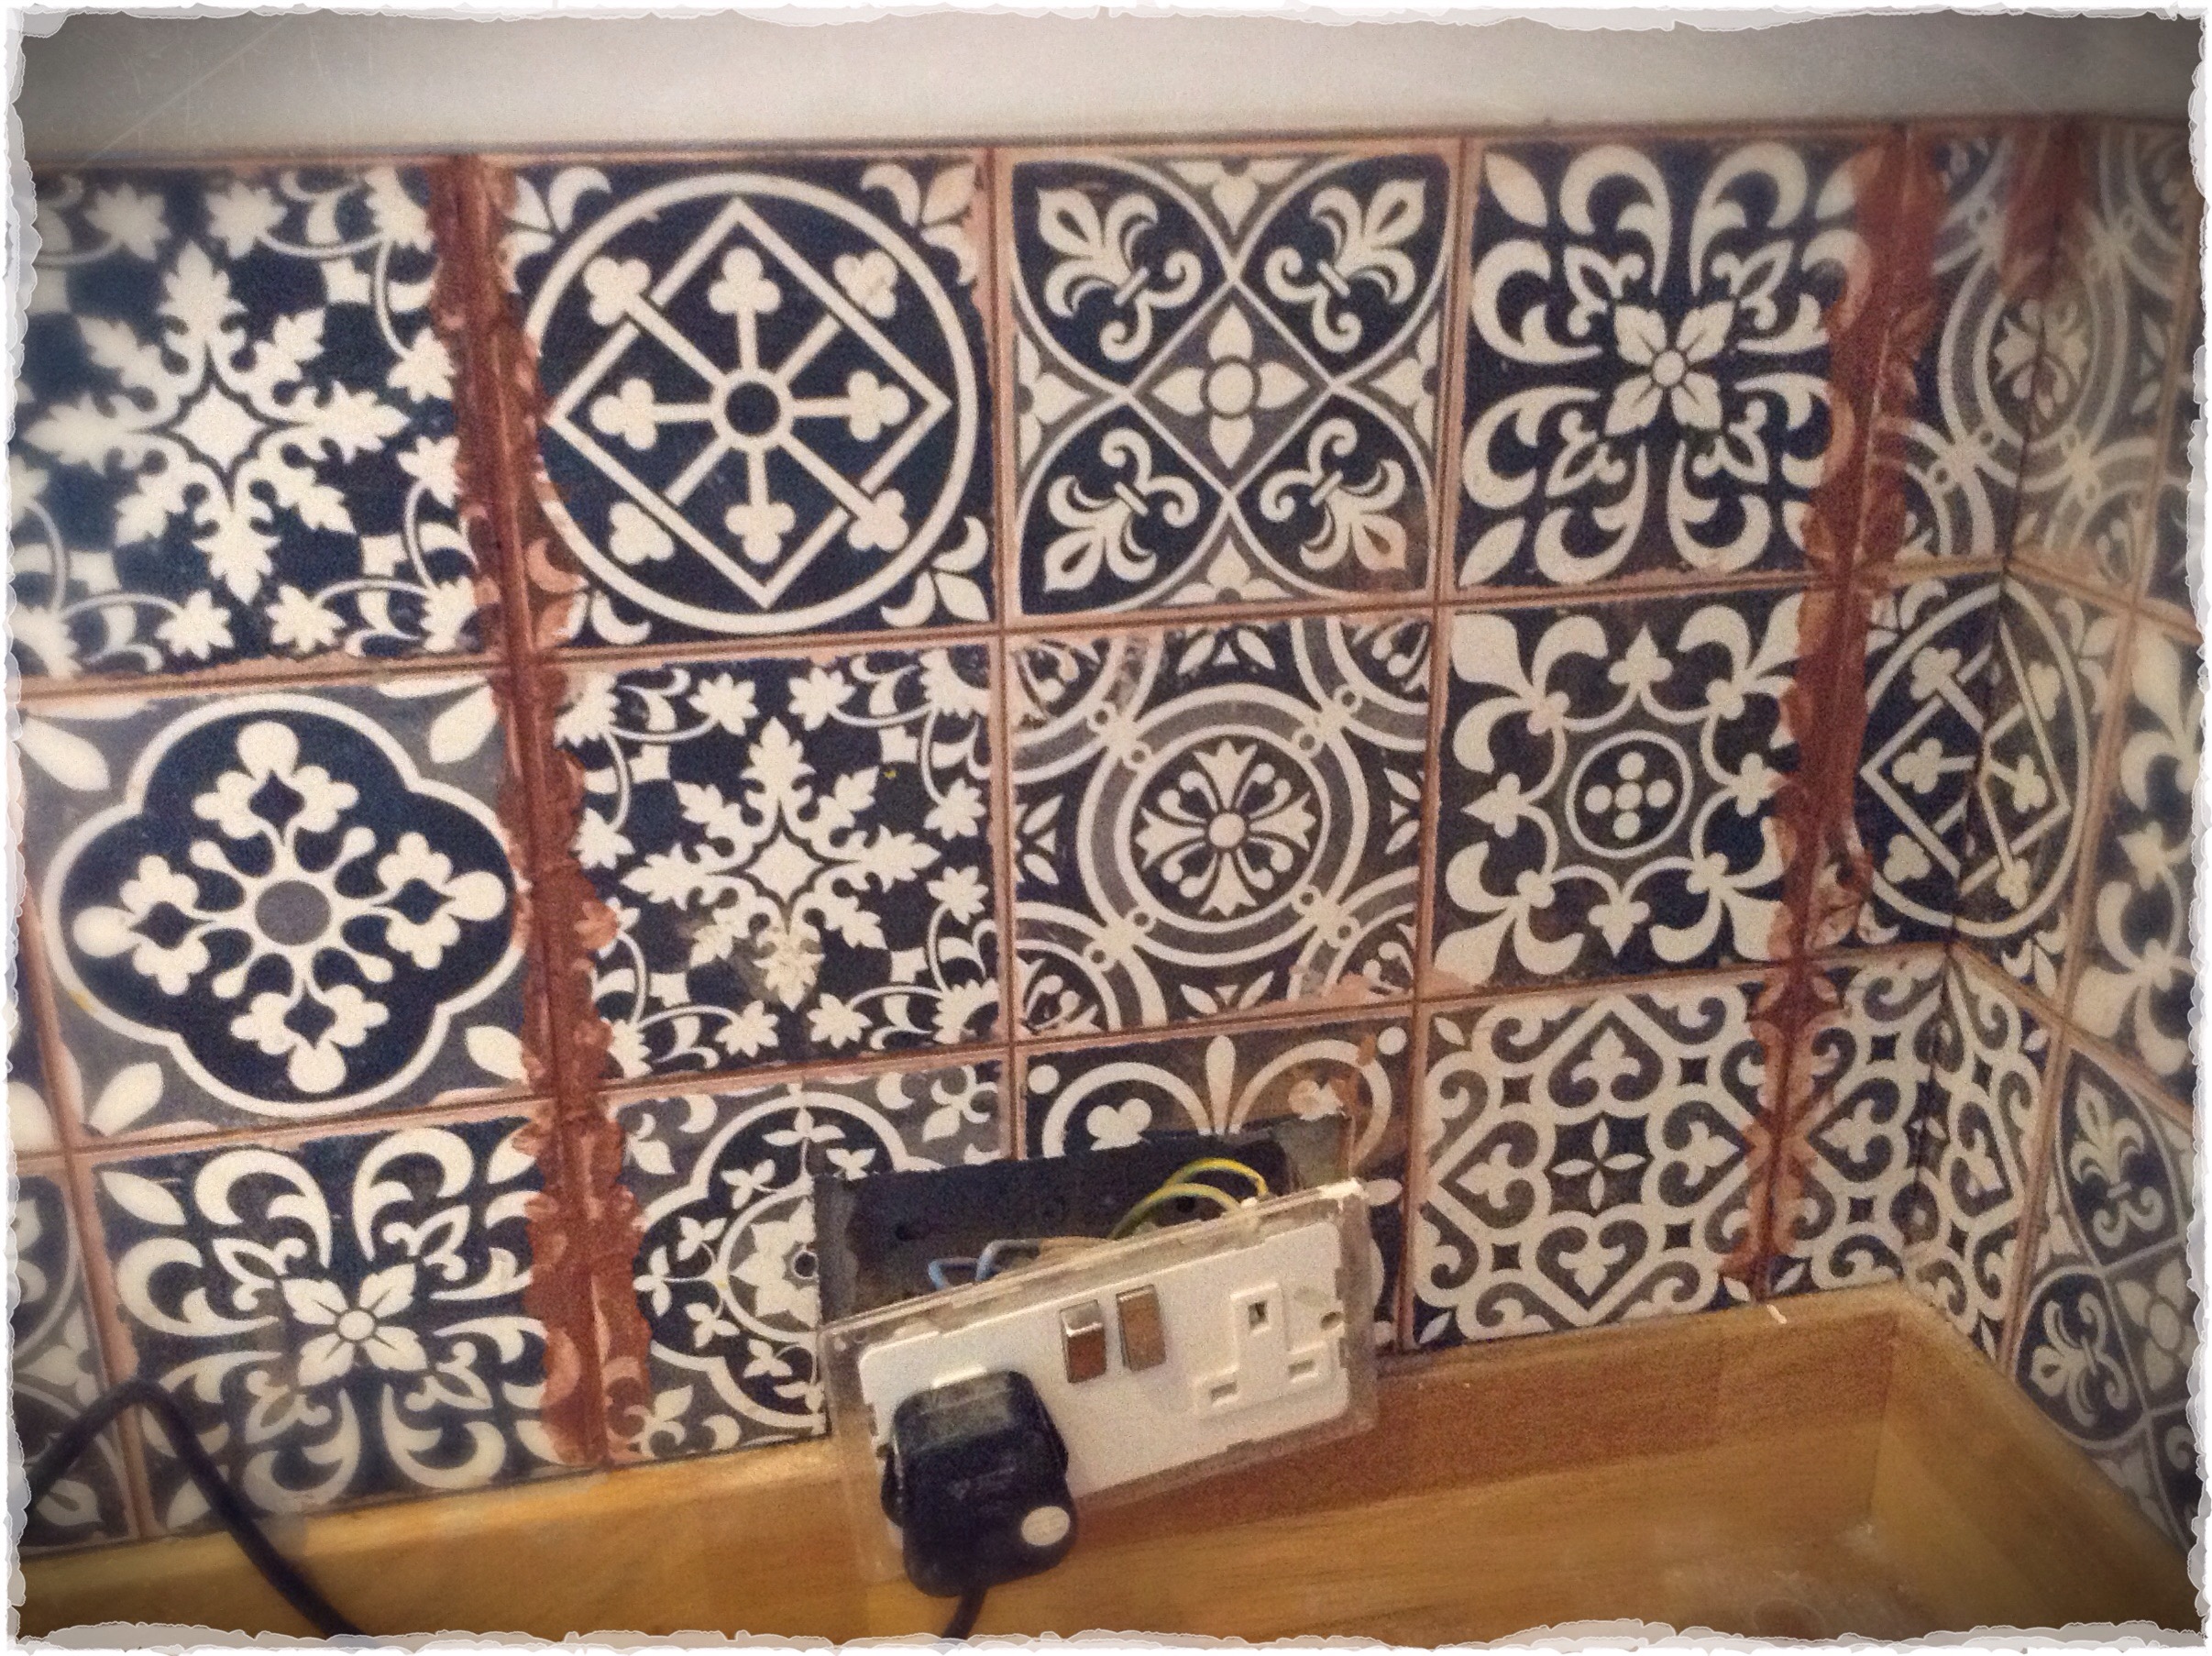
 I tried a couple of different sized spatulas to get the grout in, but found it was best to bite the bullet and get my hands in there.
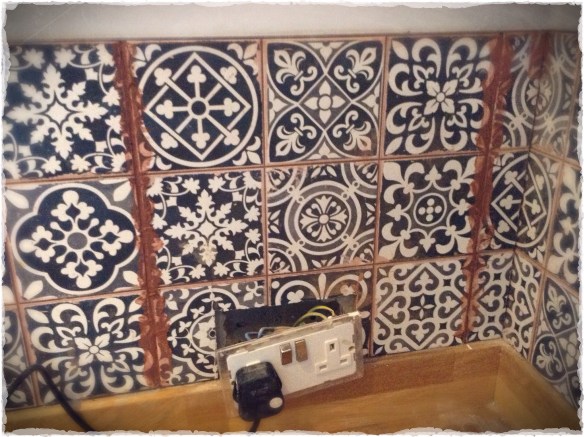 Once done, we were able to replace the socket cover. Ta da!
 We also put the new new blackboard up. Annoyingly, I’ve not taken any photographs of this project, but as I was unable to find a vintage looking blackboard at a reasonable price, I decided to make one.
 I’d found an old pin board in the attic when we first moved in and it was about the right size, we took the board from the frame and used it as a template to have a sheet of steel cut to size, we then covered it in blackboard vinyl and popped into the frame. So we now have a magnetic blackboard for just a few pounds. I’ve since found a local company Chalkboards UK that does a similar thing which I may well have used if I’d known they were there! Perhaps I’ll get them to make me something for the Craft Room.
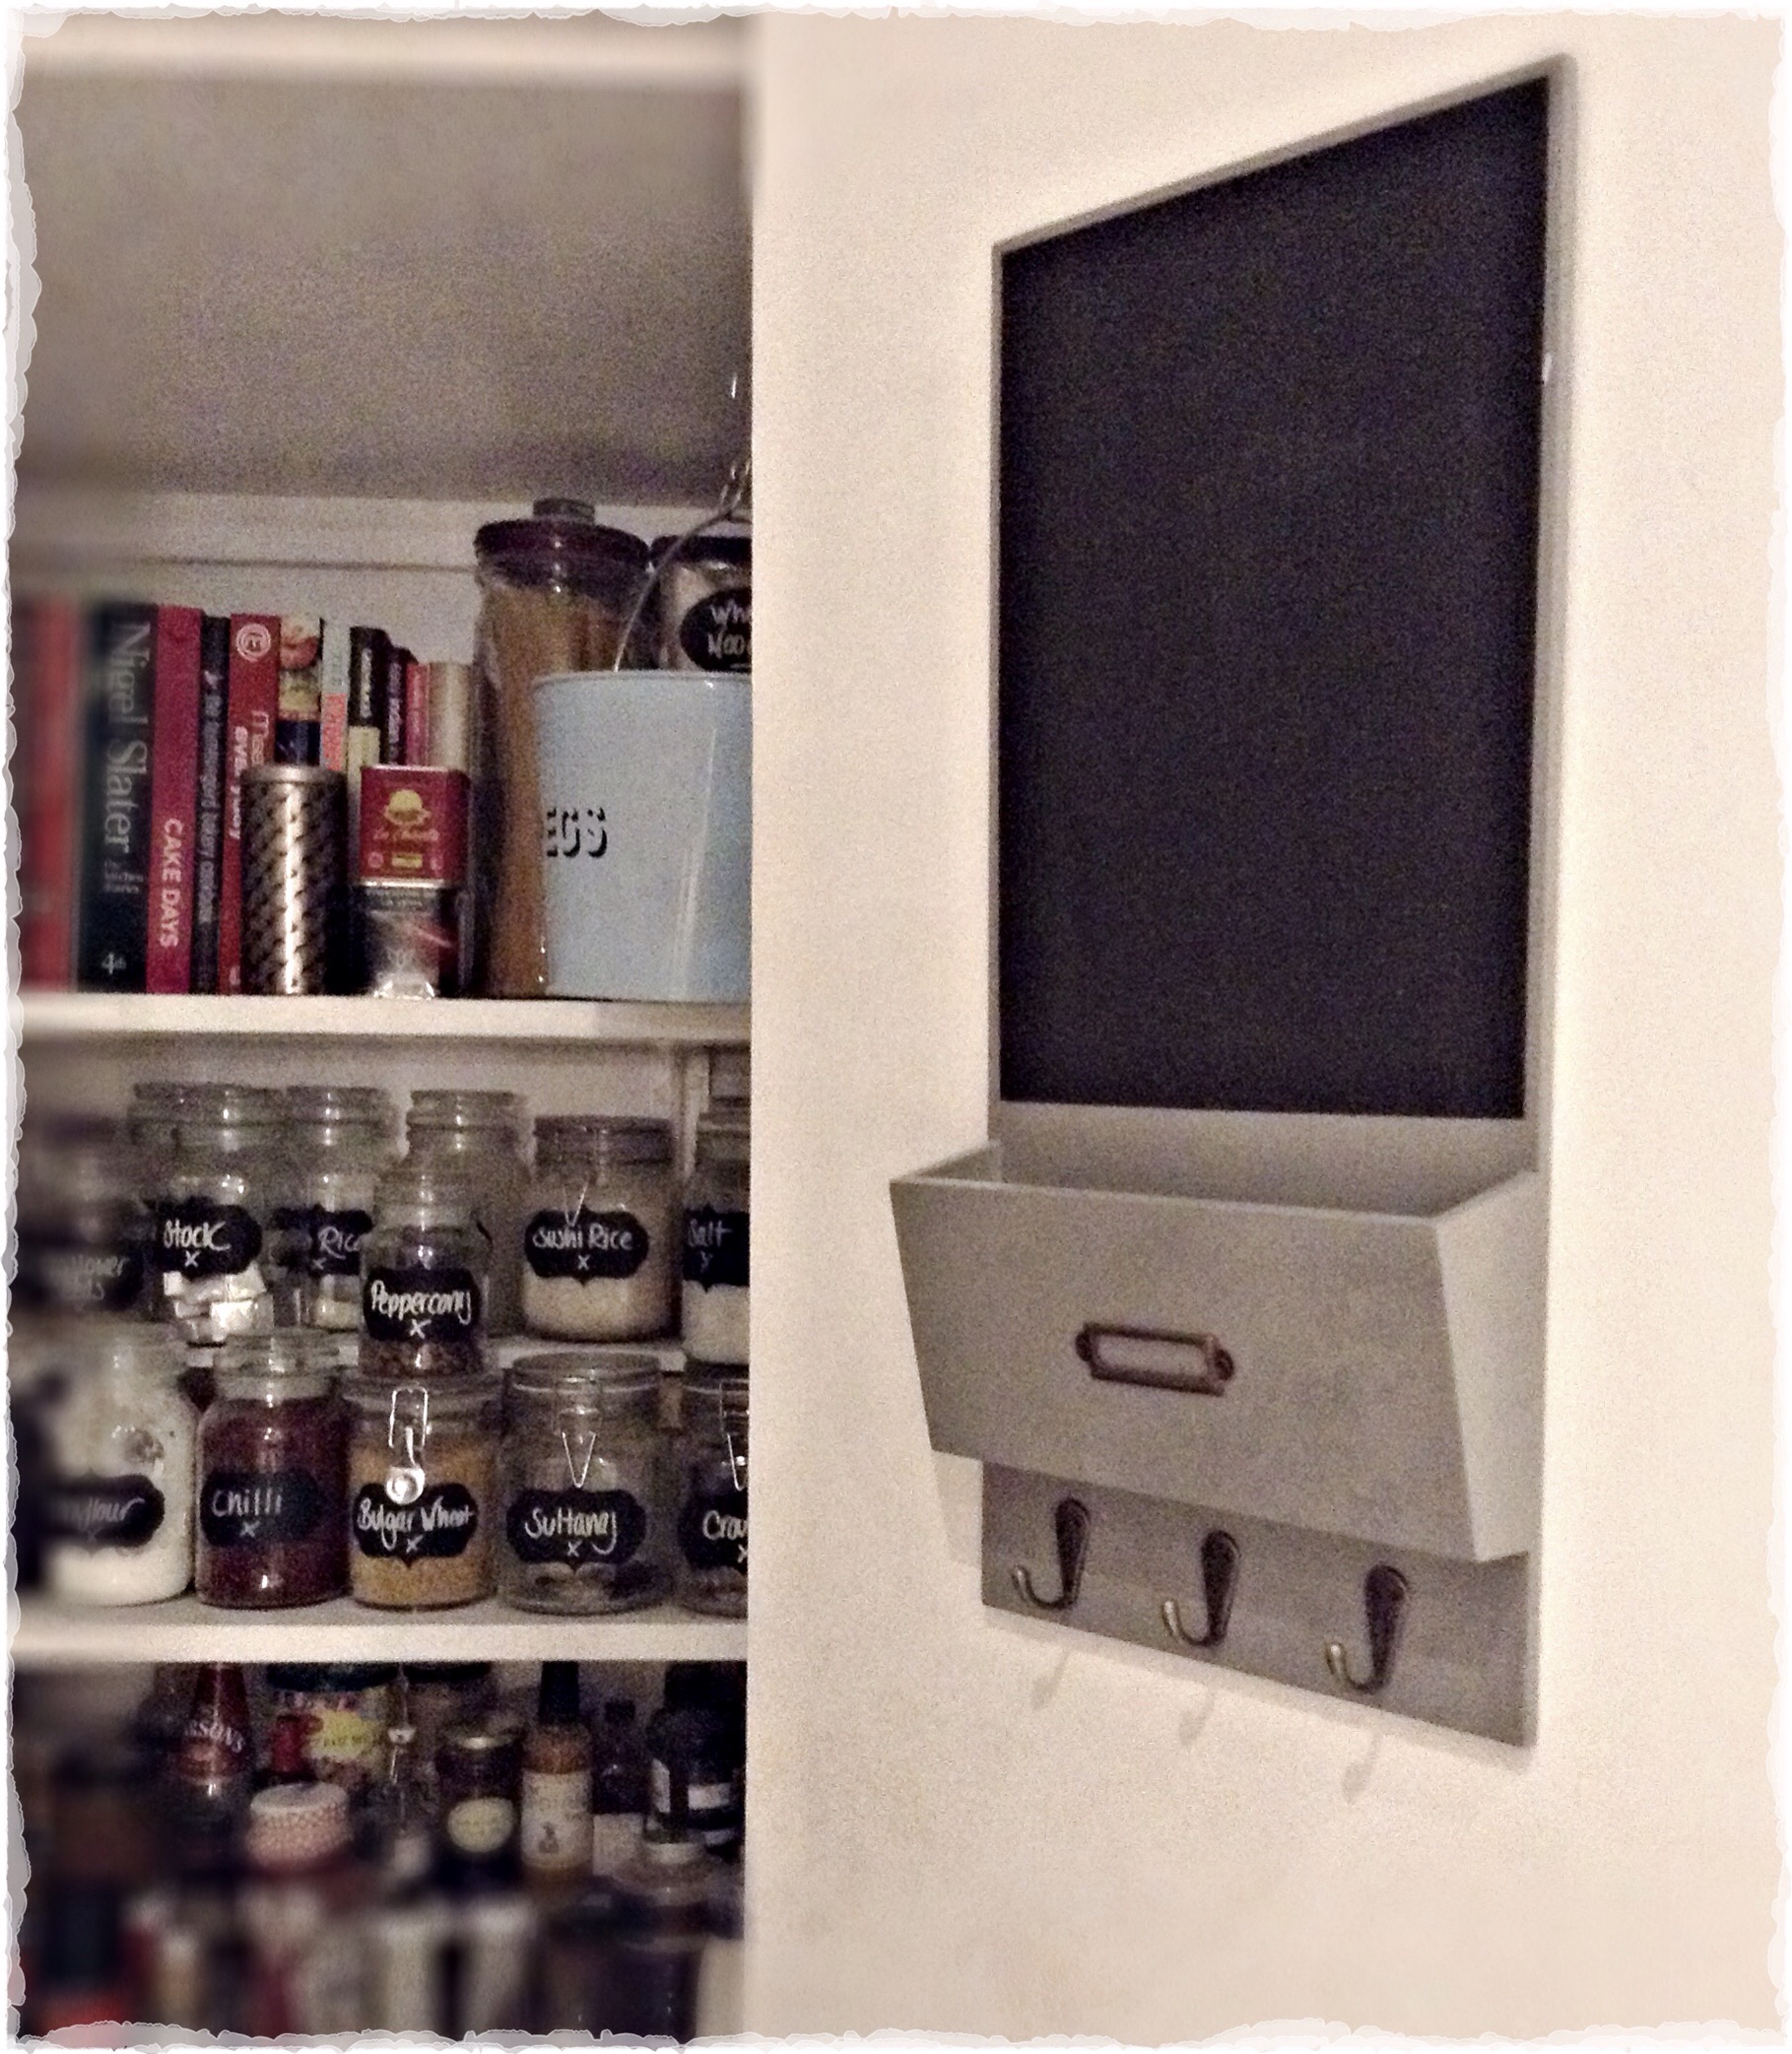
On a roll with blackboards, I hung this dinky Ebay unit on the inside of the pantry door, it’s really just for the shopping list etc. but quite handy with it’s little pocket and hooks.
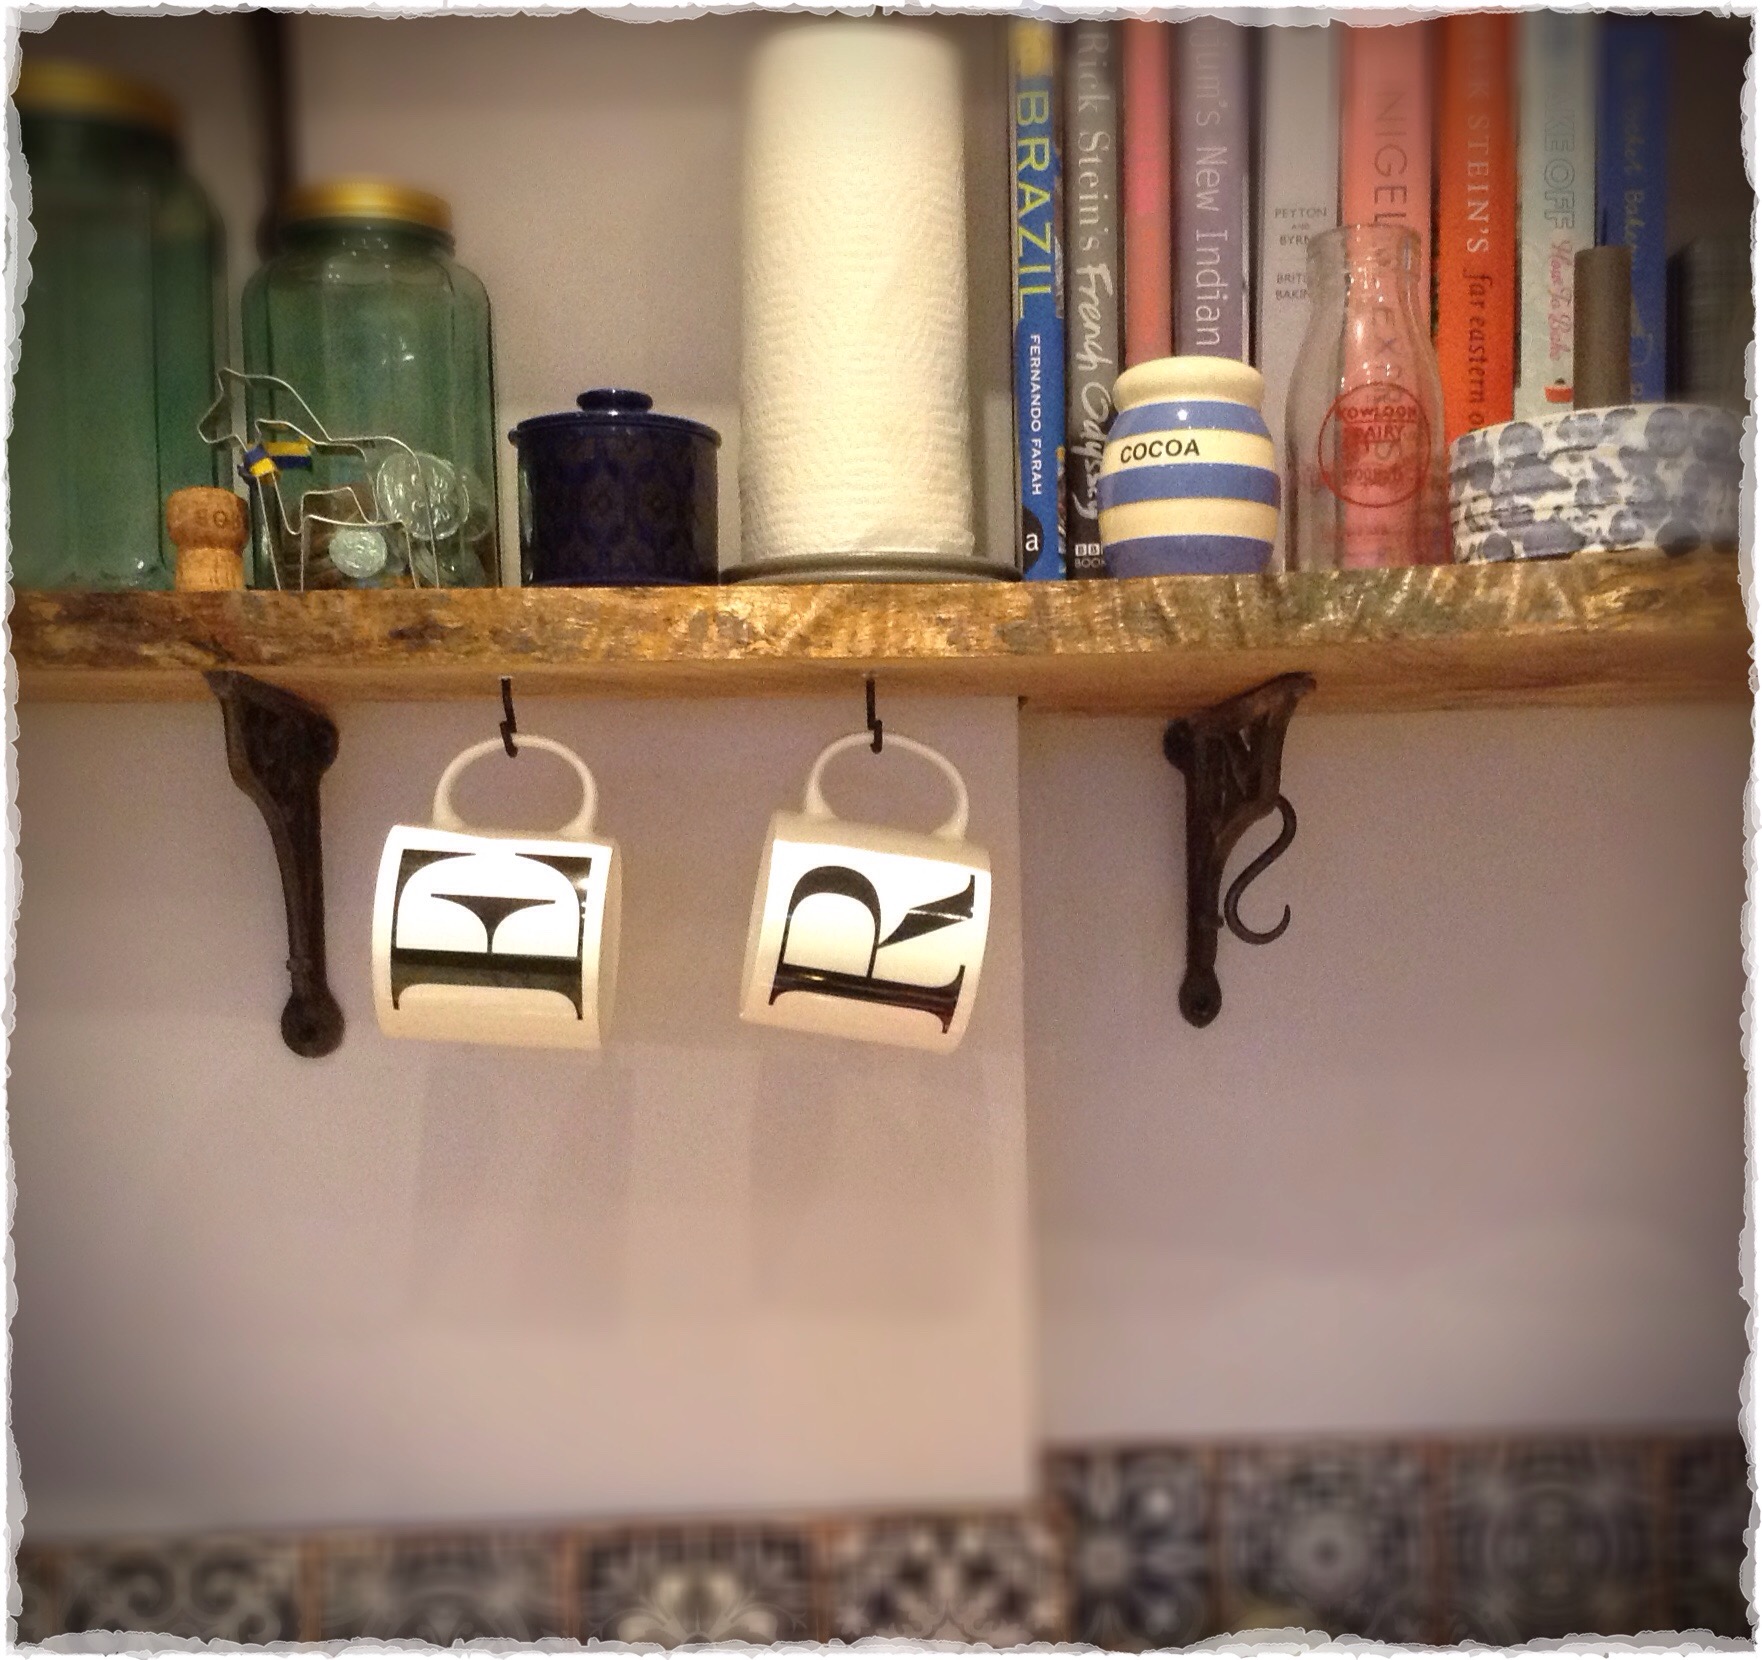
 We put a couple of hooks under the new shelves to hold our new mugs, in an attempt to reduce washing up we’ve both got an initial mug, and it’s against Lansdowne law to use anything else!

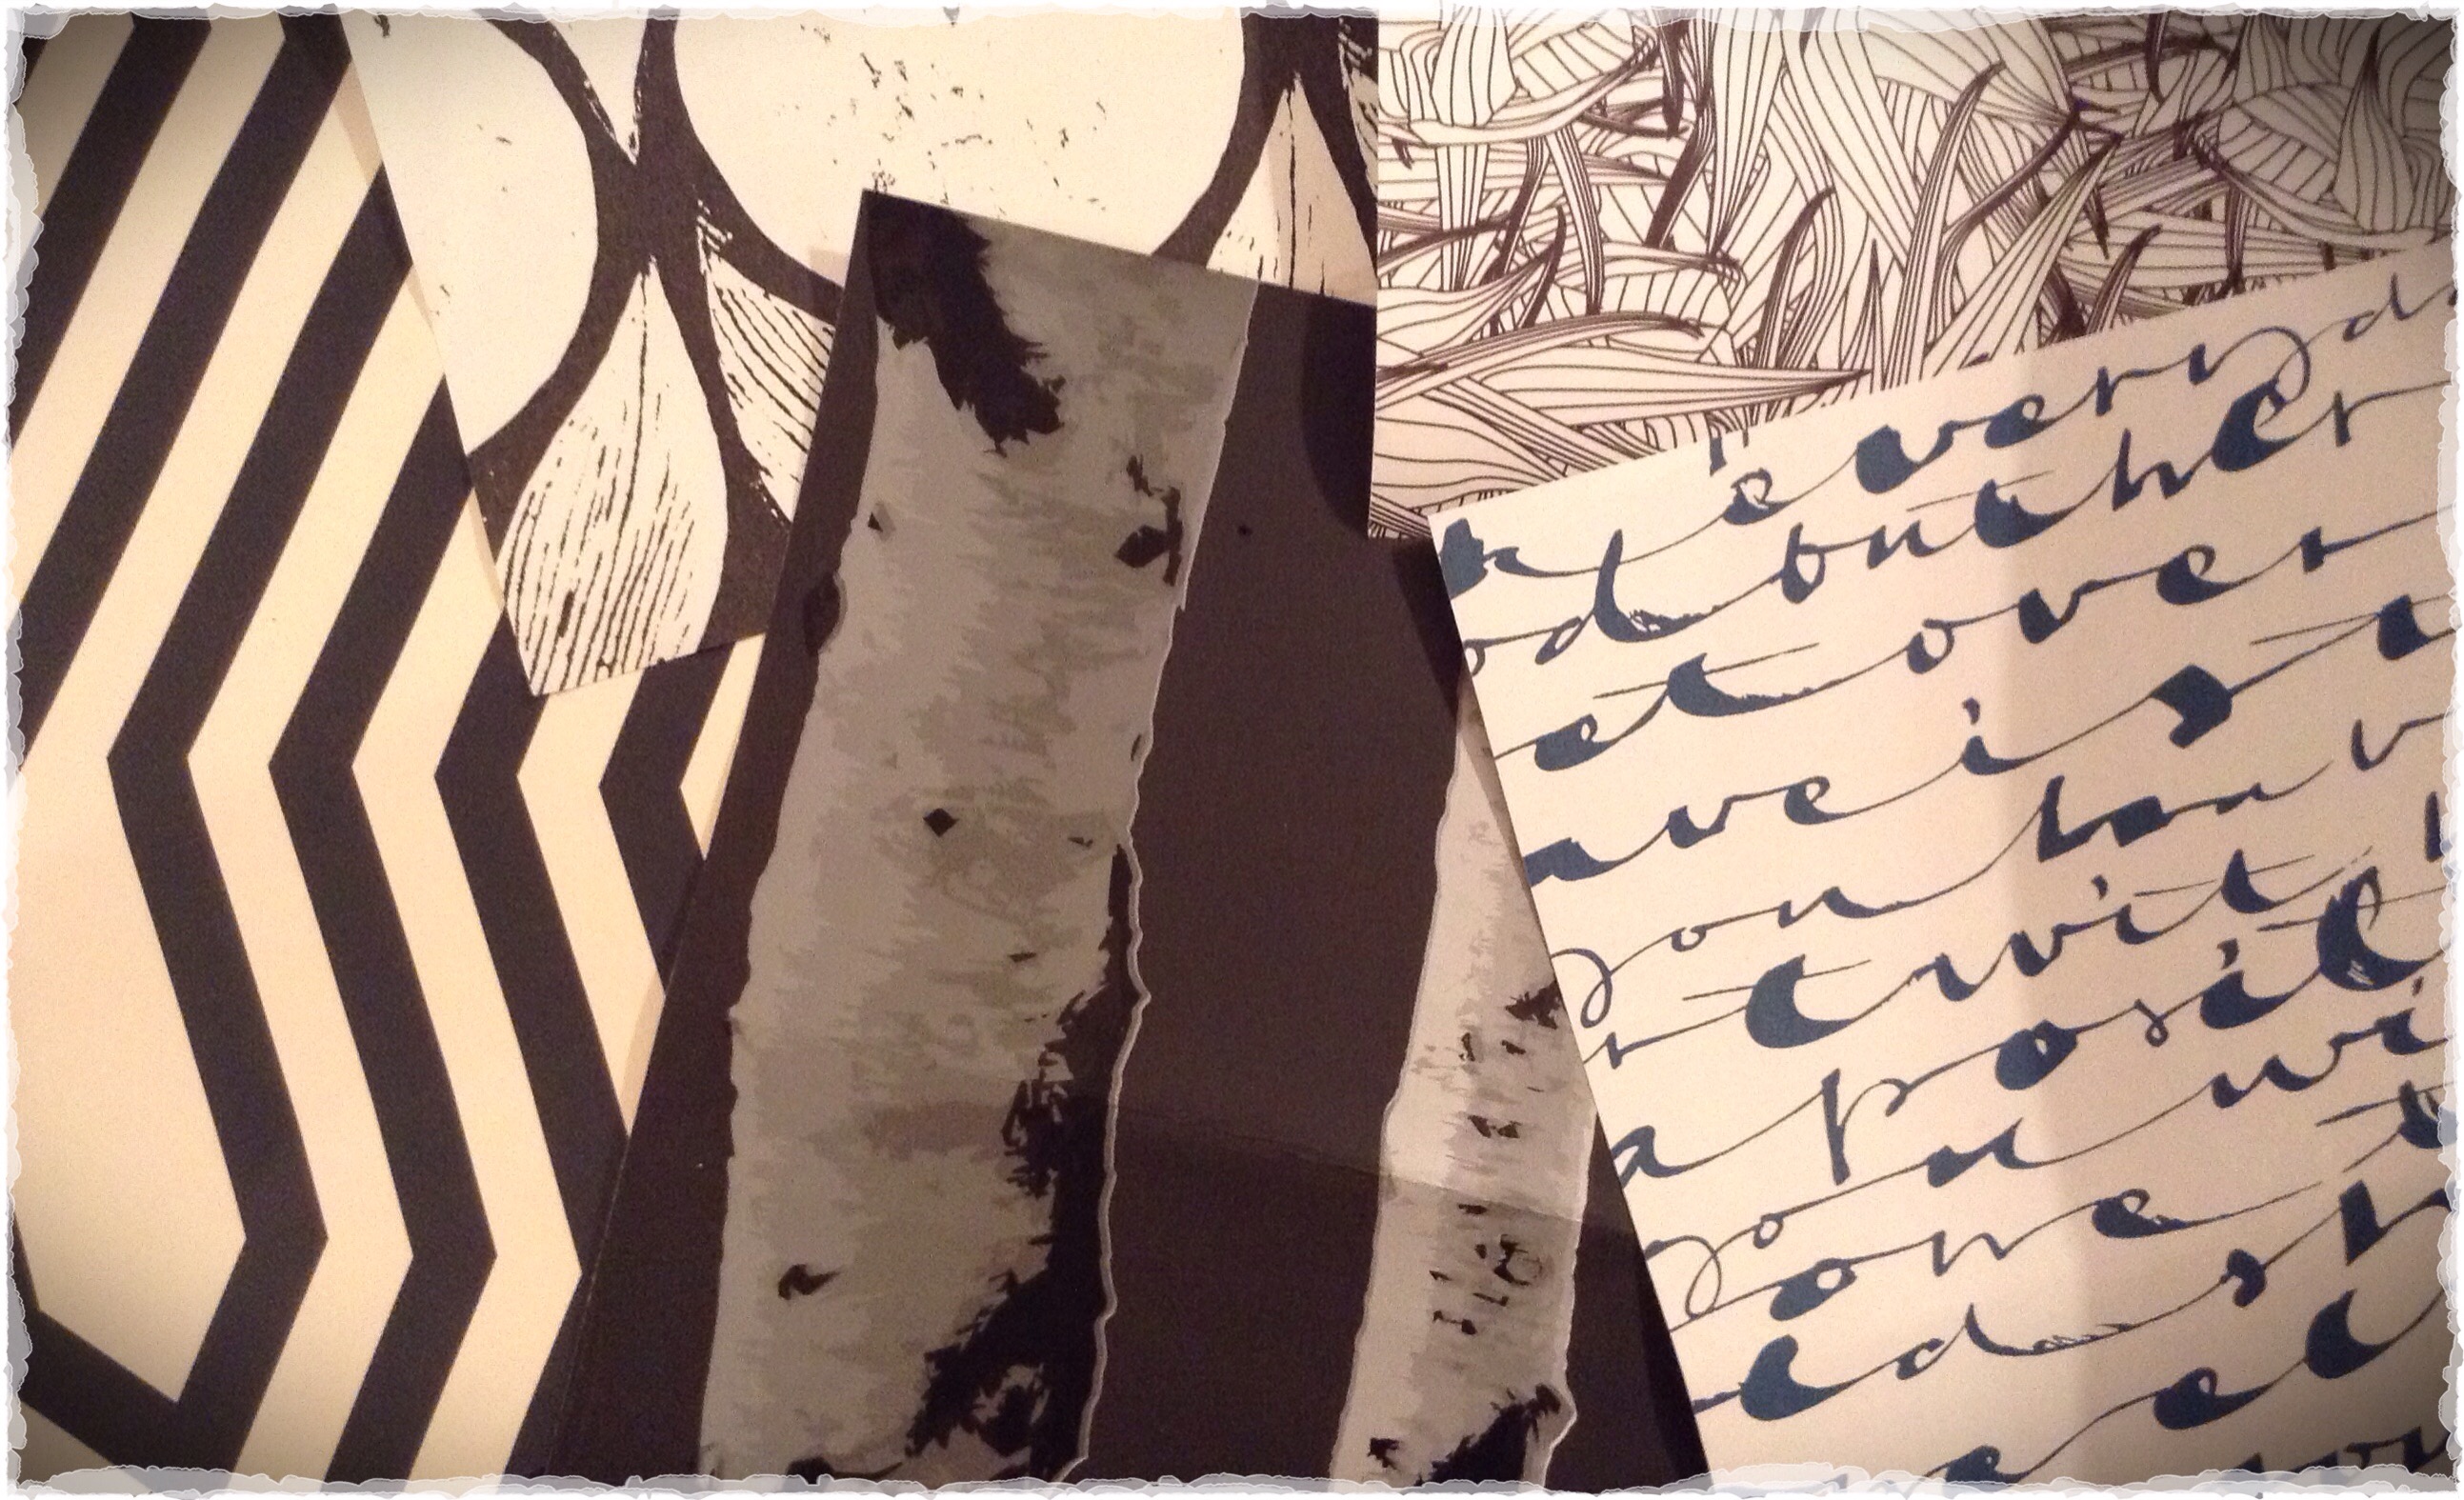
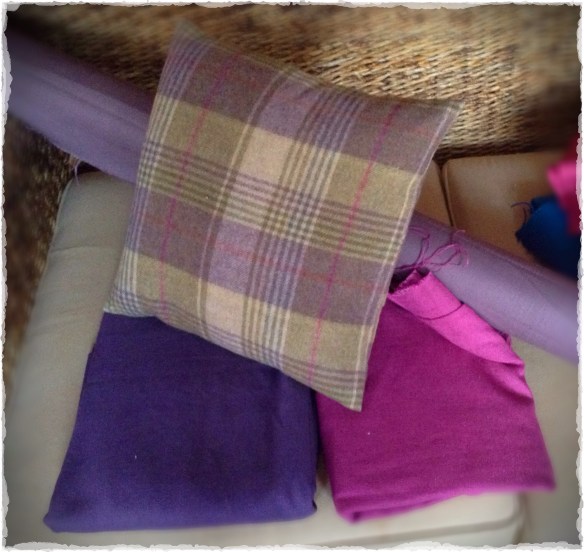
I’ve also finally got the fabric sorted for the kitchen sofa and bench seat, so we can now get on with making those! The heather linen will be for the seat pads, the rest will be for cushions and chair seat pads. The Harris tweed cushion was bought on our pre-Christmas visit to Edinburgh, I could do with getting a bit of this fabric to tie in elsewhere.
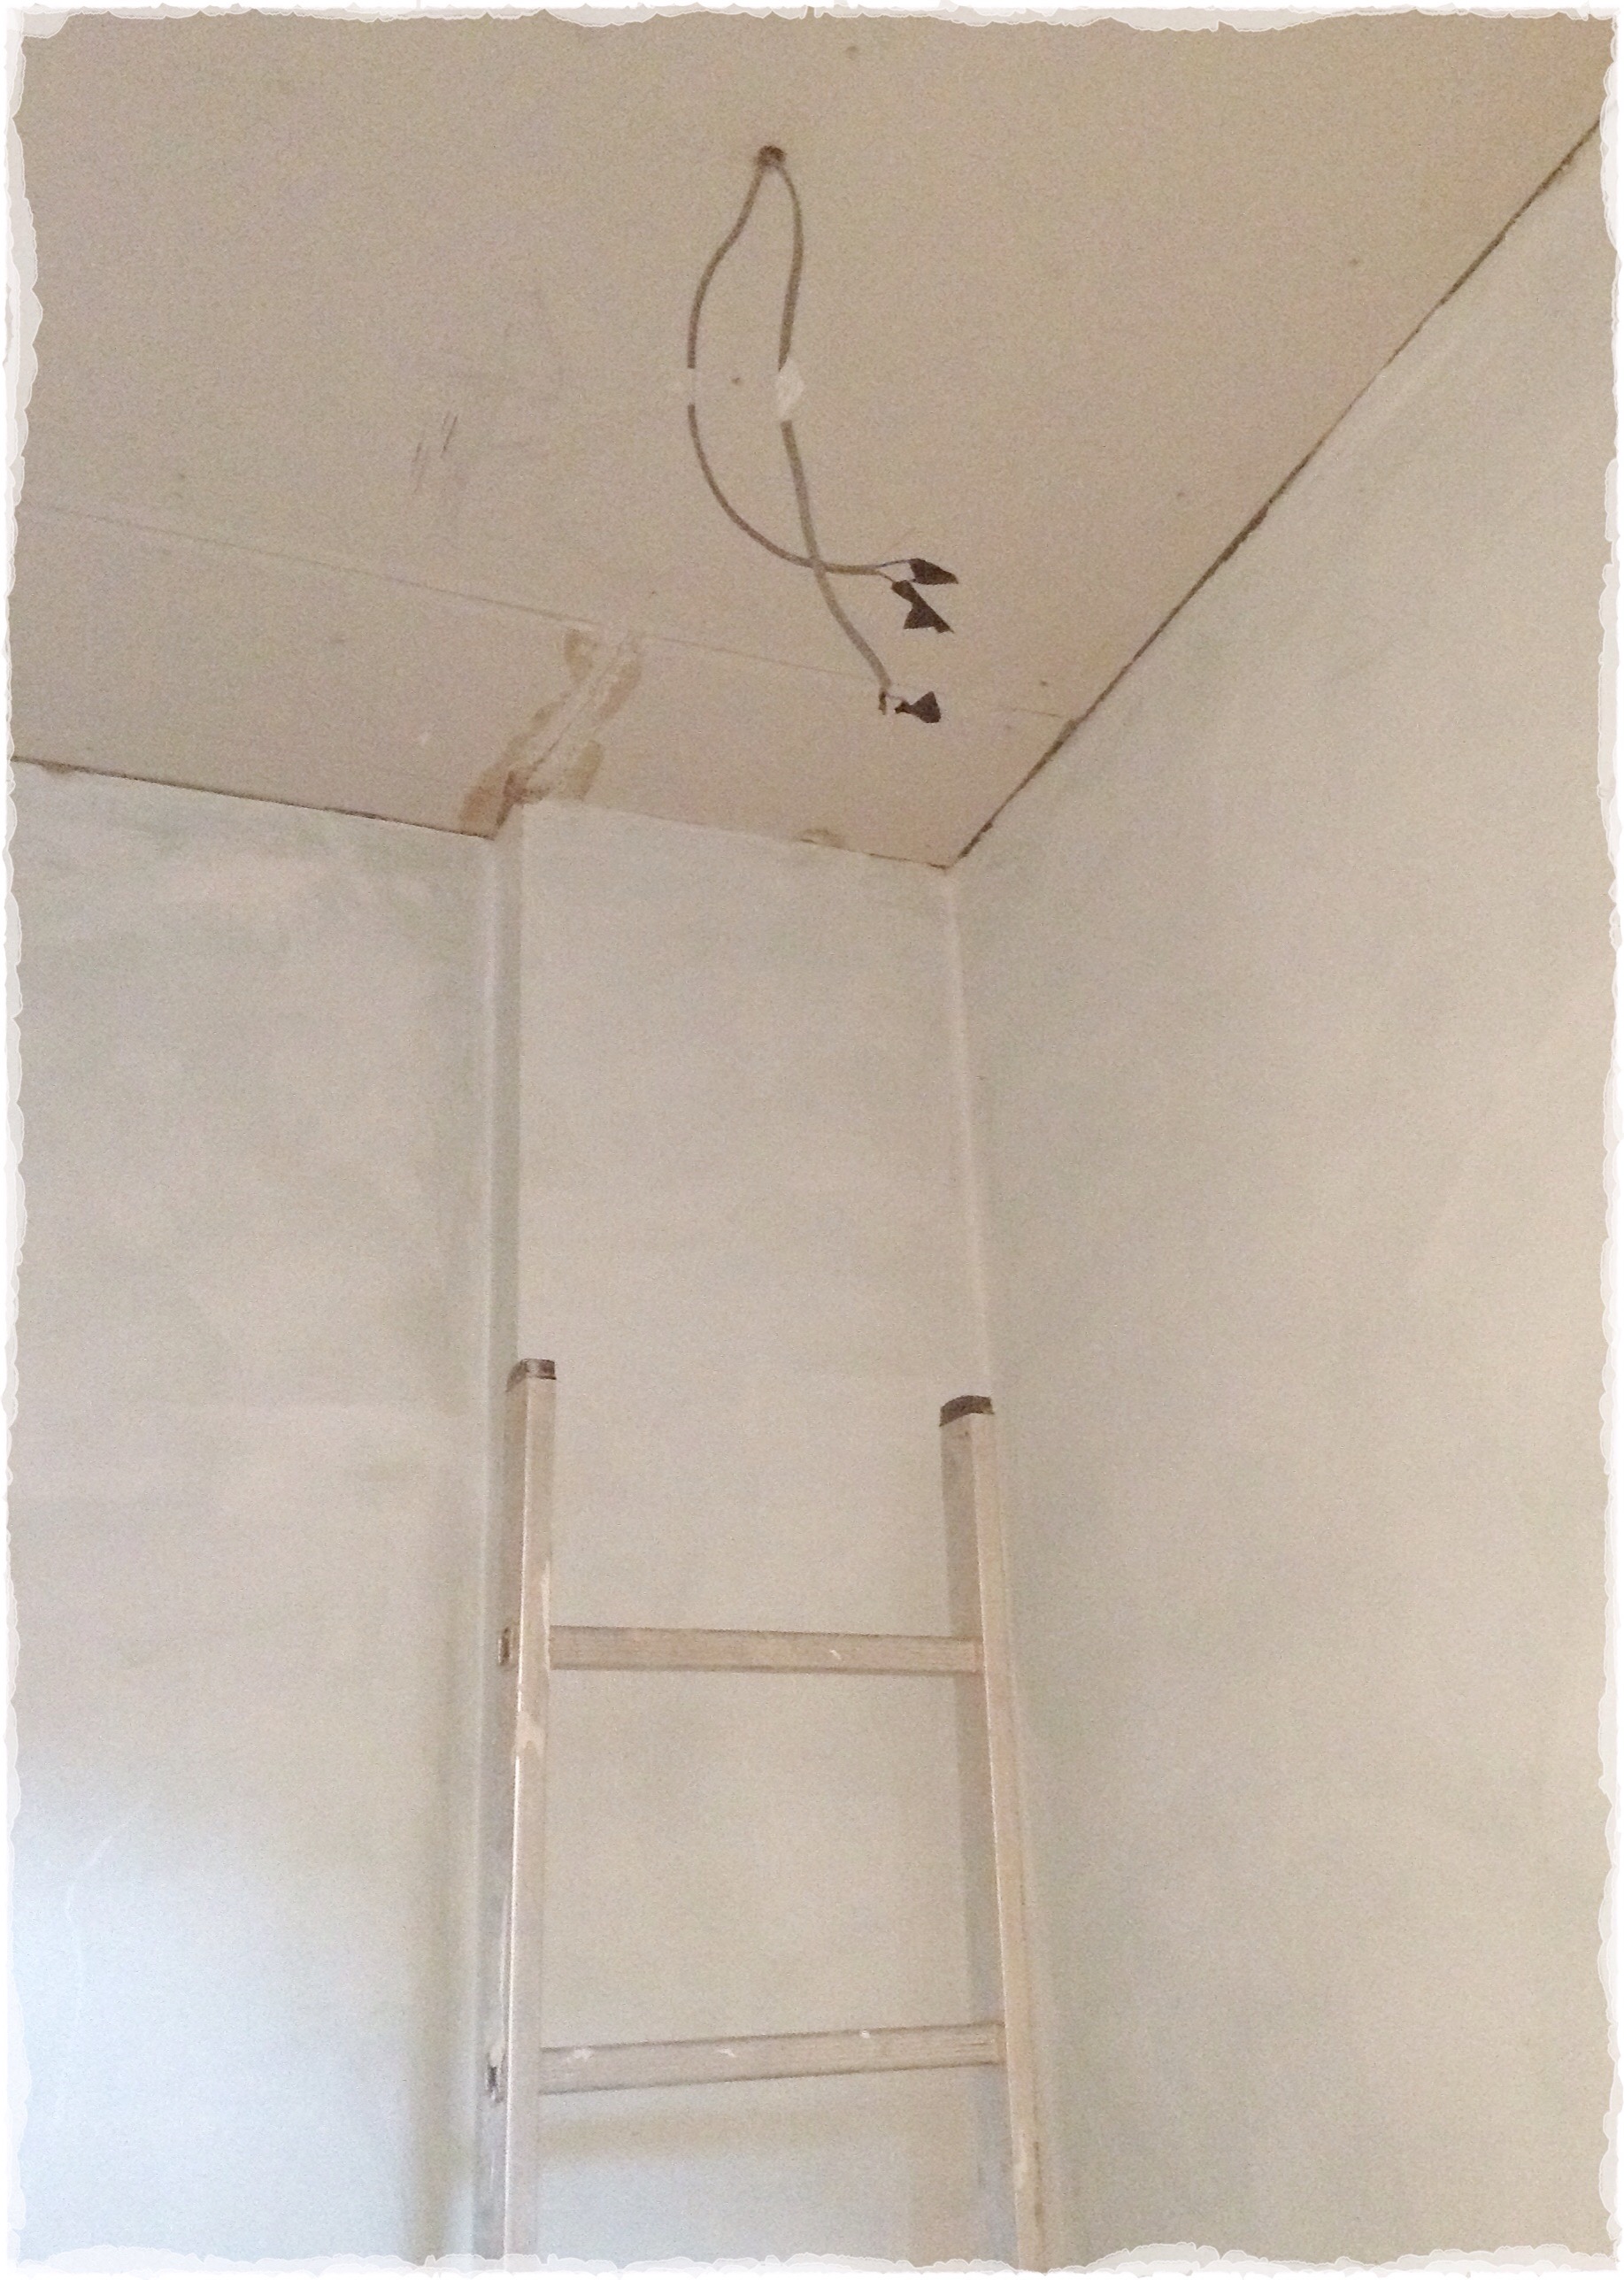
 We also fitted the ceiling in the downstairs bathroom, the whole house now has ceilings, oh the luxury!
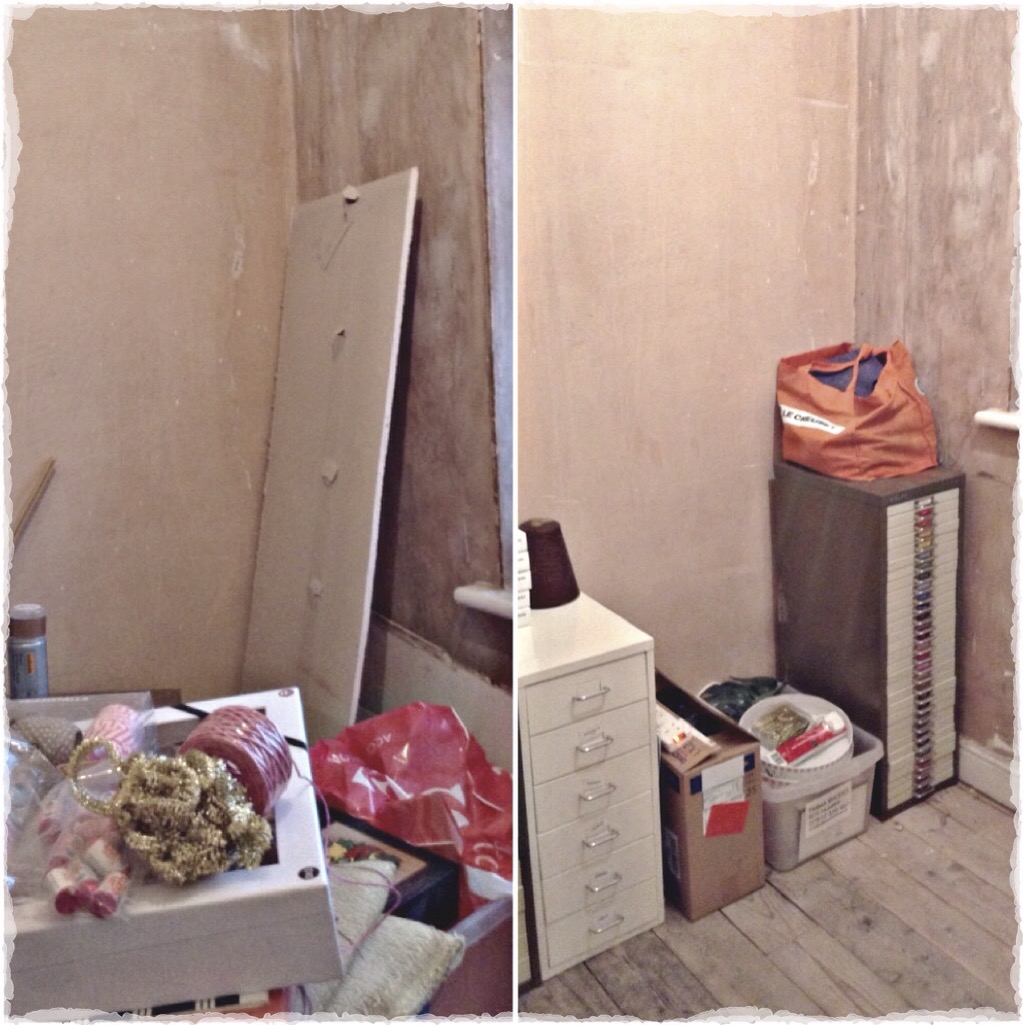
 Lastly for this weekend, we attempted to fill a hairline crack in the craft room, guess what…the plaster fell off. I’d hoped those days were behind us but seems not, on the plus side, it’s interesting to see where the old and new parts of the house meet.


 This wrought iron style vent is for the boot room, and here are some before, during and after images.
 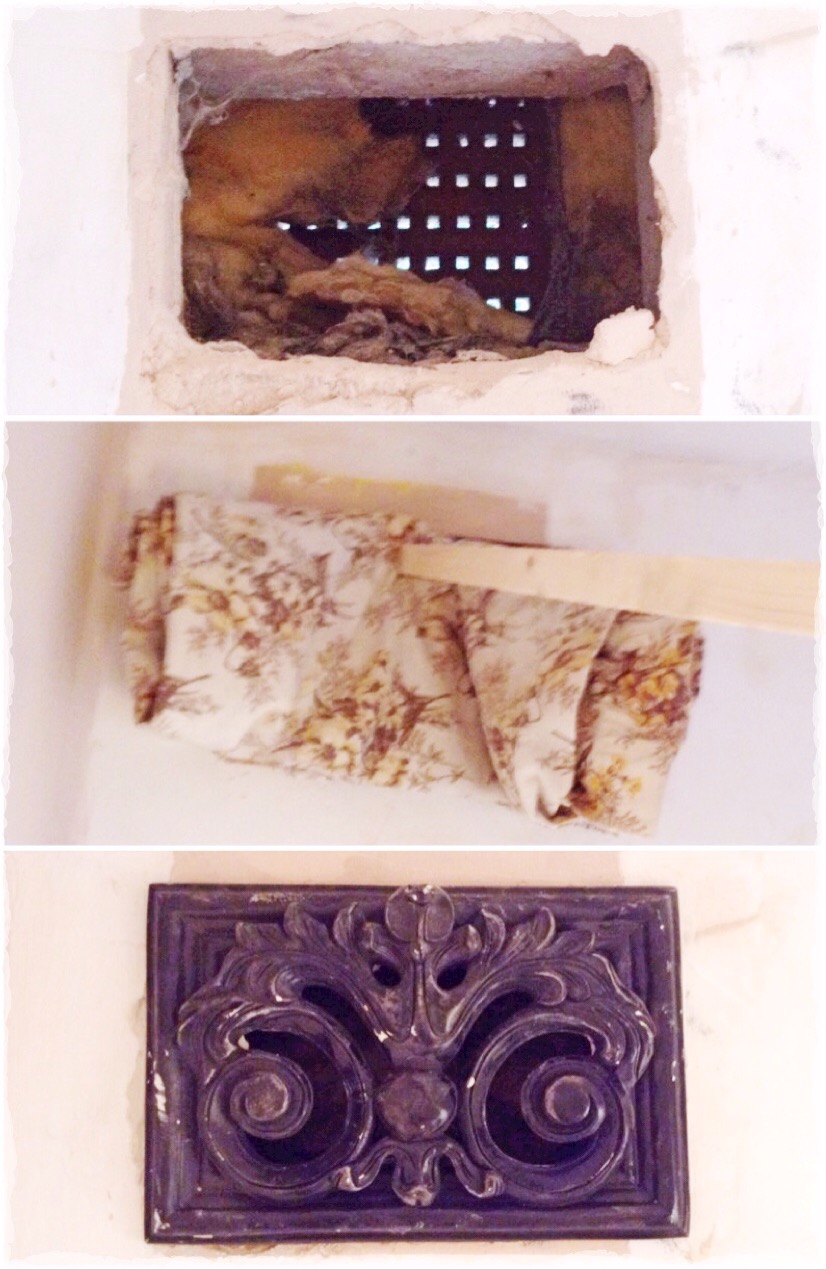 They basically get stuck on with adhesive, we propped ours up with a stick and protective cloth and left overnight, they are now soundly in place. Once we’ve wallpapered we’ll clean it up, but I’m pleased with the results.
  We chose this pretty floral version for the bathroom.
 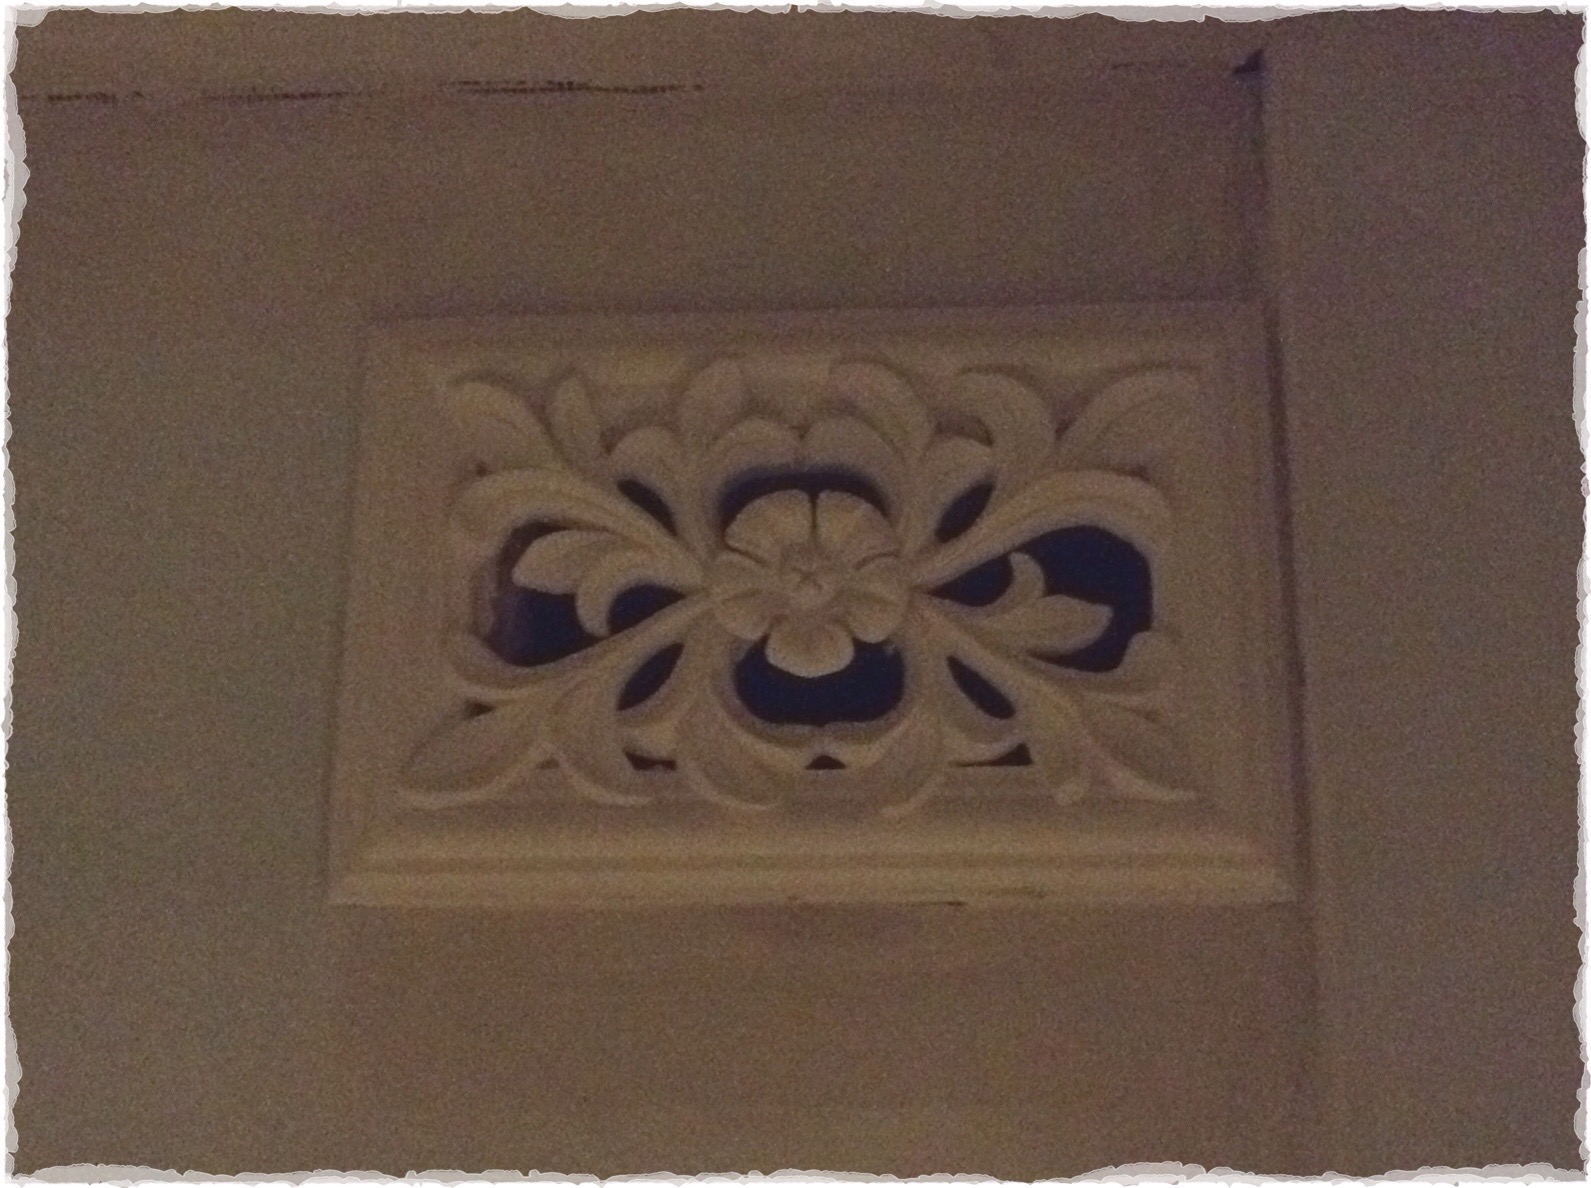 Here it is in situ…terrible photo, we may have a ceiling, but alas no lights…you can’t have it all hey?!