Two years after I decided how I wanted the craft room to look, it’s about done. The room is bijou at best, but with a bit of planning it’s worked out just fine.
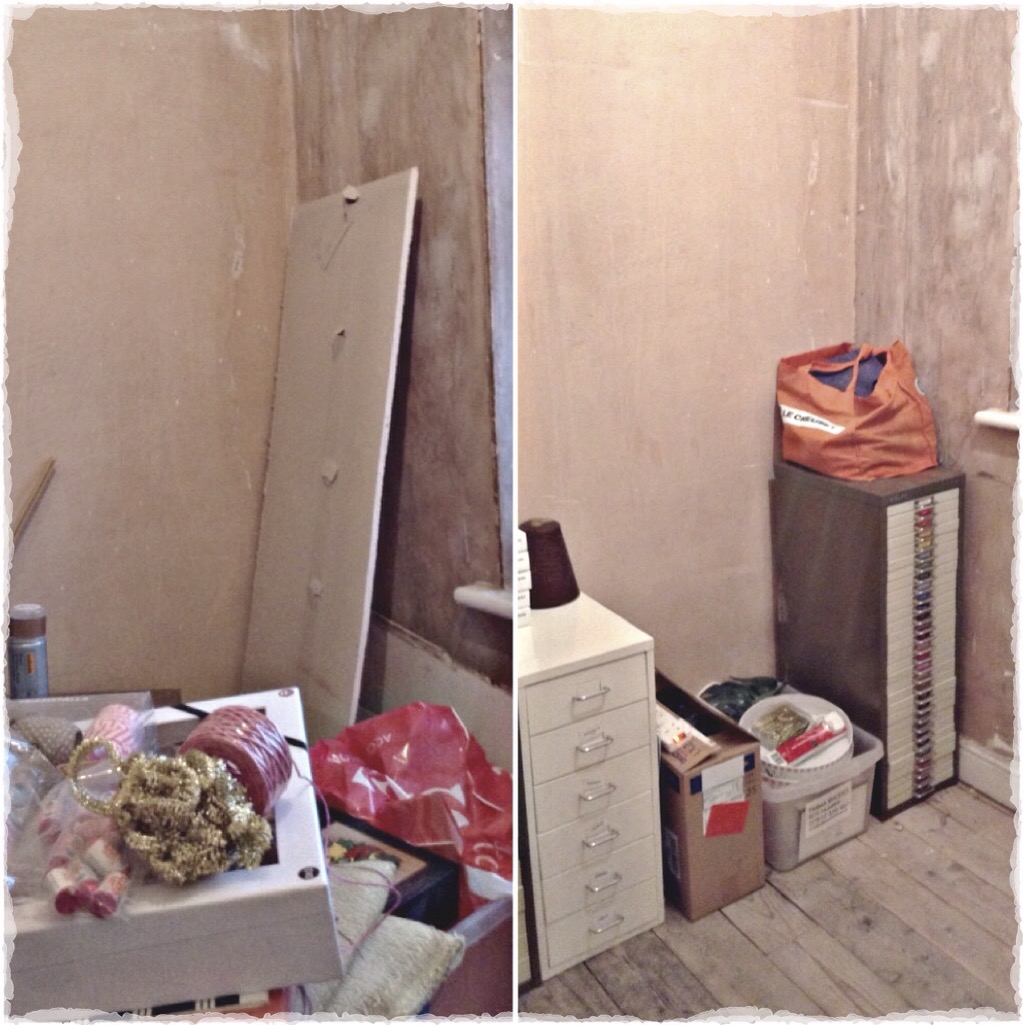
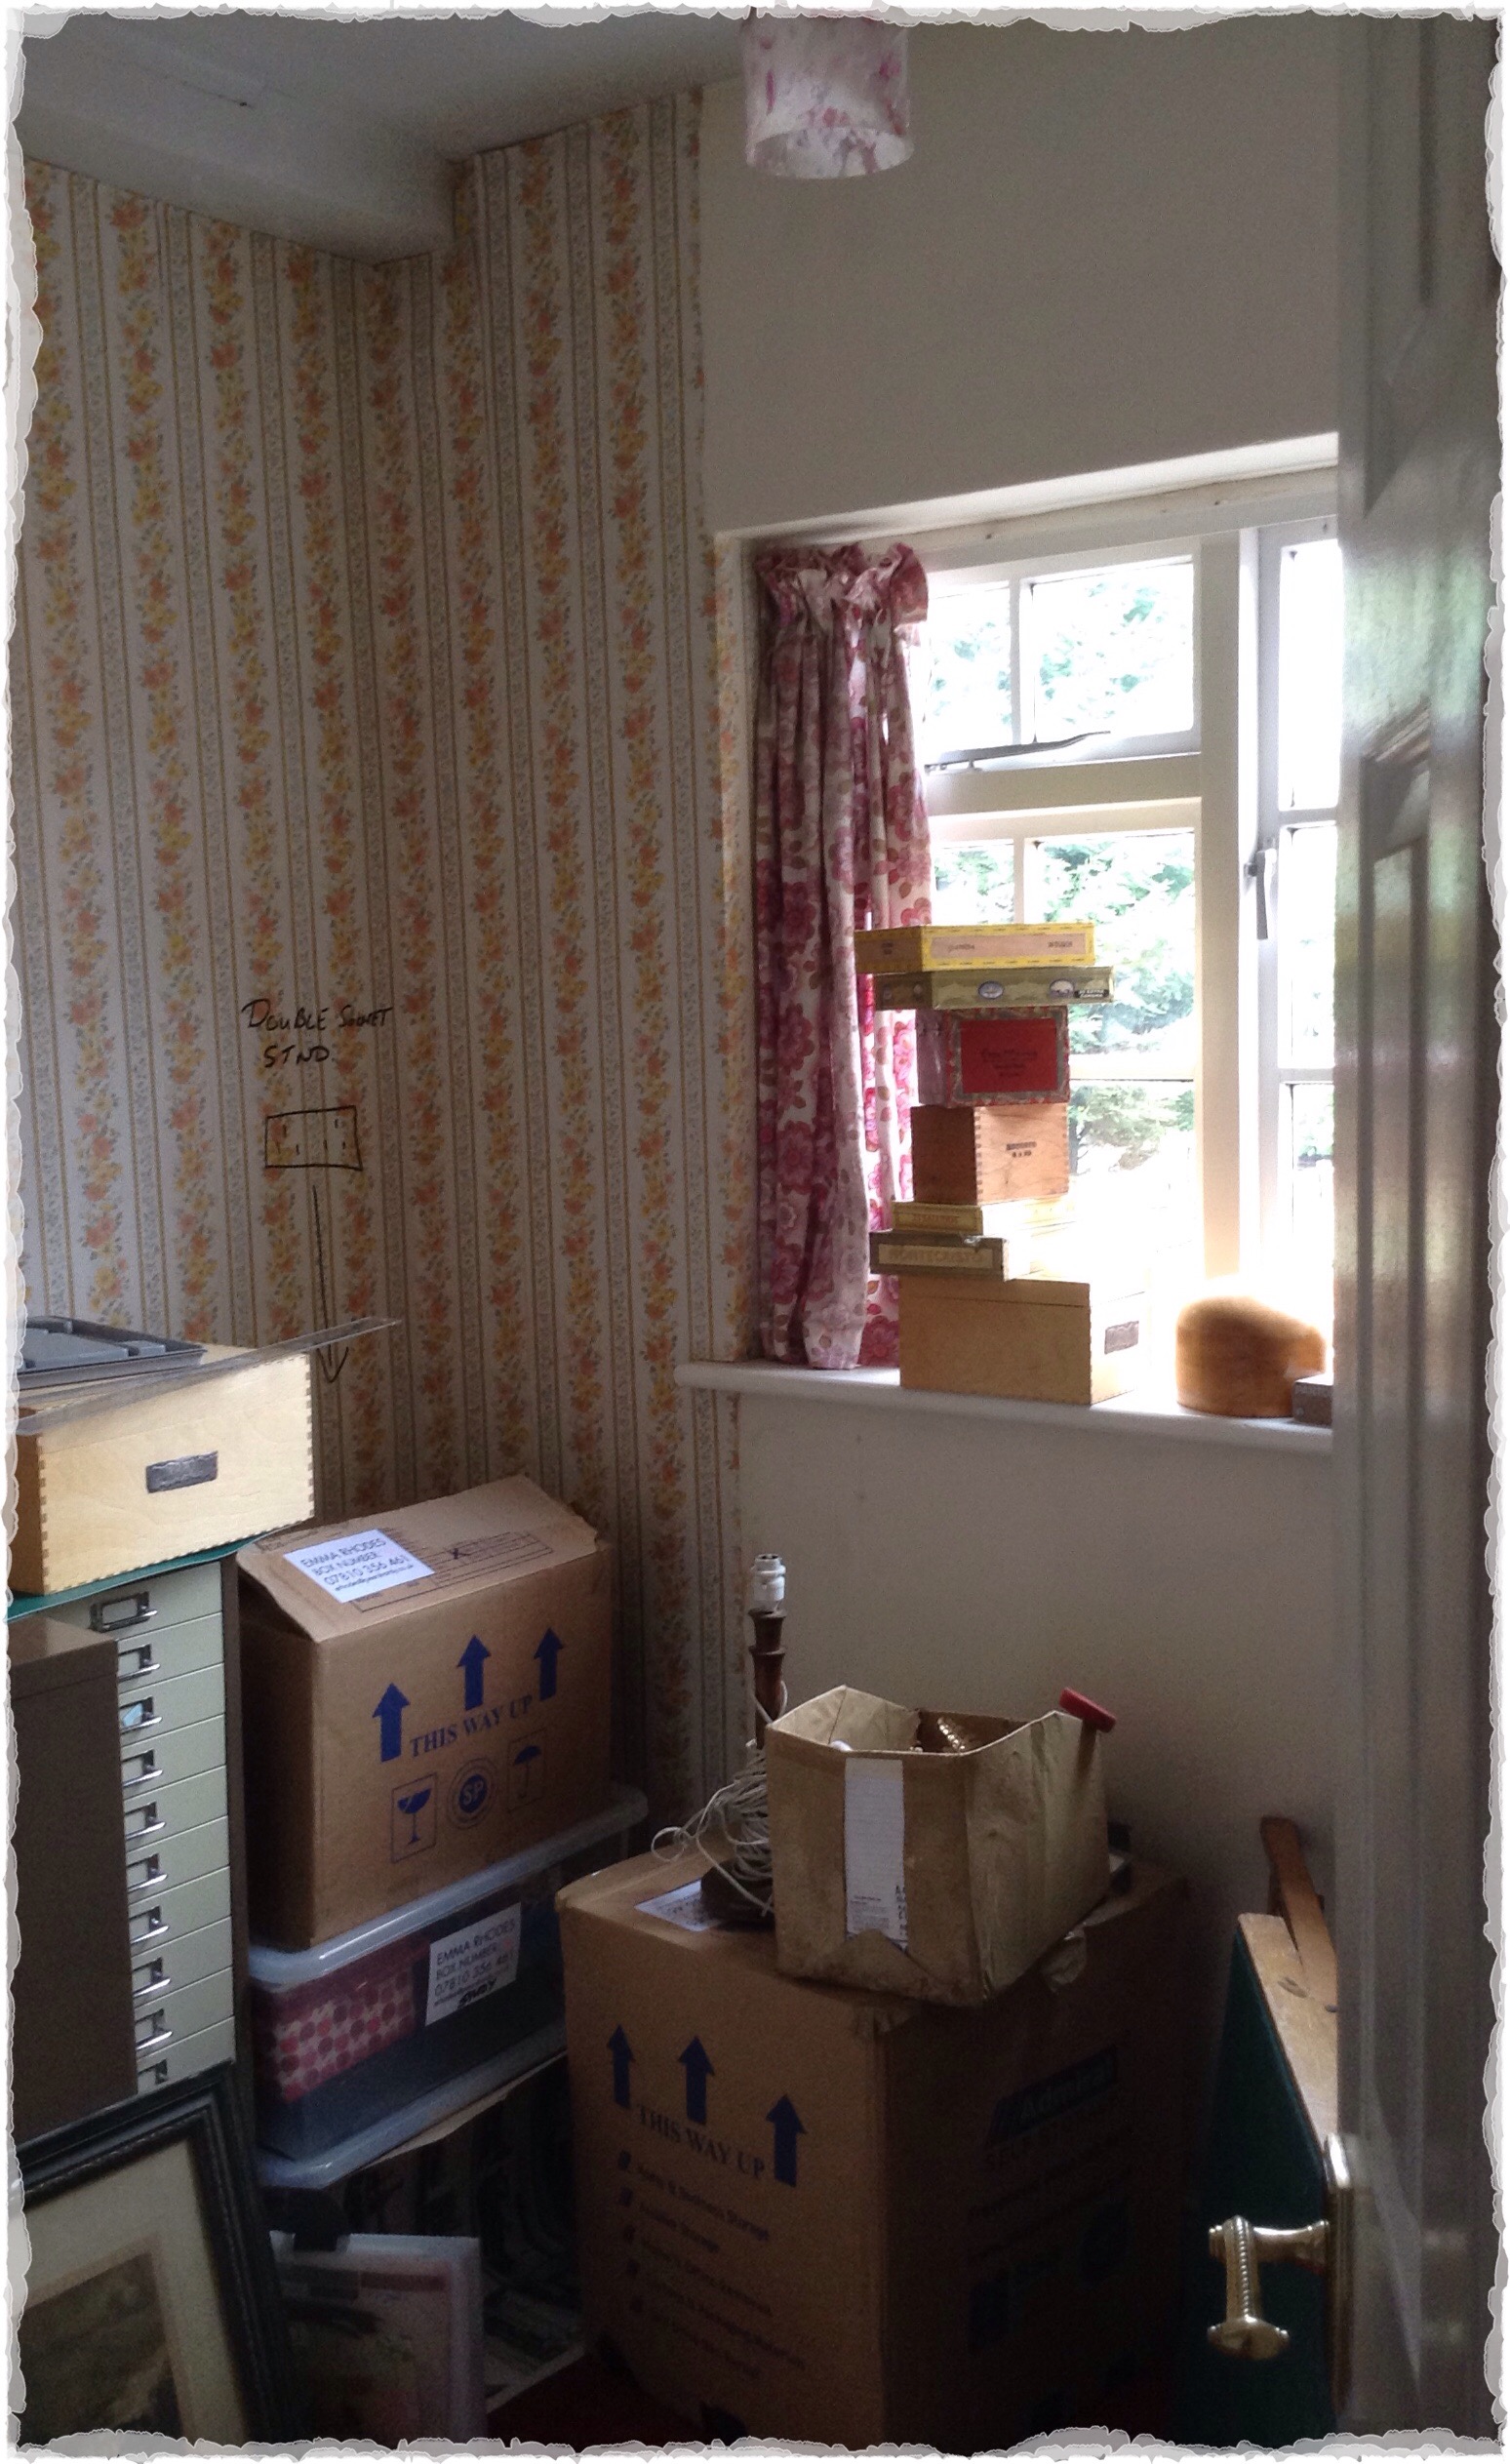 Like every other room in the house, things got a whole lot worse before they got better. Firstly the heating installation meant lifting the floorboards & general havoc, followed by a rewire and new windows. In true renovation style, we then had a big piece of plaster fall down & a significant repair to do.


The last dirty job was to change the ceiling boards for new fireproofed versions as this will be checked off by building control once the attic is underway.
Eventually we reached blank canvas stage and we (I) began planning. Due to my frankly ridiculous hoards of stationery, ribbon, washi tape, beads & random other sparkly tat, storage needs were key. The first issue was that the weak stud wall meant I couldn’t have the shelves I’d anticipated, boo, so the rest of the room needed to work extra-hard.
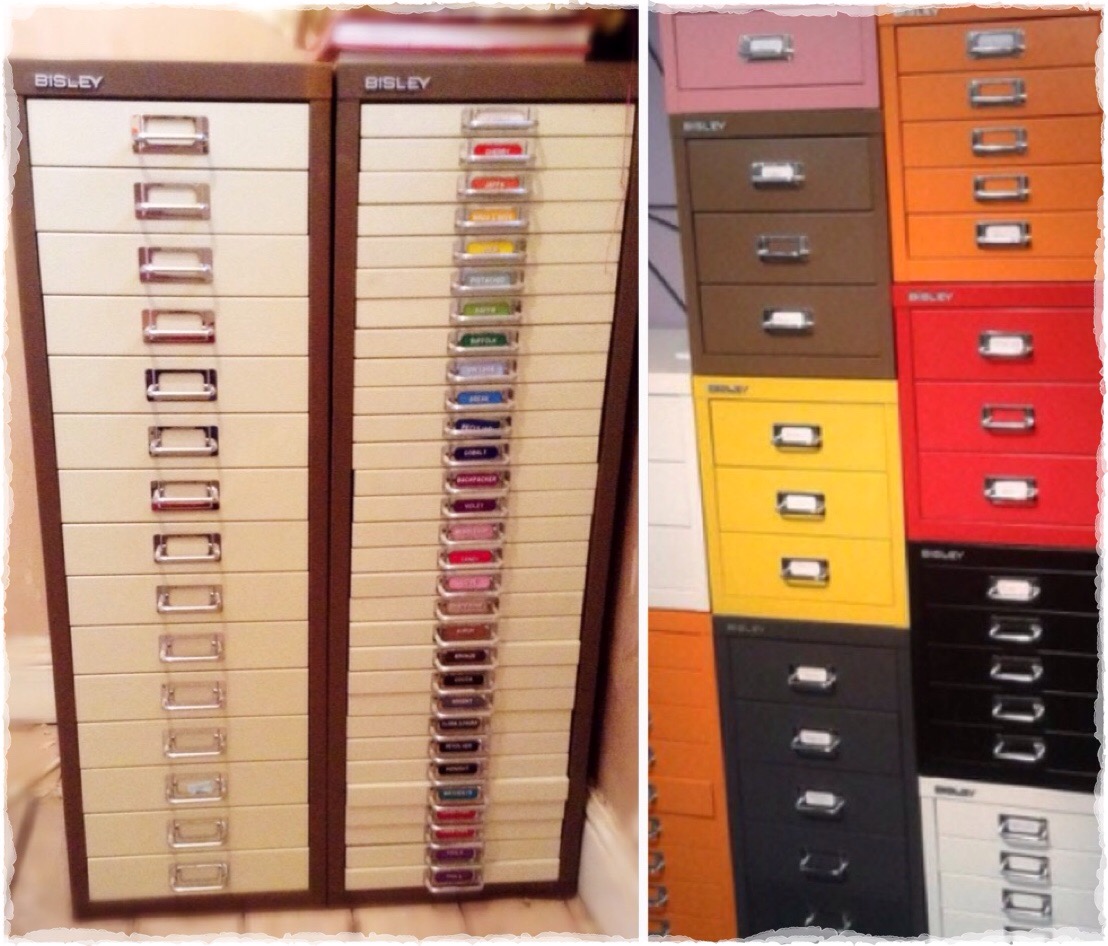
 My work desk was easily constructed by cutting to size a piece of white Formica worktop & sliding it into the nook the three walls create. We cut circles in both corners for flush fitting cable tidies – fancy! It’s big enough for working, crafting, sewing, maybe even writing the odd blog post. Beneath the desk are my two Bisley units holding all my jewellery & sewing paraphernalia. I had planned on getting these powder coated, but now they are in place I’m not sure it’s worth the outlay…?
 I wanted a storage cabinet on the opposite wall. I looked at numerous vintage haberdashery cabinets but they were too wide, too deep, too tall and ultimately (very pregnant) I got bored of looking as it was preventing progress and I knew if I didn’t get it sorted before Littley’s arrival I might never have a craft room. There was only one thing for it… IKEA! I chose the Liatorp which was the skinniest, tallest model they had.
I’ve been able to squeeze most stuff onto the adjustable shelves in my numerous jars and storage boxes and it looks pretty good. After having all of this sprinkled throughout the house for so long, it’s rather luxurious to have it all in one place & I’m already finding that I’m enjoying doing more ‘projects’.
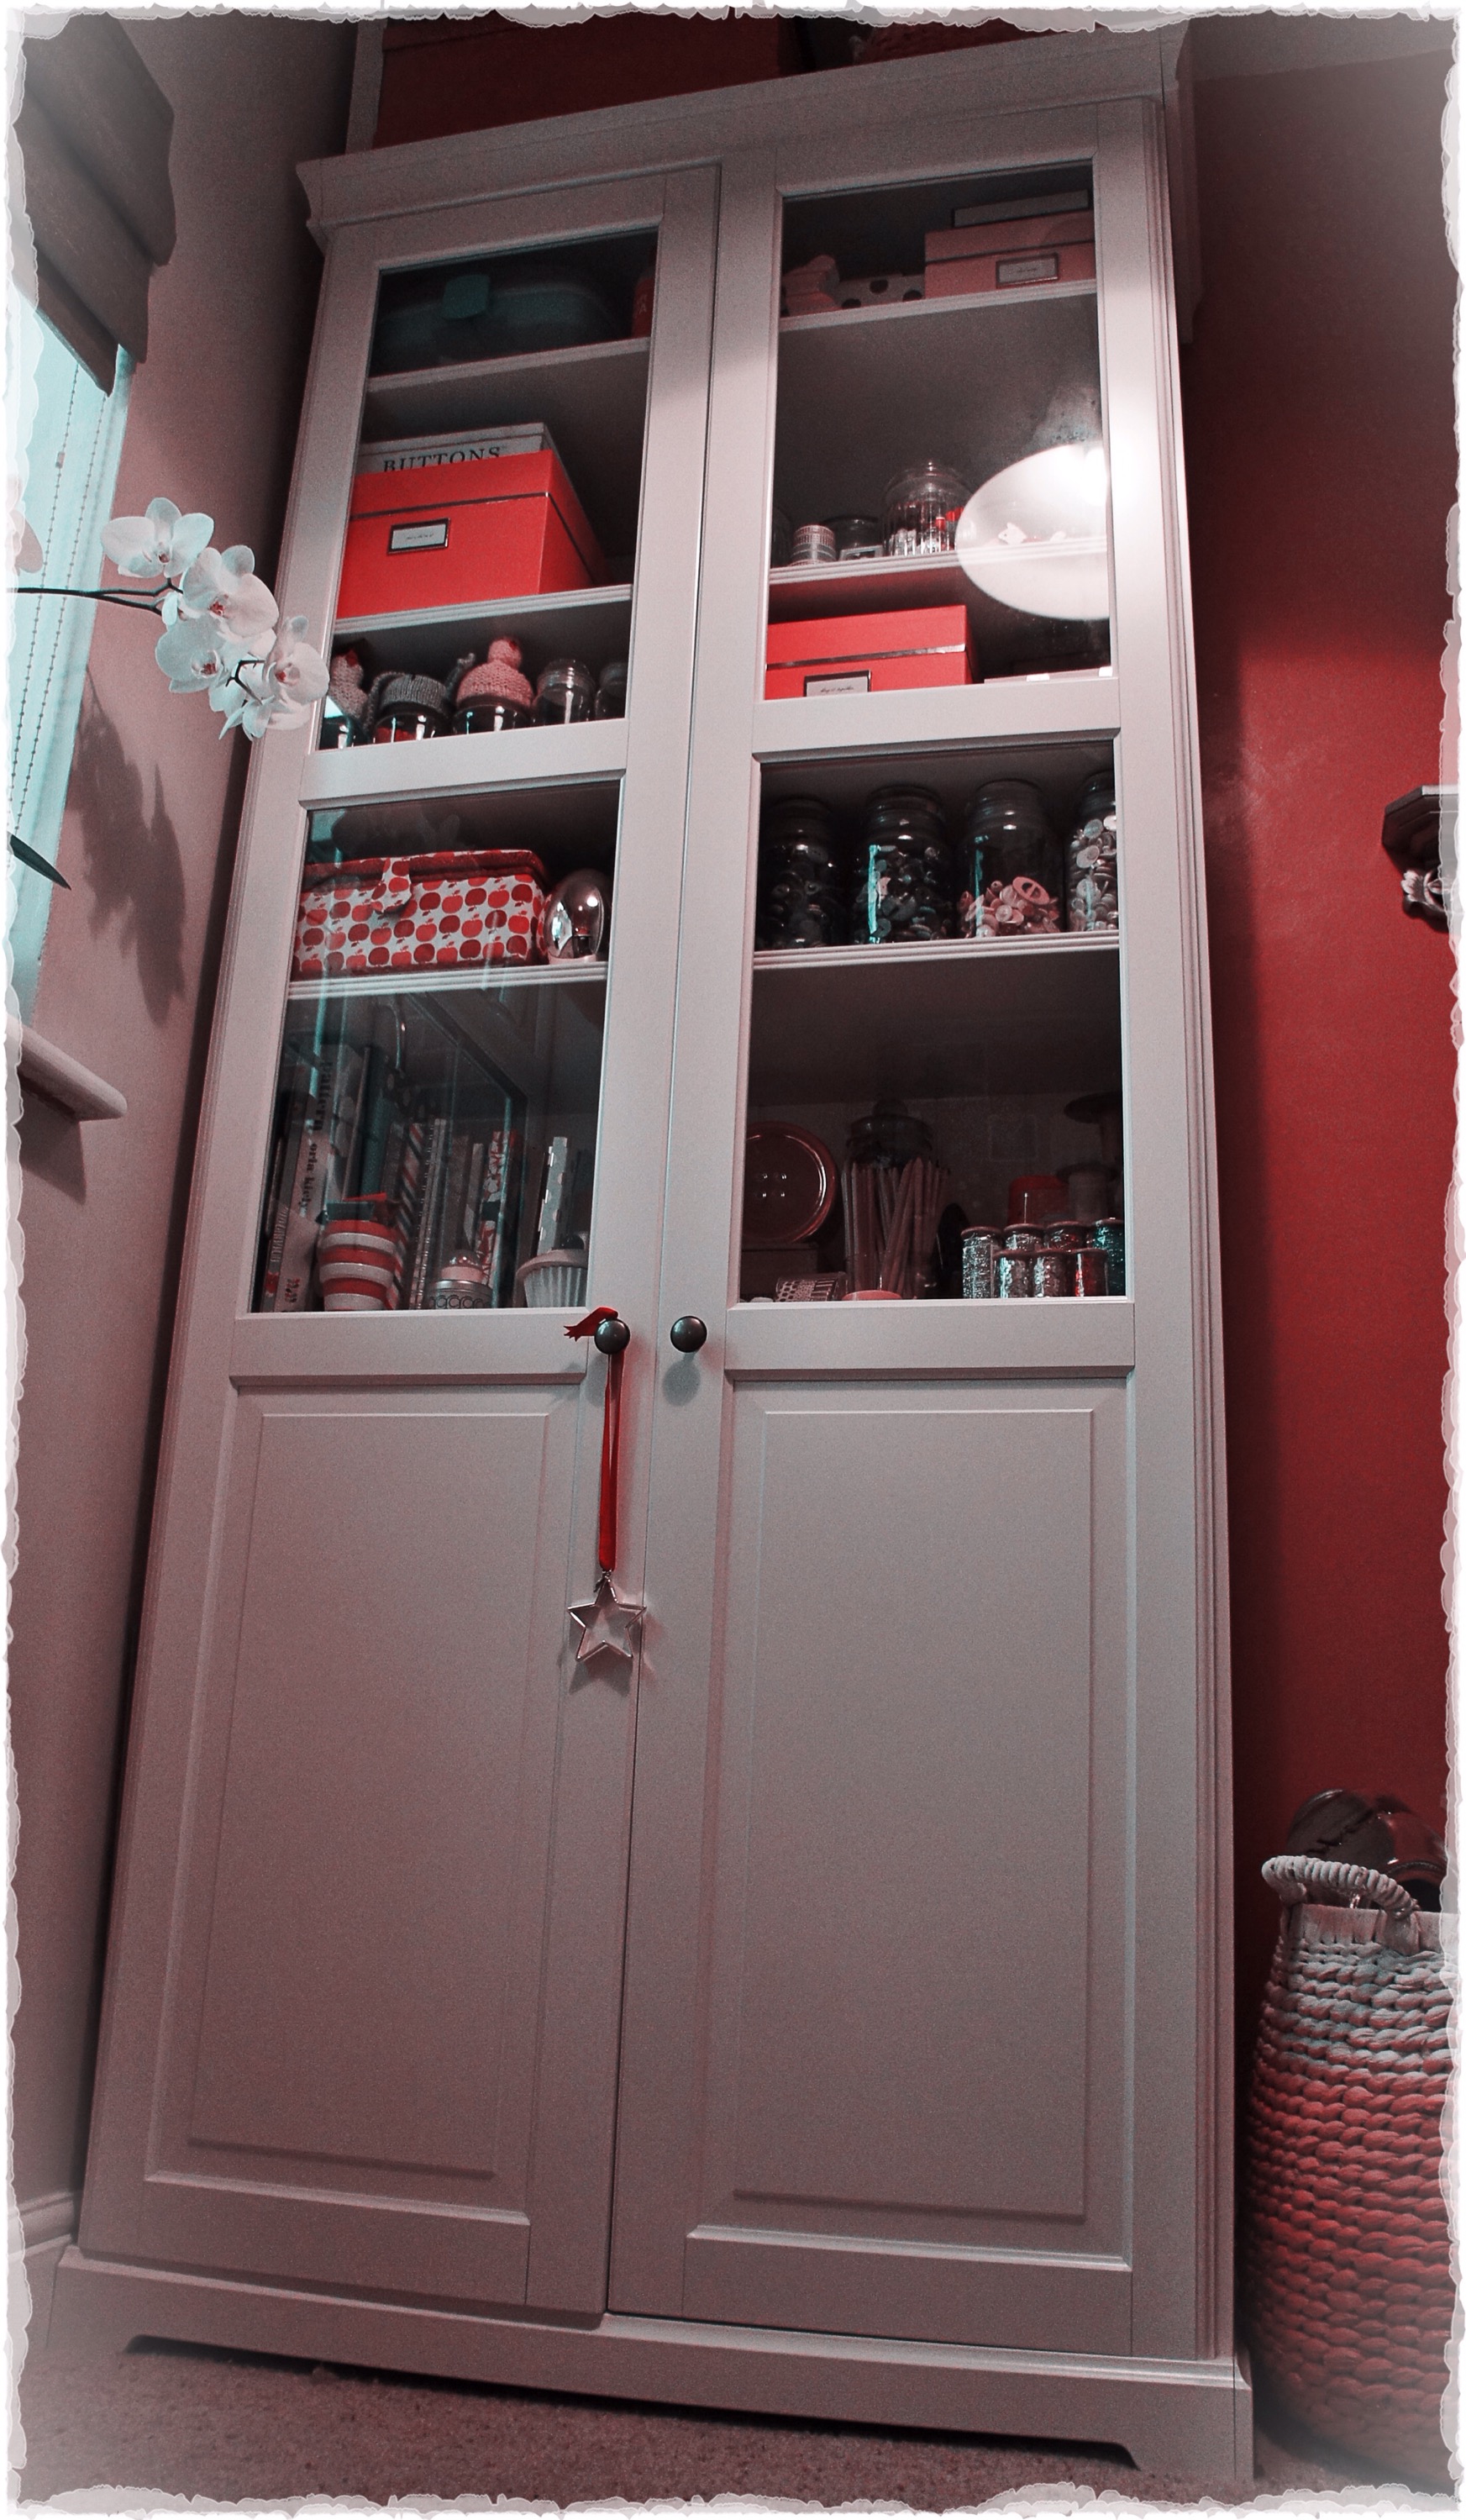


I also picked up a set of dip dyed storage baskets for fabric remnants etc. from Very to keep on top of the unit – Every little helps!
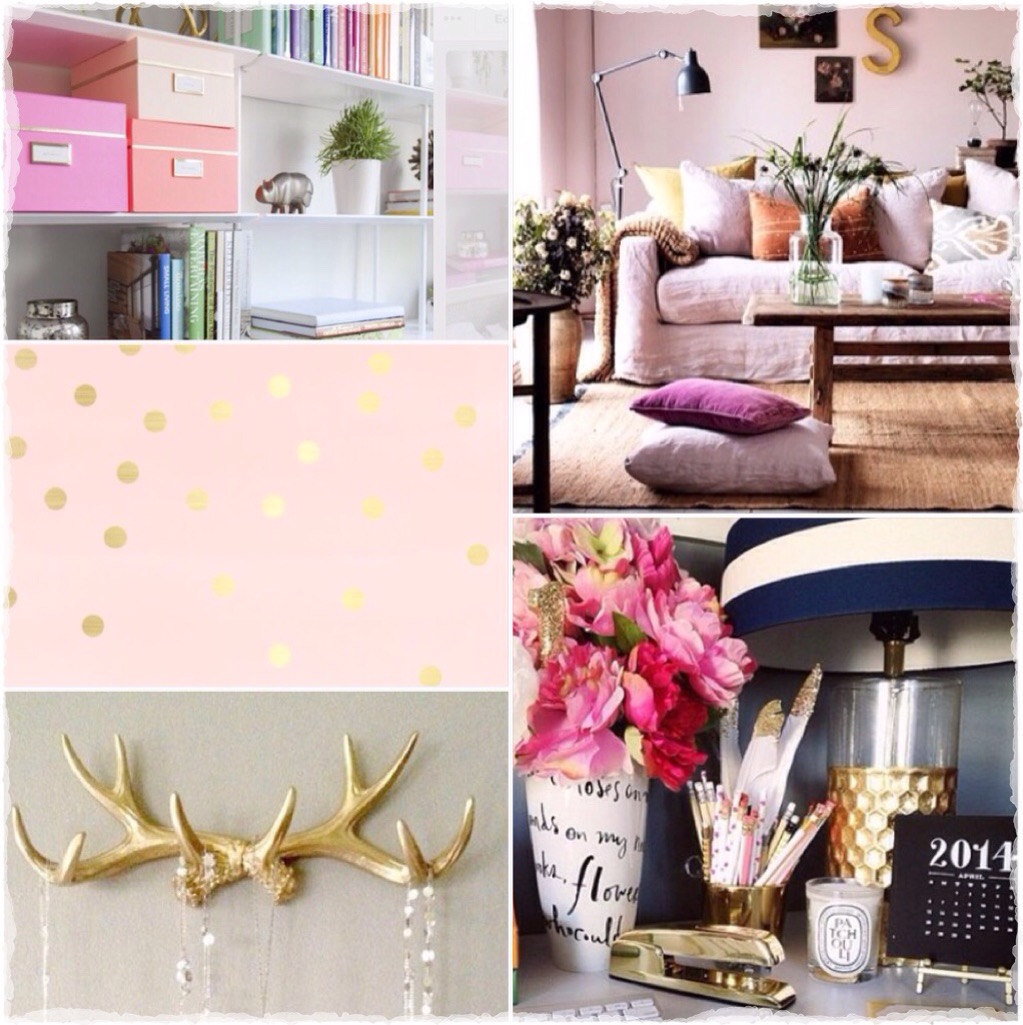
 I was set on a colour scheme of black, white, pink & gold – I spent a good portion of the aforementioned eighteen months deciding on wallpaper. I wanted something monochrome in a bold, graphical design but needed to be careful of the scale due to the dinkyness of the room. Here were the choices…
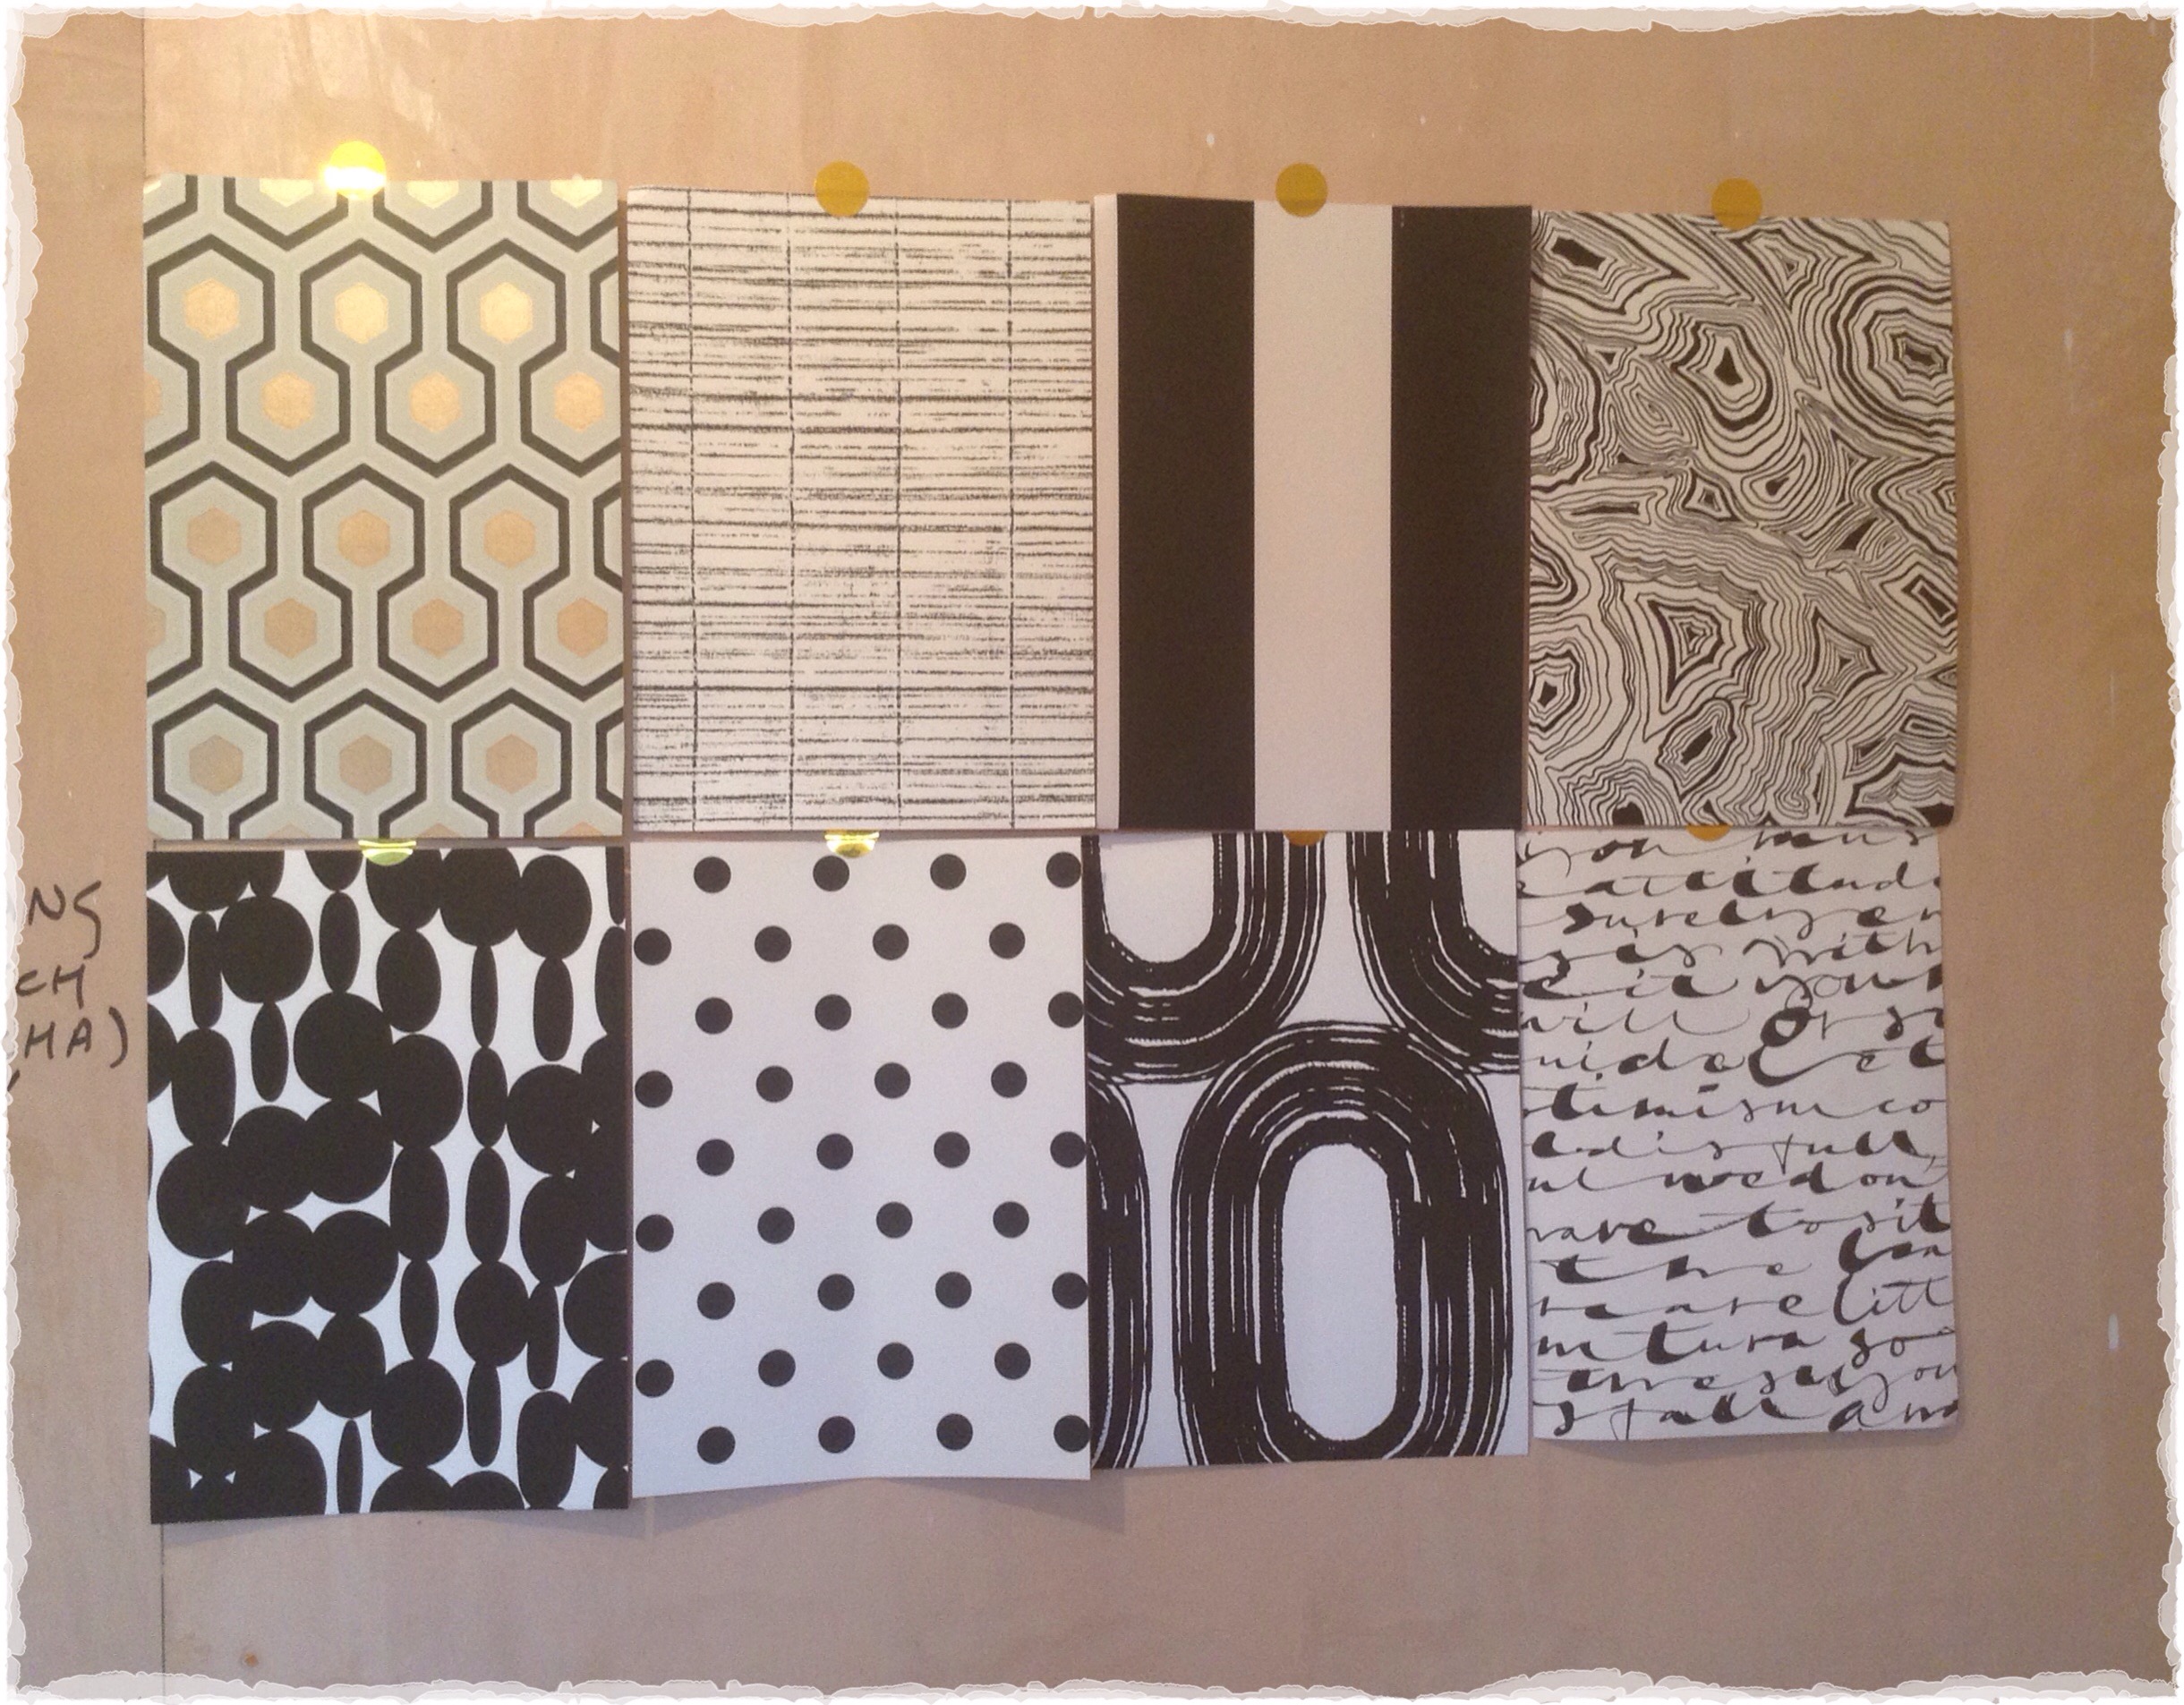
After much deliberation and despite trying to dissuade myself, I did of course decide on the most expensive which was the Cole & Son ‘Hix Hexagon’ in the top left corner. Seeing this picture reminds me that I also ended up with a free roll of the paper bottom left due to a delivery mix up, I must try to use that somewhere, or at least EBay it.

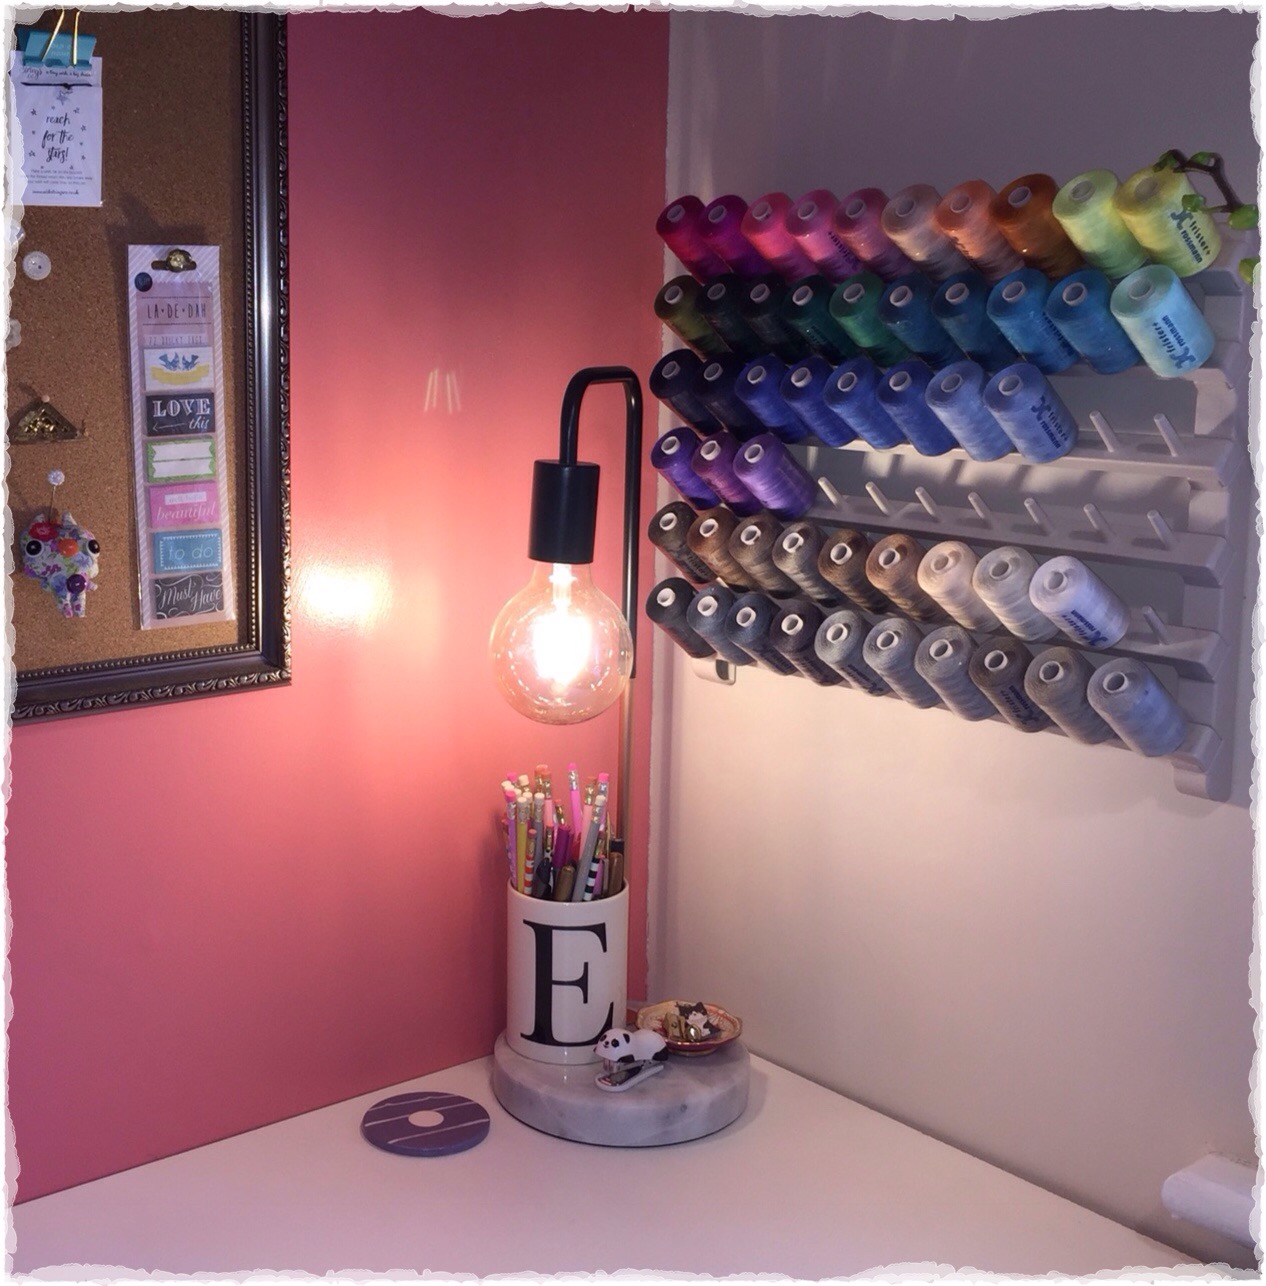
The paper has a midscale print with a gorgeous matt gold detail which compliments a truffle silk blind I wanted to reuse from my last house. The pink for the walls was mixed to match my Kate Spade storage boxes & I chose a neutral woollen carpet for the floor.
 As I was unable to have the planned shelves on the back wall, I decided on a large pin board instead. I couldn’t find a board with a nice frame so I spray mounted a piece of cork sheet to a piece of hardboard and popped it into a pewter picture frame.


So there we are! It’s much brighter than it appears on these photos, it’s a grey and dull day out there. So that’s three blog posts I’ve managed this year, eek. There’s so much I need to show you! In the meantime a very Happy New Year to you all.