
Get the flags out, there’s another room done! It may be the smallest room in the house, but it’s another one down all the same. The cloakroom hasn’t turned out at all as I originally envisaged, I was thinking high cistern and subway tiles, it didn’t end up that way for several reasons…
1. Every interiors magazine has indentikit versions.
2. High cisterns and (nice) subway tiles are expensive.
Essentially we were led down a different path as we had tiling to use left over from the kitchen floor, we wanted to find a place to use the Victorian pot cupboard we bought and finally, we saw this on a trip to Stokholm.
And so it began…

Once the horrid old bathroom was taken out we laid the stone floor and had the new suite fitted. We reused the chandelier from the bedroom of my last house. Our carpenter cut into the Victorian cupboard to accommodate our basin.

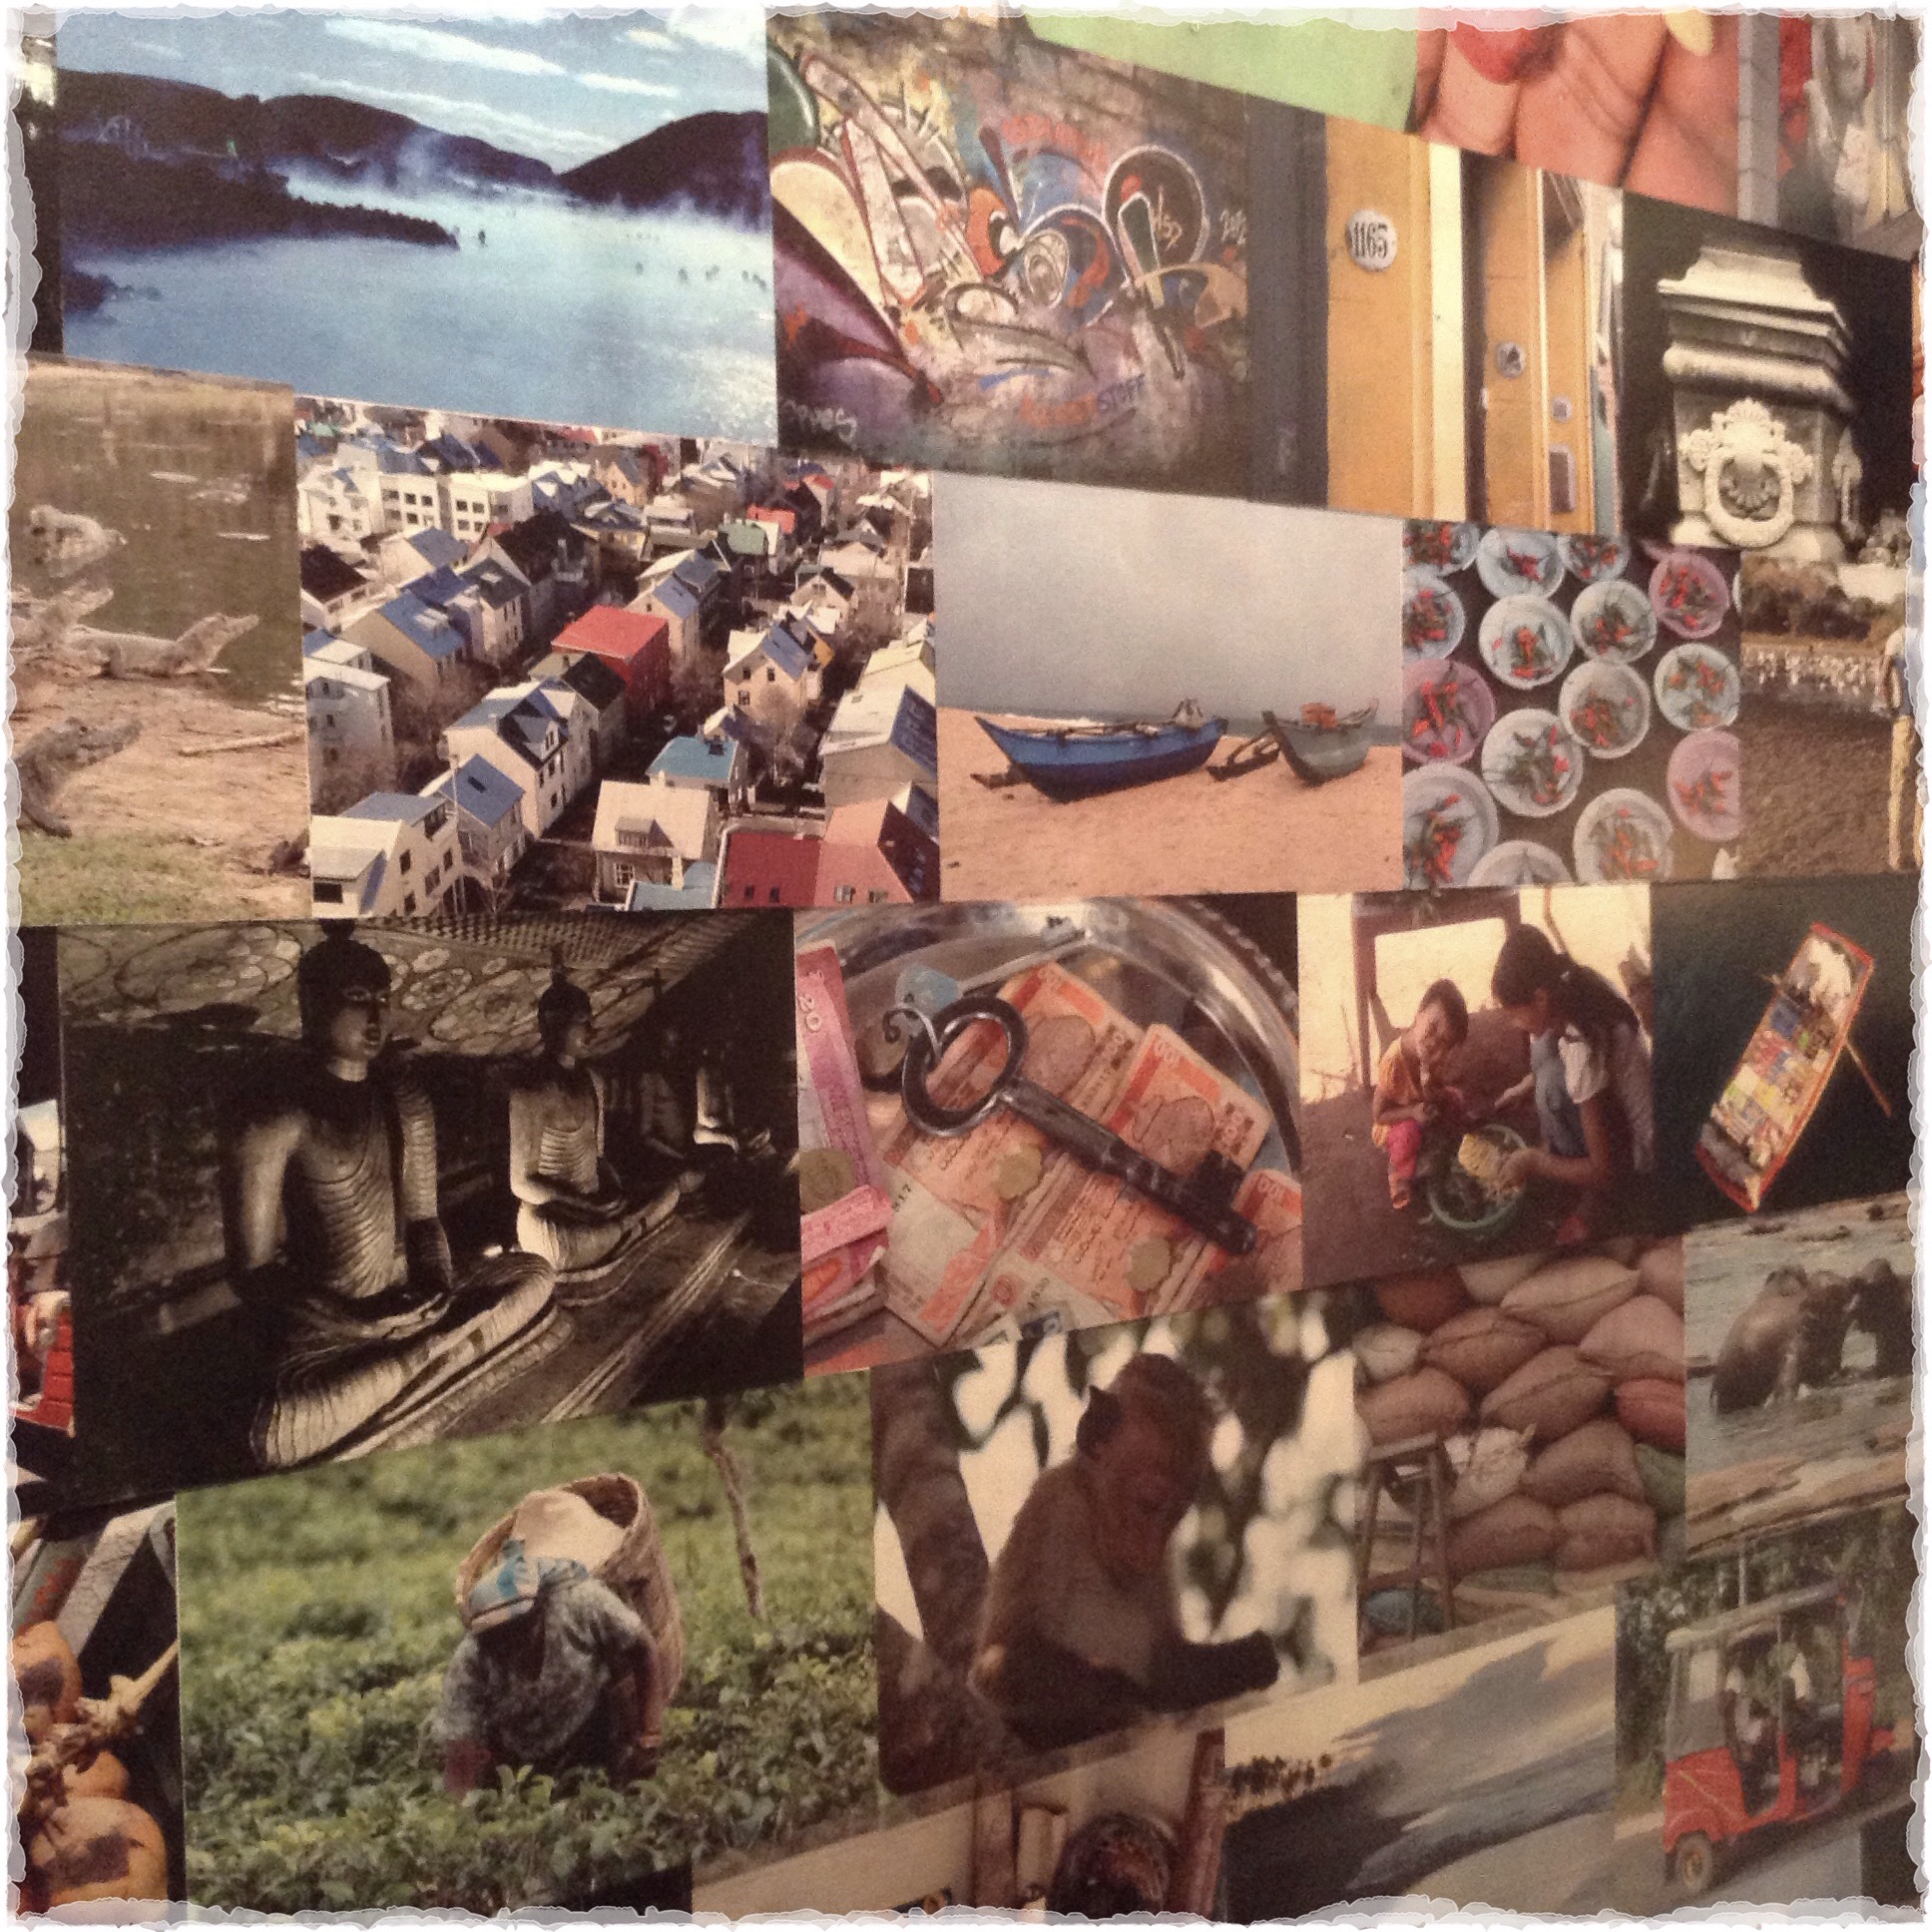
We then turned our attention to the walls. Inspired by the Stolkholm bathroom, we decided to use the photos we’ve taken on our travel adventures together to paper the walls. We had our favourite images printed to A4 size, trimmed where needed and then laid them out in columns, trying to avoid similar colours or repetition of locations falling too near to one another.

Once our composition was decided, we used LOTS of extra strong wallpaper paste on the reverse of the prints. We left each for a couple of minutes to soak before we put them onto the wall.
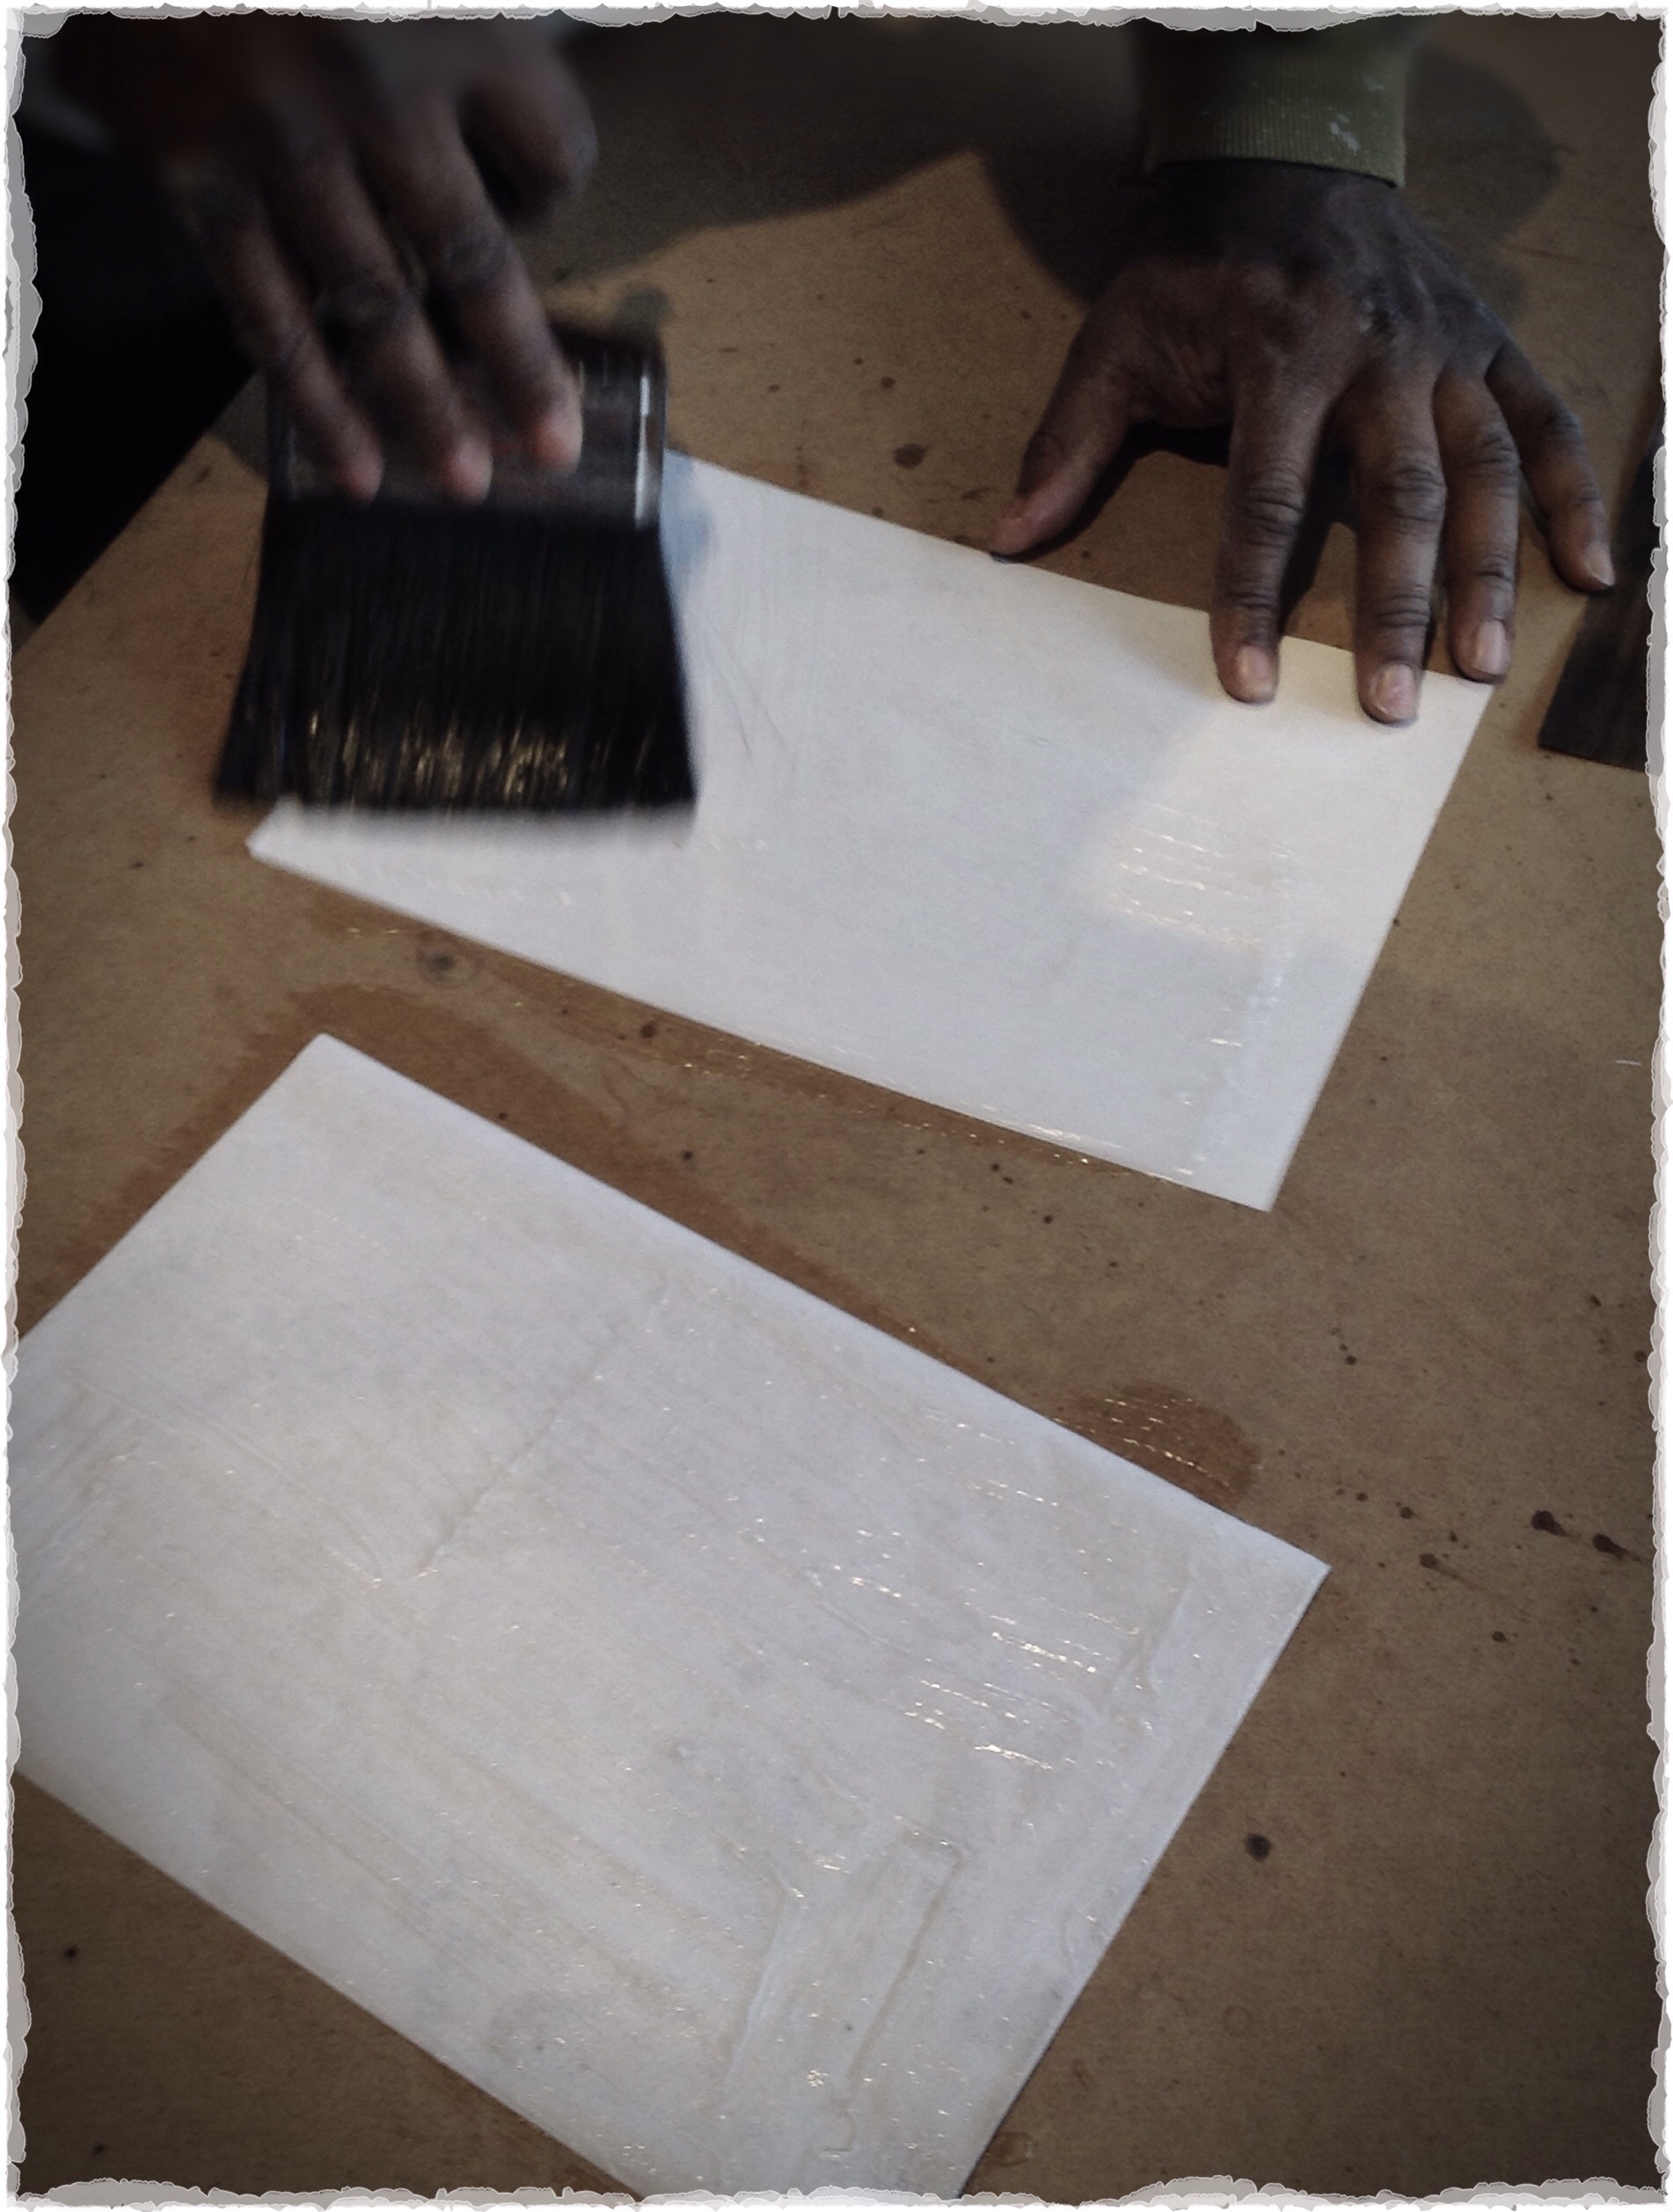
Putting the images up was easier than anticipated, I was ‘Chief Passer’, while Ronnie, armed with a set square and level, assumed the role of ‘Chief Sticker’. Over the course of a weekend, we got the two walls covered. Once fully dry, we gave them three coats of oil based varnish.

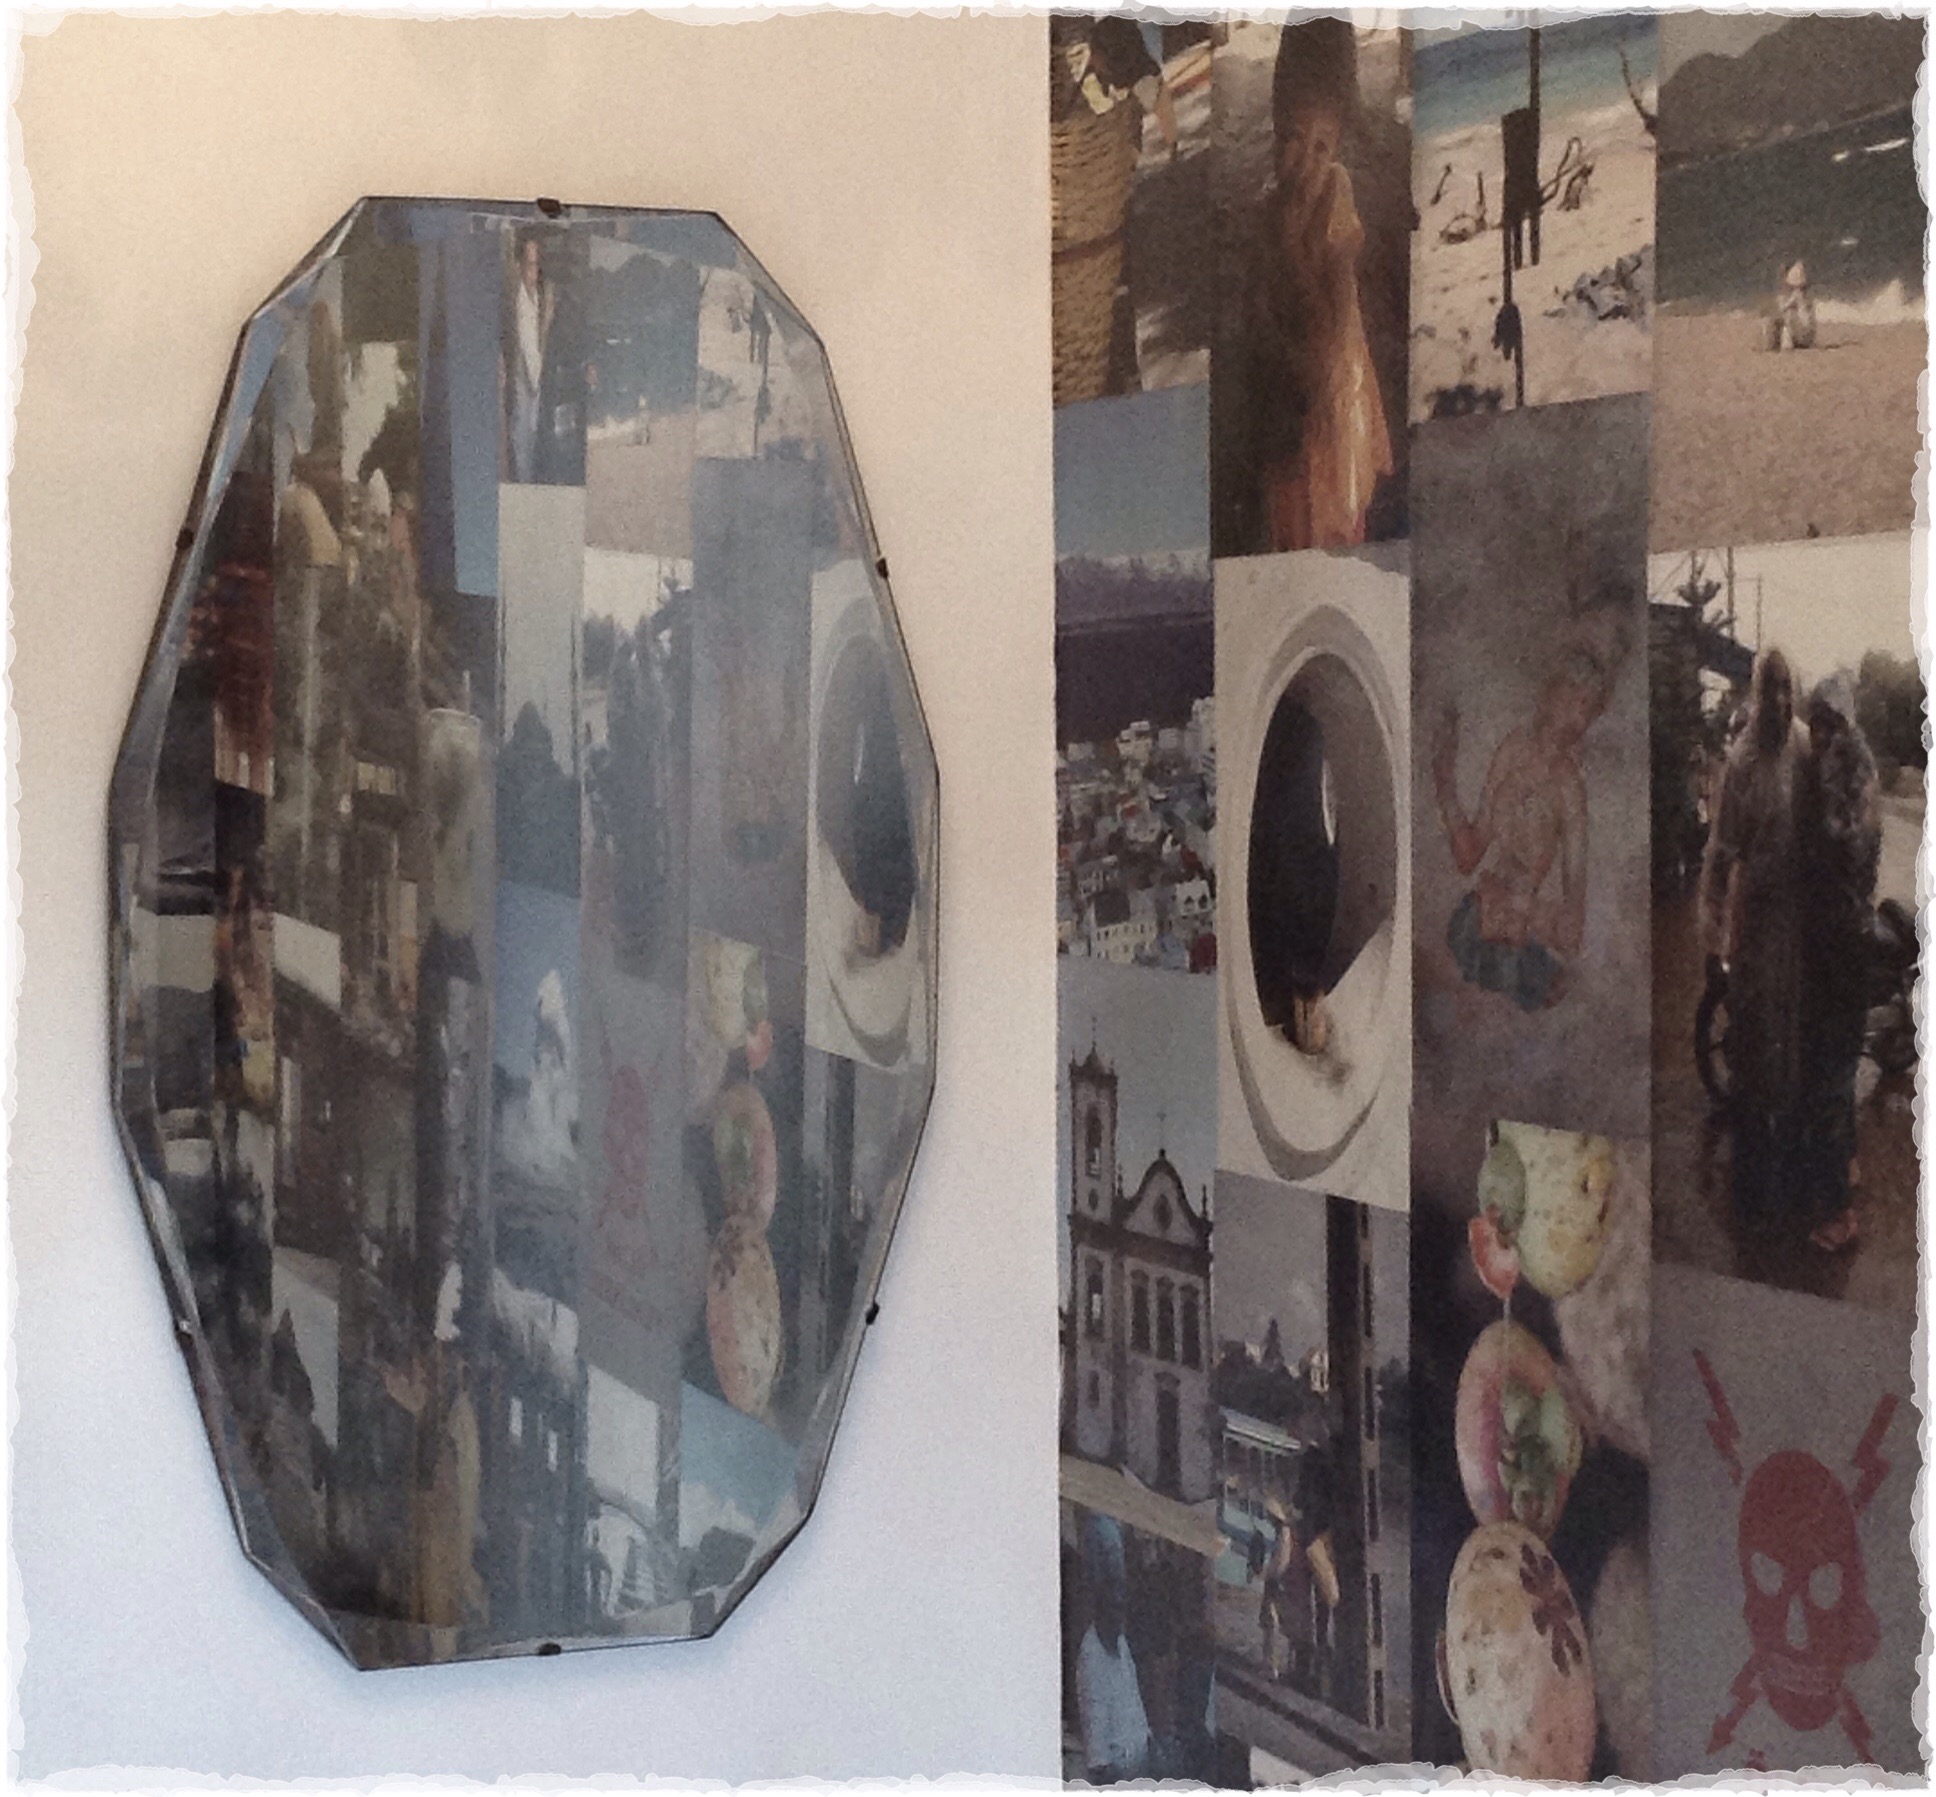
I’m really pleased with the outcome, especially as it’s cost so little. It would have been infinitely more tasteful if we’d used black and white images, but the colours are just so evocative of our travels, and if you can’t do something a little bonkers in the cloakroom, where can you!
The last thing to do was put up shelves into the alcove. You’d think I’d be a seasoned pro at simple tasks such as putting up shelves, apparently not. Firstly the shelves arrived late (long story) and when they eventually did arrive, the ‘Tudor Oak’ wax colour I’d chosen looked more like red fence paint.

Out of character perhaps, I couldn’t be bothered to complain, mainly because at best , I’d presumably need to wait for the vendor to grow another oak tree before I recieved replacements. So, I (stroppily) sanded and waxed the nasty shelves to a colour I was happy with and then started drilling the wall, basically it all went wrong and before I knew it we were in DIY SOS territory, spanners, gripfill, clamps…It was time for a man to take over. Once the shelves were up, they became home to some of our travel books and trinkets.


We still need to replace the door for a Victorian version, but that can wait a while, we’re on to the next room.
